 Save
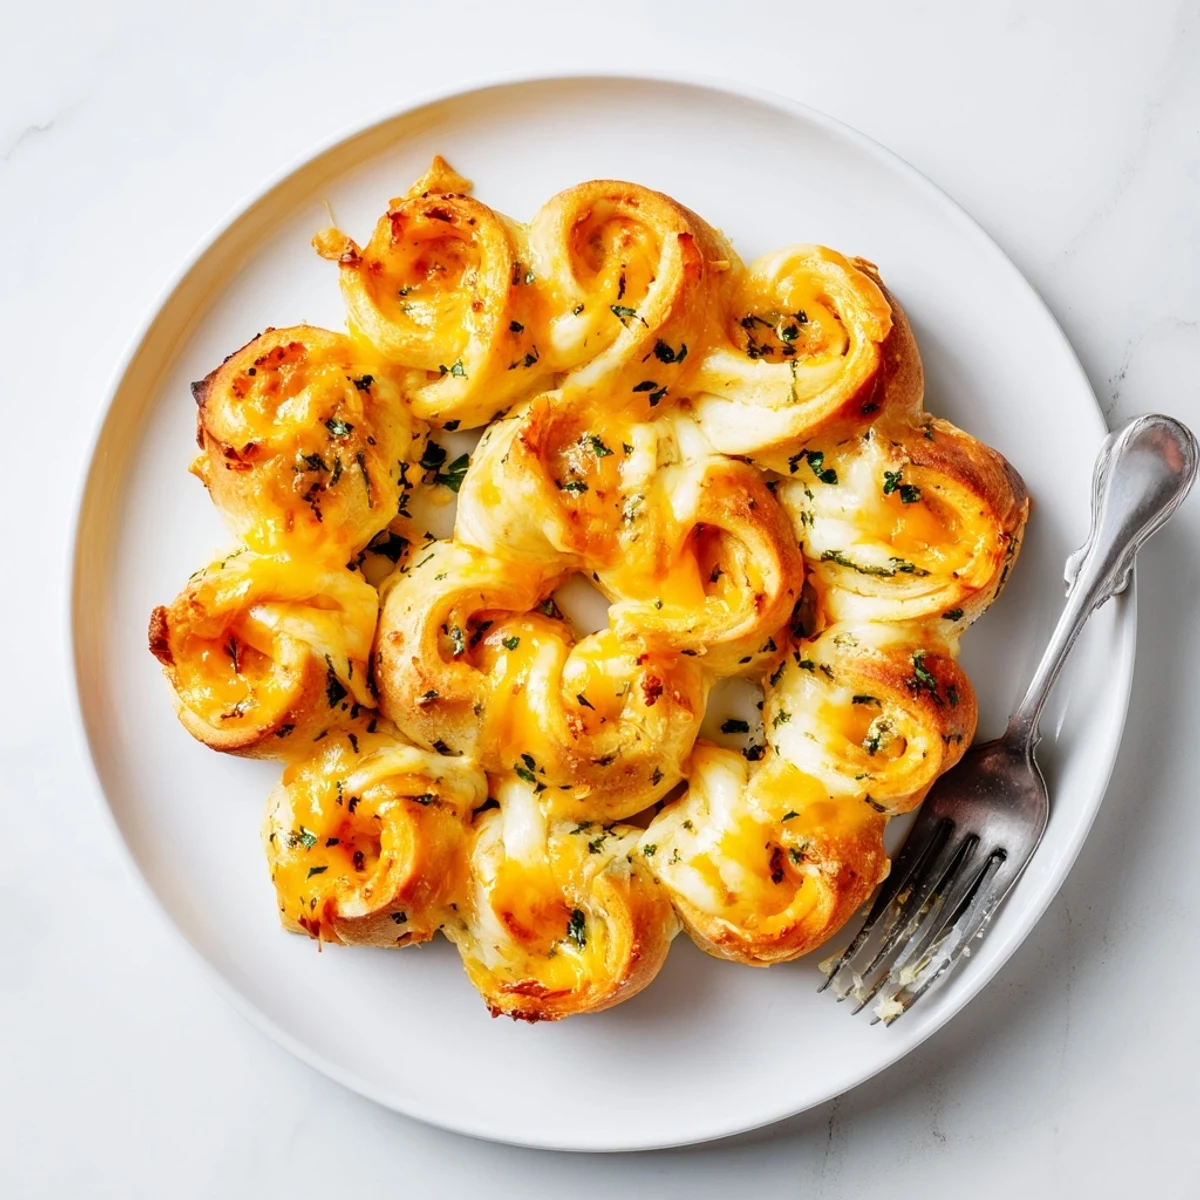
Save These golden, pillowy rollups start with refrigerated crescent dough, generously stuffed with a blend of shredded mozzarella, sharp cheddar, and salty Parmesan. Each bundle gets brushed liberally with melted butter infused with fresh minced garlic and parsley, then baked until the dough turns beautifully golden and the cheese becomes bubbly and gooey.
The entire process takes just 35 minutes from start to finish, making them ideal for unexpected guests or weeknight appetizers. The rollups emerge from the oven with a crisp, buttery exterior that gives way to warm, melted cheese inside. They're naturally vegetarian and can be customized with spicy red pepper flakes, fresh spinach, or cooked bacon mixed into the cheese filling.
My teenage son walked into the kitchen last weekend, sniffing the air like a detective on a case. "Mom, what IS that smell?" he asked, eyes wide. I'd just pulled these rollups from the oven, and honestly, I wasn't prepared for how quickly they'd disappear from the cooling rack.
Last summer, I made these for a neighborhood potluck when I completely forgot I'd signed up to bring an appetizer. Panic mode activated, but these saved my reputation. Three different neighbors asked for the recipe, and one confessed she ate three before dinner even started.
Ingredients
- Refrigerated crescent roll dough: This humble shortcut is the foundation of the whole operation. I've learned to let it sit at room temperature for about 10 minutes before unrolling—it cooperates so much better and won't tear when you're trying to roll up the cheese filling.
- Mozzarella cheese: The classic melty cheese that creates those gorgeous cheese pulls everyone loves on Instagram. Shred it yourself if you have time, but the pre-shredded stuff works perfectly fine in a pinch.
- Cheddar cheese: Adds a sharp, tangy counterpoint to the mild mozzarella. Extra sharp gives you the most flavor bang for your buck.
- Parmesan cheese: Don't skip this—its salty, nutty punch is what makes these taste special rather than just like regular cheese bread. Freshly grated is worth the extra effort.
- Unsalted butter: Using unsalted means you control the saltiness. Melt it completely so it mixes evenly with the garlic—cold spots of butter mean uneven flavor on your finished rollups.
- Fresh garlic: I tried garlic powder once when I was out of fresh cloves, and it just wasn't the same. Fresh garlic gives you that aromatic punch that makes your whole kitchen smell amazing while they bake.
- Fresh parsley: Optional for flavor, but it makes these look so much prettier on the serving platter. Plus, that little hit of freshness cuts through all the rich cheese and butter.
- Salt: Just a quarter teaspoon helps balance all the flavors and makes the garlic pop. Feel free to adjust to your taste preferences.
Instructions
- Preheat your oven to 375°F (190°C) and line a baking sheet with parchment paper.
- The parchment paper isn't optional here—trust me, I learned the hard way when cheese melted onto my baking sheet and created a cement-like situation. Hot soapy water and serious scrubbing were involved.
- Unroll the crescent roll dough and separate into 8 triangles.
- Work gently but confidently. If the dough tears, don't panic—just press it back together with your fingers. No one will notice after they're baked and slathered in garlic butter.
- In a small bowl, combine mozzarella, cheddar, and Parmesan cheeses.
- Mix them up really well so each rollup gets all three cheeses in every bite. I use my clean hands for this—tossing the cheese together distributes everything more evenly than a spoon can.
- Place about 2 tablespoons of cheese mixture at the wide end of each triangle.
- Don't overfill them or the cheese will burst out during baking and make a mess. A heaping tablespoon is perfect—you want enough cheese to be generous but not so much that it escapes.
- Roll up each triangle from the wide end to the tip, encasing the cheese filling.
- Roll tightly but not so tight that the dough tears. Tuck the narrow tip underneath each rollup so they stay neat on the baking sheet and don't unravel in the oven.
- Arrange rollups on the prepared baking sheet with the tip tucked under.
- Give them about 2 inches of space between each one. They'll puff up as they bake, and you want that butter to crisp up around all the edges, not steam them.
- In another bowl, mix melted butter with minced garlic, parsley, and salt.
- Let this mixture sit for a few minutes if you can—giving the garlic time to mingle with the warm butter makes the flavor more intense and aromatic.
- Brush each rollup generously with the garlic butter mixture.
- Don't be shy here! Use it all, even getting it into the crevices. This is where all the flavor lives, and brushing the tops before AND after baking creates that golden, irresistible finish.
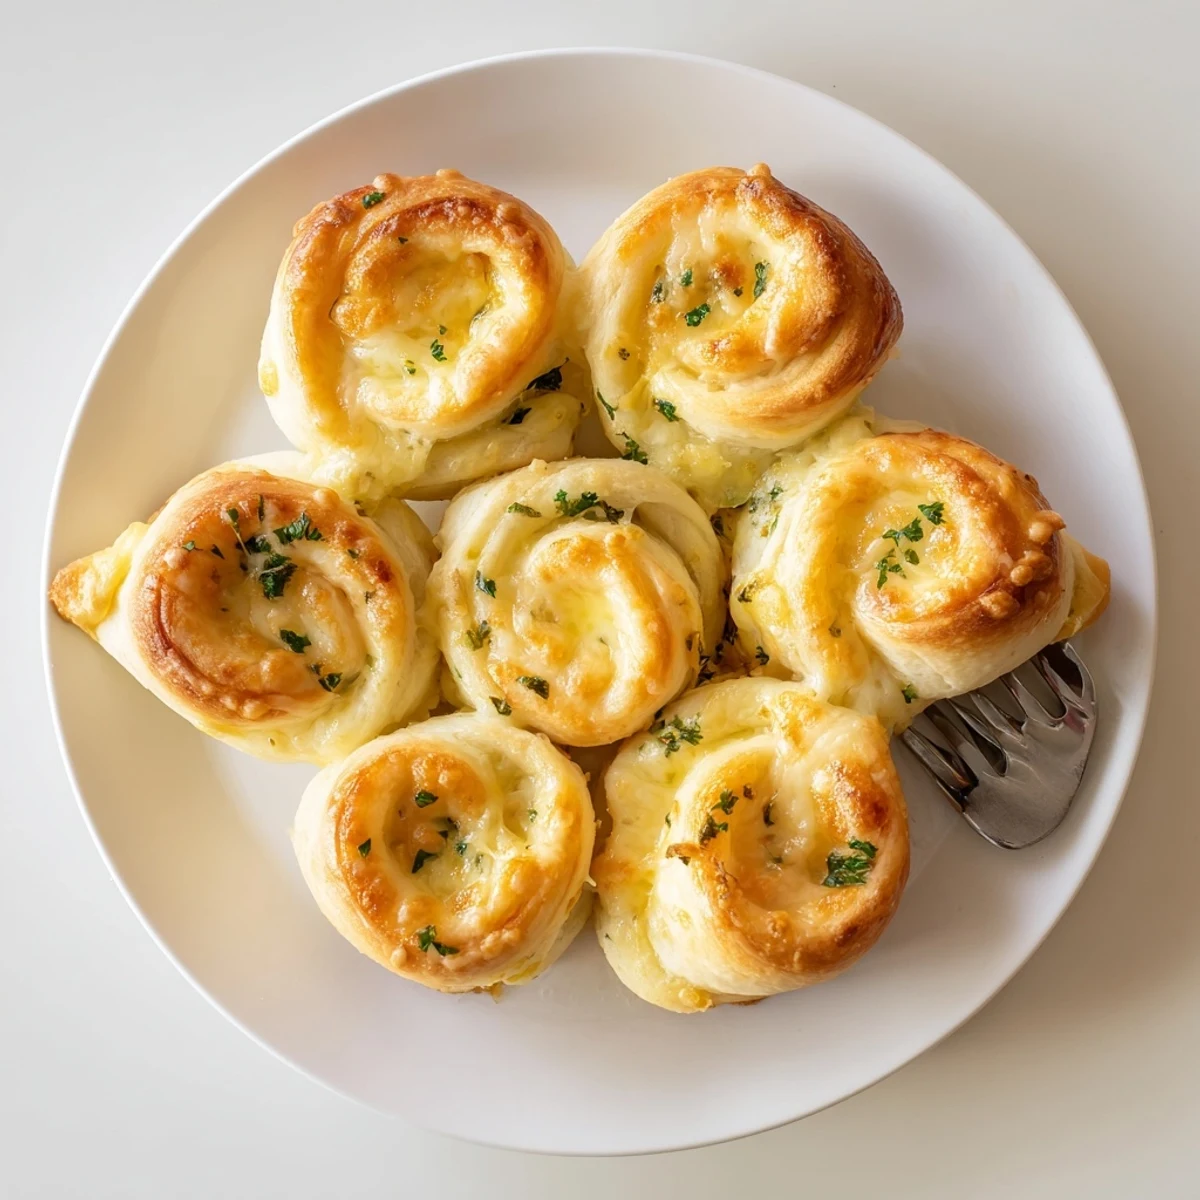
- Bake for 15–18 minutes, or until golden brown and cheese is bubbling.
- Start checking at 15 minutes. You want them deeply golden—that's where the flavor and texture are. Pale rollups are sad rollups, so let them get good color.
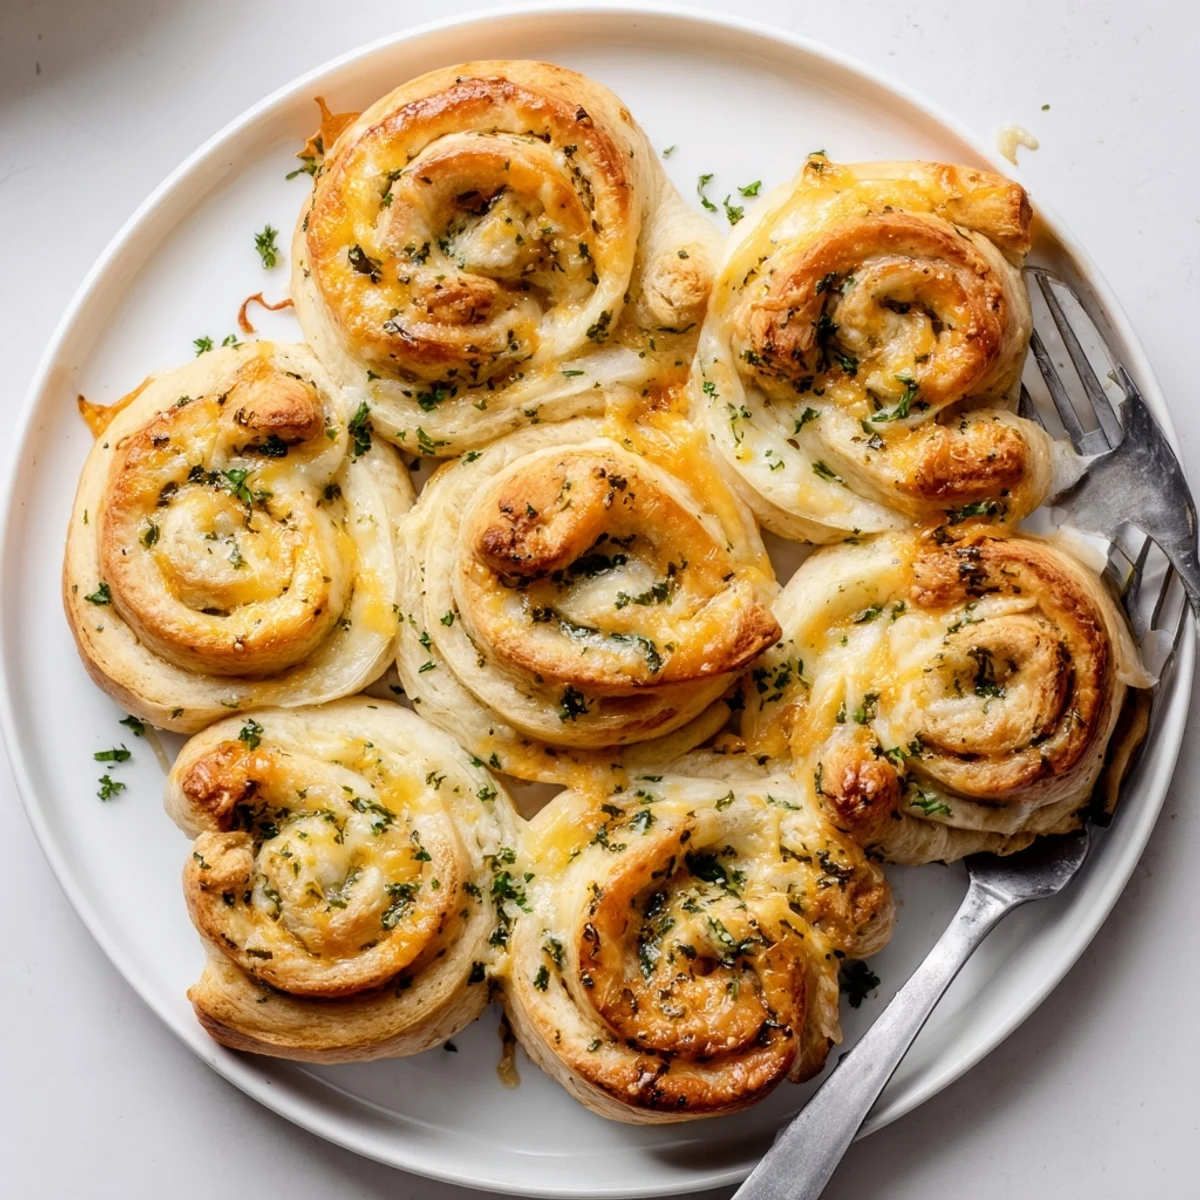
- Brush with extra garlic butter if desired and serve warm.
- That final butter brushing right out of the oven creates an almost focaccia-like finish on top. Serve them within about 15 minutes while the cheese is still gloriously stretchy.
 Save
Save My daughter now requests these for every family movie night, and I've actually started doubling the recipe because the first batch disappears before I can even set the platter on the coffee table. There's something magical about pulling apart a warm, cheese-filled rollup with friends gathered around.
Make Them Your Own
Once you've mastered the basic version, the variations are endless. I've added everything from crumbled cooked bacon to finely diced jalapeños for a spicy kick. Sometimes I mix herbs into the cheese blend—Italian seasoning works beautifully, or fresh thyme if you want something more sophisticated.
Serving Suggestions That Work
These shine as party appetizers with marinara sauce for dipping, but they're equally good alongside soup or salad for a casual dinner. I've even packed them in lunchboxes—they reheat beautifully and taste way more impressive than they actually are to make.
Timing Is Everything
You can assemble these up to 8 hours ahead and refrigerate them, covered tightly on the baking sheet. Add about 2-3 minutes to the baking time if you're baking them cold from the refrigerator. Just don't brush with butter until right before they go into the oven.
- Let the dough sit at room temperature for 10 minutes before working with it
- Brush leftover garlic butter over the rollups immediately after baking for maximum flavor
- These are best served within 30 minutes of coming out of the oven
 Save
Save There's something deeply satisfying about turning a tube of refrigerated dough into something that makes people's eyes light up. These rollups have become my go-to for everything from last-minute guests to Tuesday night cravings.
Common Recipe Questions
- → Can I make these rollups ahead of time?
-
Yes, you can assemble the rollups, cover them tightly with plastic wrap, and refrigerate for up to 4 hours before baking. Brush with garlic butter just before placing them in the oven.
- → What cheese works best for the filling?
-
The three-cheese blend of mozzarella, cheddar, and Parmesan creates the perfect balance of meltability and flavor. Mozzarella provides the classic cheese pull, cheddar adds sharpness, and Parmesan brings a salty, nutty depth.
- → Can I use homemade dough instead of crescent rolls?
-
Absolutely. Homemade pizza dough or brioche dough works wonderfully. Just roll it out thin, cut into triangles, and proceed with the same filling and baking method.
- → What dipping sauces pair well with these?
-
Warm marinara sauce is classic, but they're also delicious with garlic aioli, ranch dressing, or even a spicy arrabbiata sauce for those who enjoy extra heat.
- → How do I store and reheat leftovers?
-
Store cooled rollups in an airtight container in the refrigerator for up to 3 days. Reheat in a 350°F oven for 5-7 minutes to restore the crispy texture, or microwave for 20-30 seconds if you're in a hurry.
- → Can I freeze these rollups?
-
Yes! Assemble unbaked rollups, place them on a baking sheet to freeze individually, then transfer to a freezer bag. Bake from frozen at 375°F for 20-22 minutes, adding a few extra minutes as needed.
