 Save
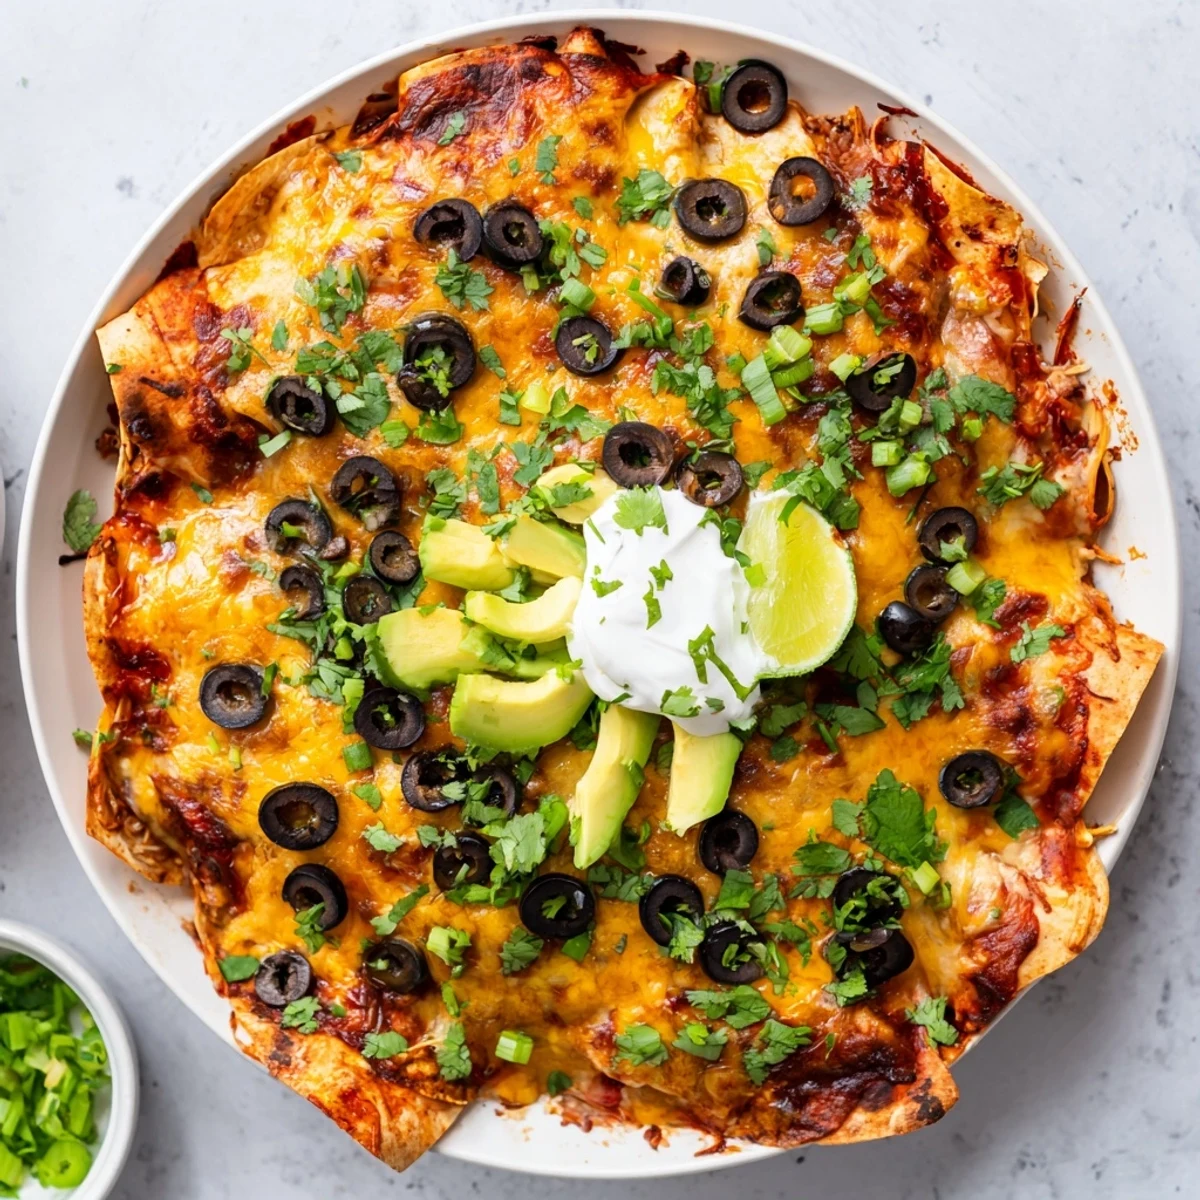
Save This satisfying Tex-Mex casserole combines tender shredded chicken with black beans, corn, and aromatic spices in rich red enchilada sauce. Layered with soft tortillas and topped with plenty of melted Mexican cheese blend, it bakes up bubbly and golden in under an hour.
The filling comes together quickly in one bowl, then gets layered between tortillas for effortless assembly. Let it rest briefly before serving with classic toppings like fresh cilantro, creamy avocado, sour cream, and zesty lime wedges.
The smell of cumin and enchilada sauce bubbling in the oven takes me back to Tuesday nights when my roommate would whip up this exact dish after our evening shifts. Something about the way the cheese gets those gorgeous golden patches on top makes the whole apartment feel warm before we've even taken the first bite.
I once made this for a friend who swore she hated casseroles everything about the texture the mess the whole concept. She took one bite of this enchilada bake and asked for the recipe before she'd even finished her first serving. Sometimes the right combination of flavors changes everything.
Ingredients
- 3 cups cooked shredded chicken: Rotisserie chicken works perfectly here and saves so much time but poached chicken breast gives you more control over the seasoning
- 2 cups red enchilada sauce: I've learned that the brand matters more than I expected so taste test a few before committing to your go to
- 1 cup canned black beans: Rinse them really well to remove that metallic can taste and they'll blend right into the filling
- 1 cup corn kernels: Fresh corn cut from the cob is sweetest but frozen works perfectly when corn isn't in season
- 1 small red onion: Finely diced so you get little bursts of sweetness throughout rather than big oniony bites
- 1 tsp ground cumin: This is what gives it that authentic enchilada flavor so don't be tempted to skip it
- 1 tsp chili powder: Use mild unless you know your crowd can handle the heat because it builds as it bakes
- 1/2 tsp garlic powder: Distributes more evenly than fresh garlic would throughout the filling
- Salt and pepper: Taste your filling before you start layering because the cheese will add saltiness too
- 8 small flour or corn tortillas: Corn gives you that traditional flavor but flour tortillas are more forgiving and less likely to tear
- 2 cups shredded Mexican cheese blend: Pre shredded is convenient but grating your own cheese makes it melt so much better
- 1/4 cup sliced black olives: These are completely optional but they add such a nice briny contrast to all that rich cheese
- 2 tbsp chopped fresh cilantro: Sprinkle this on right before serving because it loses its bright flavor if baked
- 1/2 cup sliced green onions: The white parts can go into the filling but save the green tops for that final fresh garnish
- 1 medium avocado: Wait until the very last minute to slice this or it will start to brown before anyone eats
Instructions
- Preheat and prep your baking dish:
- Set your oven to 375°F and give your 9x13 baking dish a quick coating of cooking spray or oil nothing worse than stuck on cheese later
- Mix up your filling:
- Combine the shredded chicken with one cup of enchilada sauce the beans corn onion and all those spices in a large bowl until everything's evenly coated
- Start your foundation:
- Spread that half cup of sauce in the bottom of your dish like you're painting a canvas this prevents the bottom tortillas from getting soggy
- Layer one:
- Arrange four tortillas over the sauce tearing them as needed to cover the bottom completely because gaps mean sauce will seep through and make things mushy
- Add the filling:
- Spread half your chicken mixture over the tortillas then sprinkle with two thirds cup of cheese making sure to get it all the way to the edges
- Repeat the layers:
- Add another tortilla layer followed by the remaining filling and another two thirds cup of cheese pressing down gently between each layer
- Finish it off:
- Top with the final tortilla layer pour the remaining sauce over everything and finish with the rest of that cheese plus olives if you're using them
- Bake covered first:
- Cover the dish tightly with foil and bake for 20 minutes this steams everything together so the flavors can really mingle
- Get that golden top:
- Remove the foil and bake for 10 more minutes until the cheese is bubbling in those gorgeous patches of golden brown
- The patience step:
- Let it rest for 5 minutes before cutting otherwise you'll end up with a beautiful delicious mess on each plate instead of neat squares
 Save
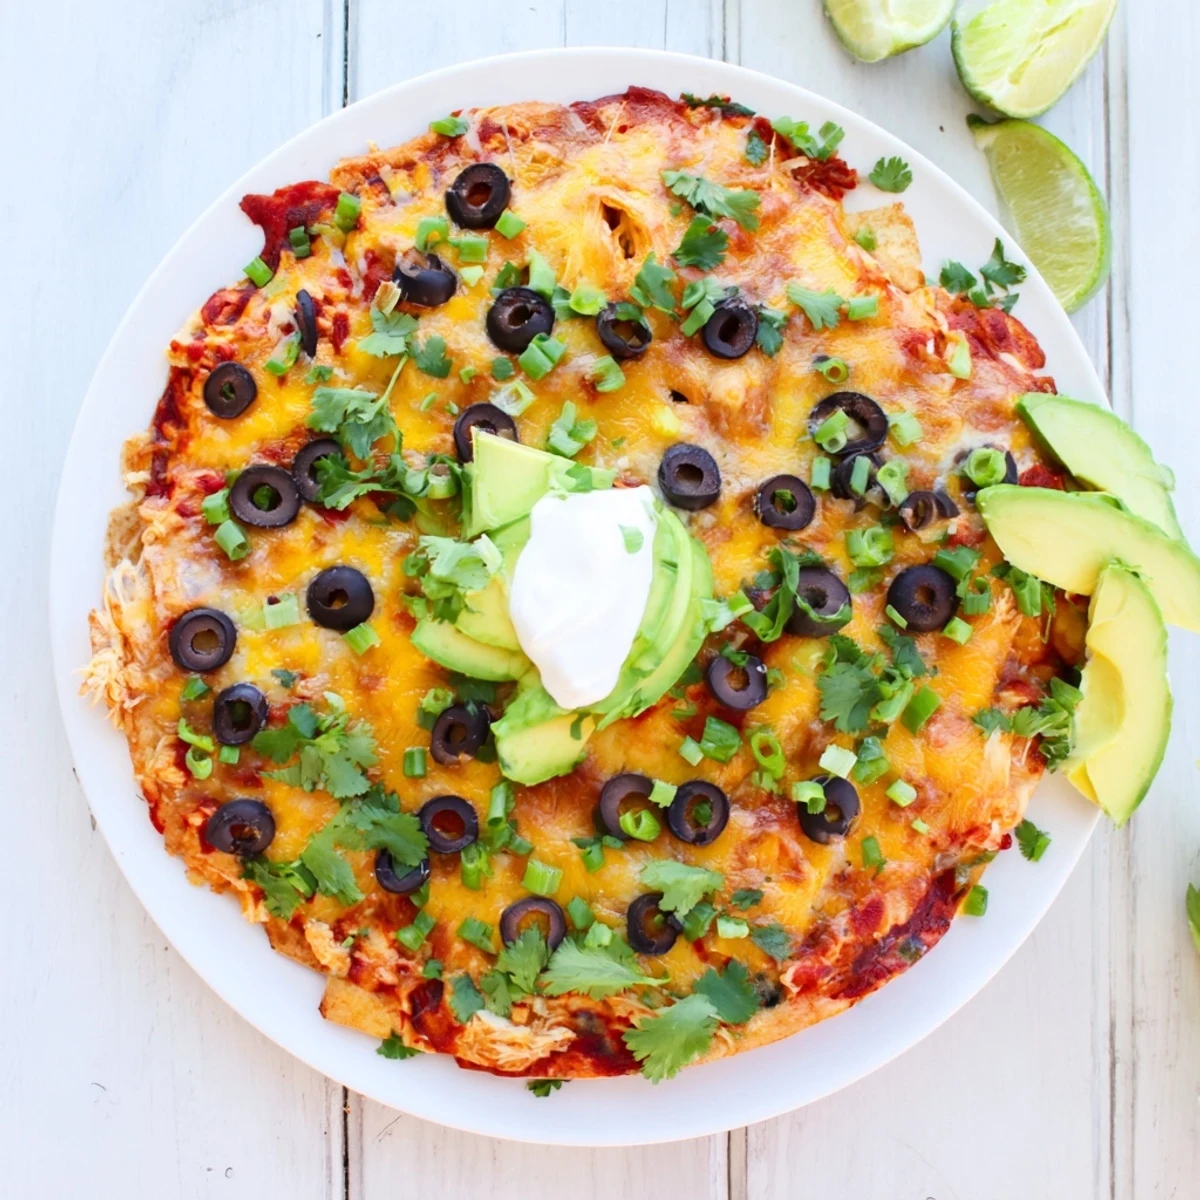
Save My sister in law requests this every time she visits saying it's the one dish her picky toddlers and foodie husband both agree on. Watching my nephew get excited about vegetables hidden in all that cheese might be my favorite part of making it.
Make Ahead Magic
You can assemble this entire dish up to 24 hours in advance just cover it tightly and refrigerate. When you're ready to bake add an extra 10 minutes to the covered baking time since it's starting from cold. I've learned not to add the final cheese layer until just before baking or it can get a little rubbery after sitting overnight.
Freezing Instructions
This freezes beautifully either before or after baking. If freezing unbaked wrap it really well with foil plus a layer of plastic wrap and it'll keep for up to three months. Thaw overnight in the refrigerator before baking as directed. Already baked leftovers freeze well too in individual portions for those nights when cooking dinner feels like an impossible task.
Serving Suggestions
A crisp green salad with lime vinaigrette cuts through all that rich cheese perfectly. I also like to serve it with Mexican rice or refried beans on the side for a complete restaurant style meal at home.
- Warm your tortillas slightly in a dry pan before layering they become more pliable and less likely to crack
- If your sauce seems too thick add a tablespoon of water to help it spread evenly
- The broiler can help those cheese patches get extra golden in the last two minutes just watch it like a hawk
 Save
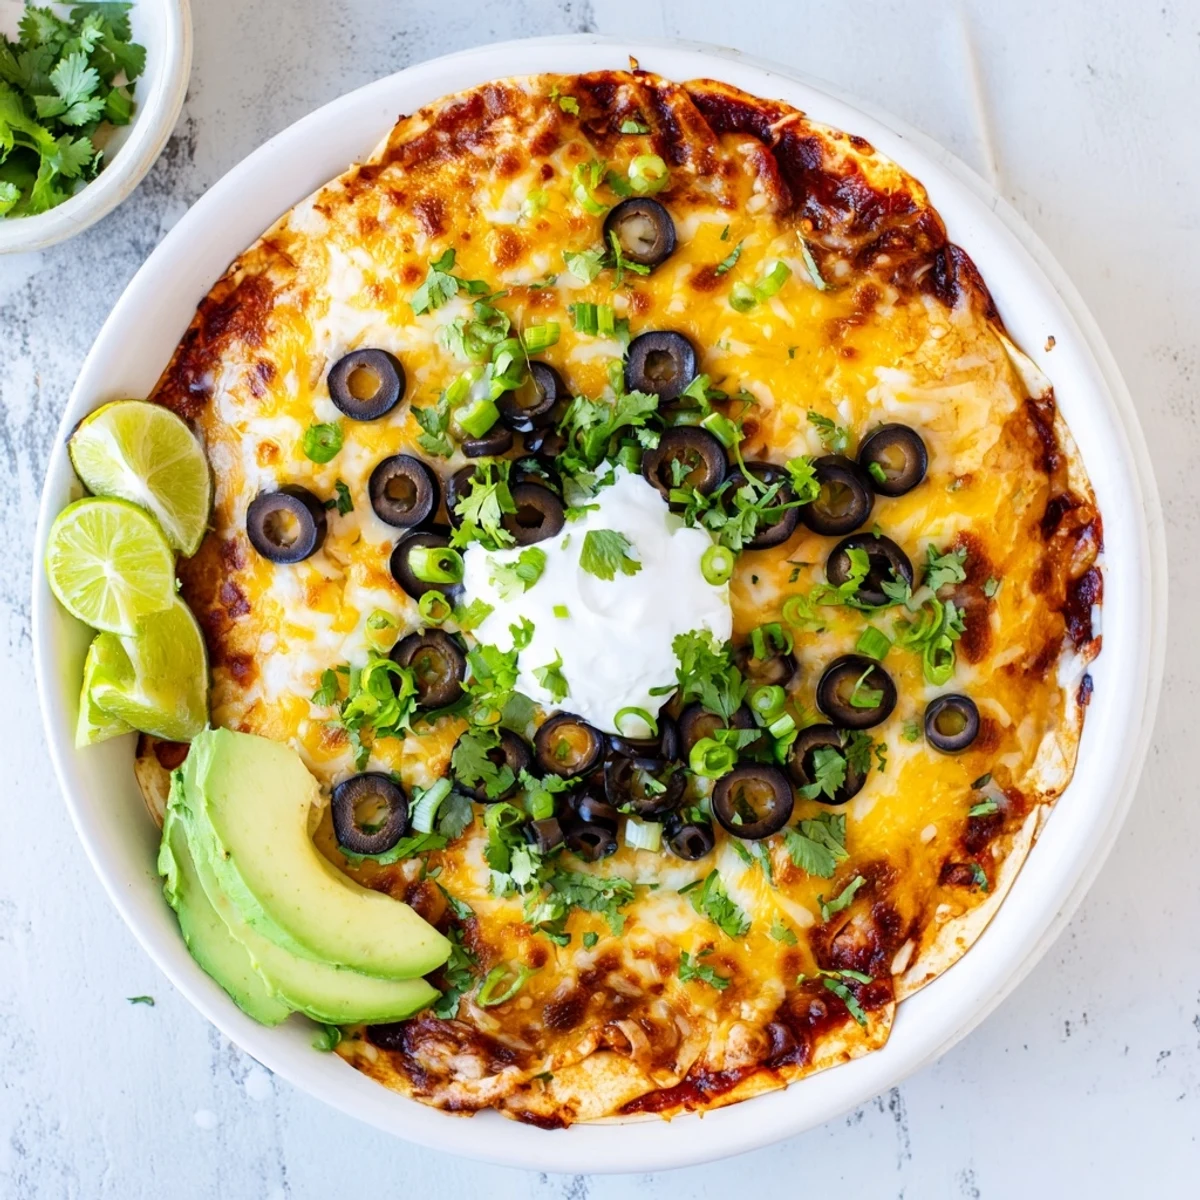
Save There's something so satisfying about pulling this bubbling pan out of the oven and watching everyone gather around the kitchen island. Comfort food at its finest.
Common Recipe Questions
- → Can I make this ahead of time?
-
Yes, assemble the entire casserole up to 24 hours in advance and refrigerate covered with foil. Bake when ready, adding 5-10 minutes to the covered baking time.
- → What type of chicken works best?
-
Rotisserie chicken is incredibly convenient, but poached, baked, or slow-cooked chicken breasts all work wonderfully. Just shred it into bite-sized pieces before mixing.
- → Can I freeze this dish?
-
Assemble and freeze before baking, or freeze leftovers in individual portions. Thaw overnight in the refrigerator before reheating at 350°F until warmed through.
- → How do I make it spicier?
-
Add diced jalapeños or serranos to the filling, use a spicy enchilada sauce, or sprinkle crushed red pepper flakes between layers. Hot sauce also makes a great finishing drizzle.
- → What's the best way to reheat leftovers?
-
Cover individual portions with foil and reheat at 350°F for 15-20 minutes, or microwave in 30-second intervals until heated through. The cheese stays meltiest when reheated in the oven.
- → Can I use corn tortillas instead?
-
Absolutely. Corn tortillas add authentic flavor and make this gluten-free. Warm them slightly before layering to prevent cracking, and consider frying them lightly for extra texture.
