 Save
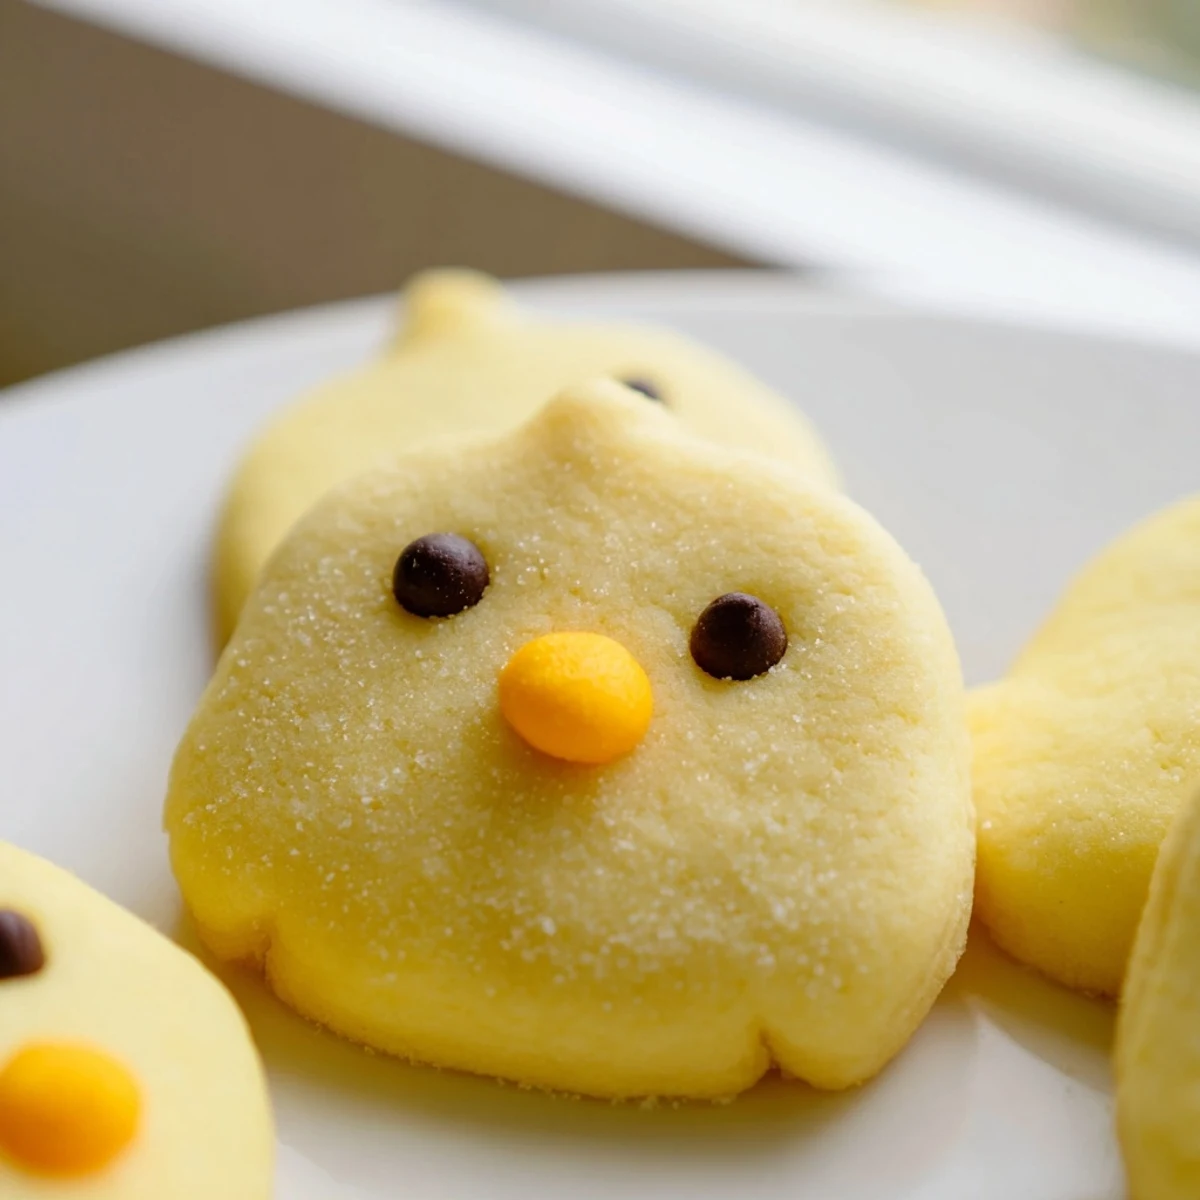
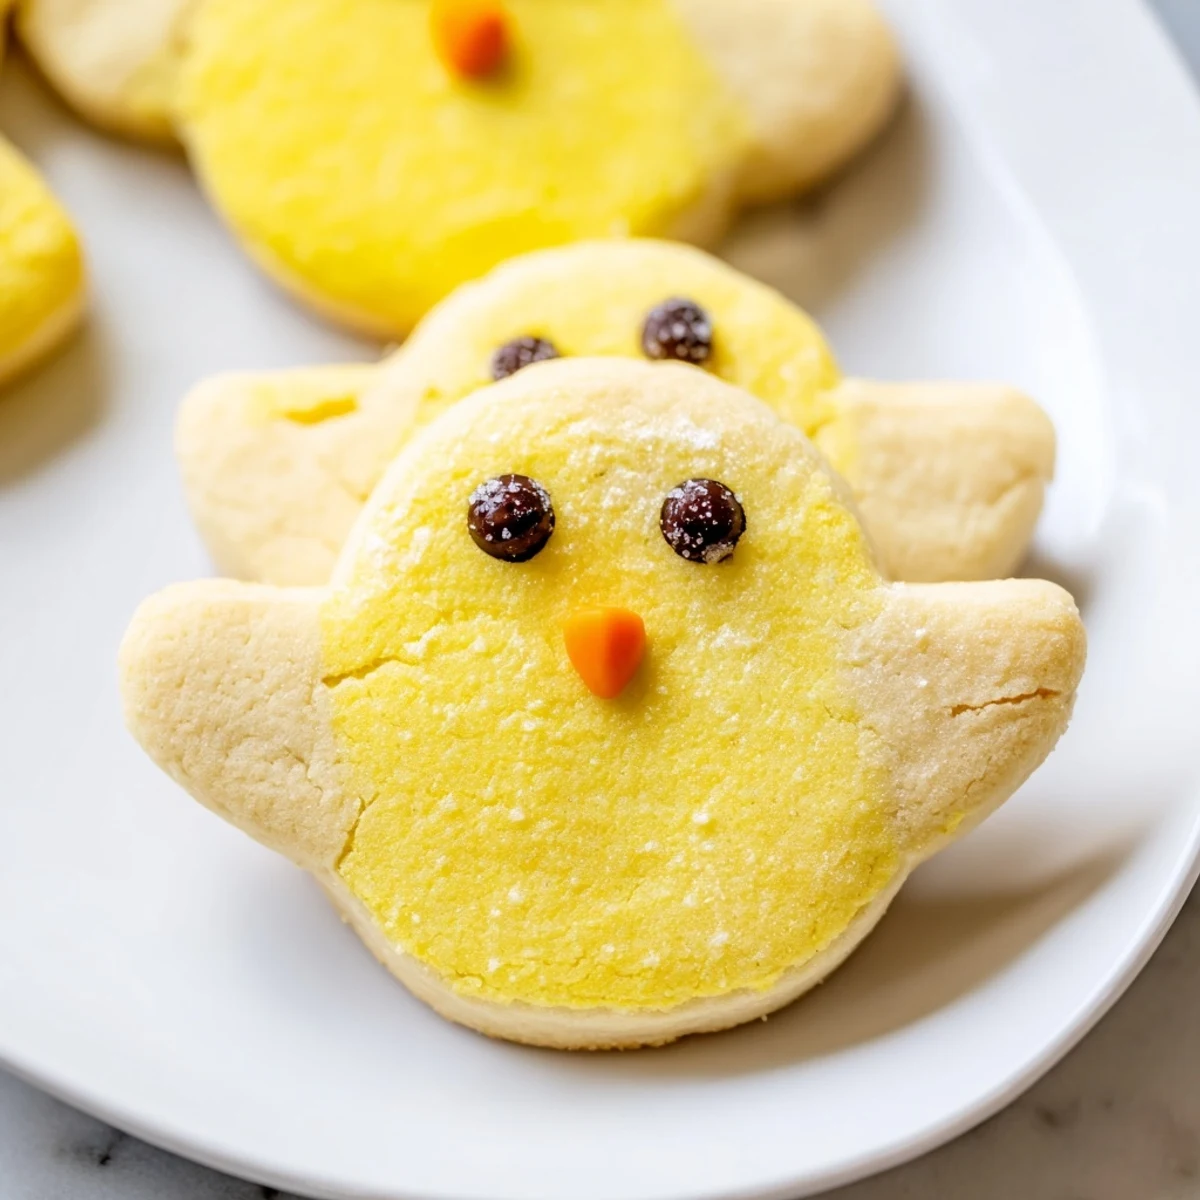
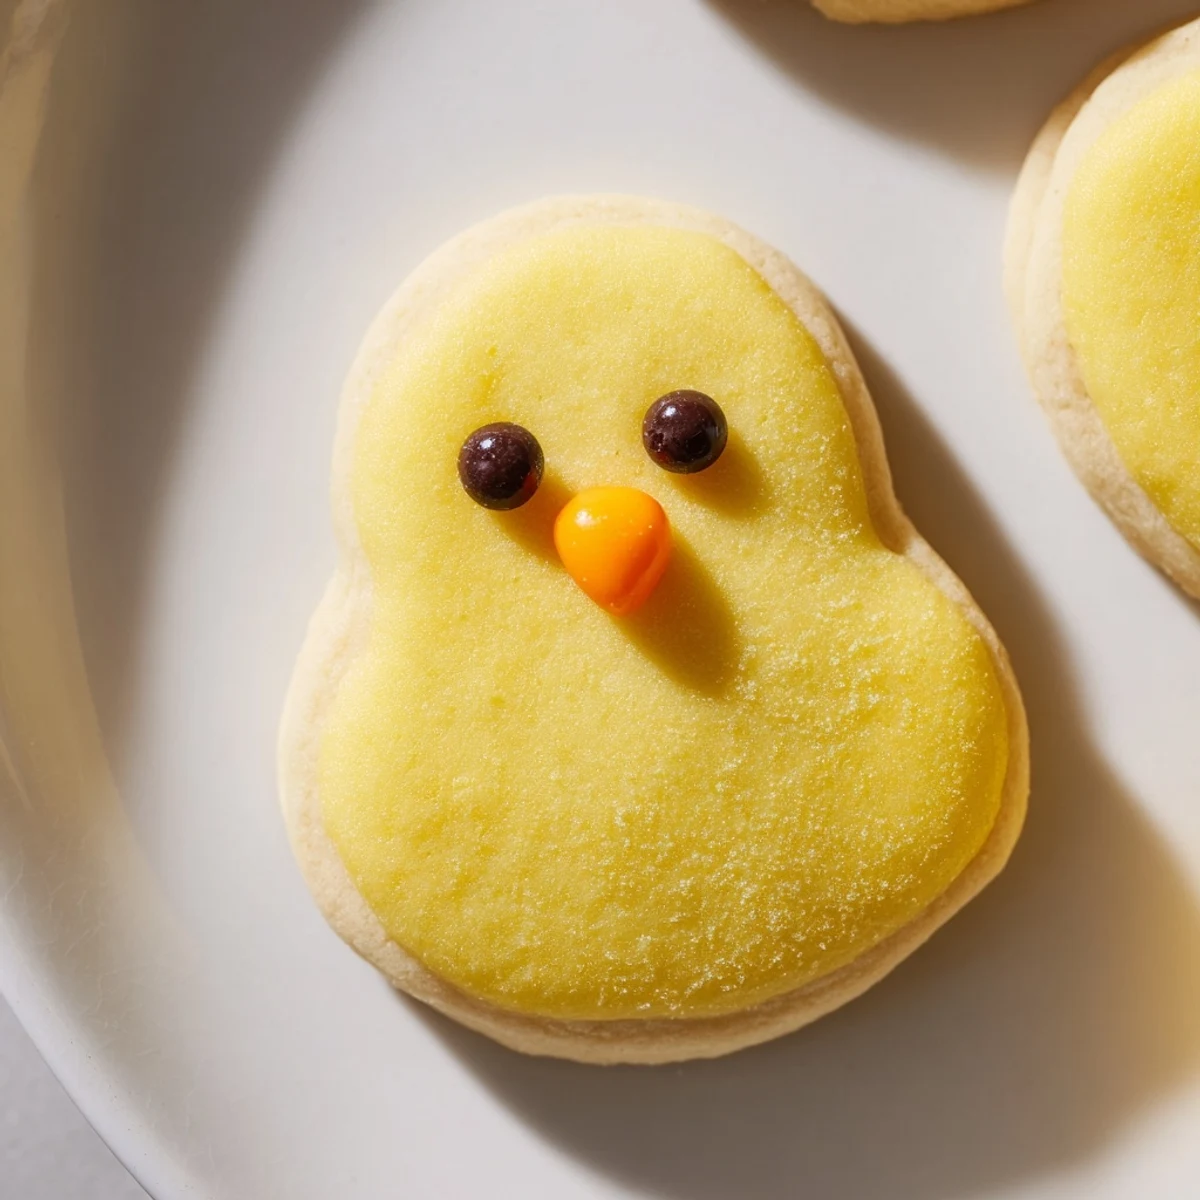
Save These delightful chick-shaped sugar cookies bring whimsy to any spring gathering. Made with a classic buttery dough tinted bright yellow, each treat features a round body topped with a smaller head creating that signature chick silhouette. The preparation is straightforward—mix flour, baking powder, and salt, then cream butter with sugar until fluffy. After adding egg and vanilla, incorporate dry ingredients before kneading in food coloring for that perfect sunny hue.
Shaping involves forming two balls per creation—one for the body, a smaller one for the head—gently pressing them together before baking at 350°F for 8-10 minutes. The final touch comes from decorating: eyes made with black gel or mini chocolate chips and orange beaks from decorating gel or candy pieces. For added shine, brush with a simple powdered sugar glaze. The result is 24 adorable treats that disappear quickly at parties.
Pro tips include chilling soft dough for easier handling and adding lemon zest for brightness. These vegetarian sweets work wonderfully for Easter, baby showers, or whenever you need something guaranteed to make everyone smile.
The first time I made these little chick cookies, my kitchen smelled like butter and vanilla while tiny yellow faces stared back at me from the baking sheet. My daughter helped pipe the beaks, and we both giggled when some of the chicks ended up looking more like confused ducks than baby chicks. They were the hit of her spring party, and parents kept asking where I bought such adorable treats.
Last spring, I made three batches of these chicks for my nieces birthday. The kitchen counter was covered in yellow sugar dust, and every time someone walked through the door, they could not help but smile at the army of cheerful cookies cooling on racks. My sister said they were too cute to eat, but that did not stop anyone from grabbing seconds.
Ingredients
- All-purpose flour: The backbone of these tender cookies, giving them structure while keeping them soft
- Unsalted butter: Room temperature butter is non-negotiable here—it creates that melt in your mouth texture
- Yellow food coloring: Gel coloring works best for vibrant yellow without thinning the dough
- Powdered sugar glaze: The secret to giving your chicks a professional, glossy finish
- Black and orange decorating gels: These bring the chicks to life, but mini chocolate chips work perfectly for eyes too
Instructions
- Get your oven ready:
- Preheat to 350°F and line two baking sheets with parchment paper so your chicks do not stick
- Mix the dry stuff:
- Whisk flour, baking powder, and salt in a bowl so everything is evenly distributed
- Cream the butter and sugar:
- Beat until light and fluffy, then add the egg and vanilla until combined
- Bring it together:
- Gradually mix in dry ingredients, then knead in yellow food coloring until the dough is uniformly bright
- Shape your chicks:
- Roll a 1-inch ball for the body and a smaller ball for the head, pressing them gently together
- Bake until perfect:
- Bake 8 to 10 minutes until edges are barely golden, then cool completely before decorating
- Give them faces:
- Add eyes and beaks with decorating gel, then let them set so your chicks are ready to party
 Save
Save My neighbor popped over while I was decorating a batch and ended up staying for an hour, helping pipe beaks onto thirty chicks. We had flour in our hair and yellow dye on our fingers, but those cookies looked better than anything from a bakery.
Making Them Ahead
The dough freezes beautifully for up to three months if you wrap it tightly in plastic. Just thaw it overnight in the refrigerator before rolling and baking, which actually improves the flavor development.
Decoration Ideas
Beyond the classic chick faces, you can roll the edges in colored sprinkles before baking for extra flair. Some bakers use edible glitter to give their chicks an iridescent sheen that catches the light beautifully on dessert tables.
Serving Suggestions
These cookies stack well in clear treat bags tied with pastel ribbons, making them perfect for party favors or classroom treats. Arrange them on a platter with shredded coconut as makeshift grass for an adorable Easter centerpiece.
- Store in an airtight container at room temperature for up to five days
- Place parchment paper between layers to prevent faces from smudging
- Bring to room temperature before serving for the best texture
 Save
Save There is something magical about watching a plain yellow ball of dough transform into a cheerful little creature that makes everyone smile. These chicks have become my go-to for spring gatherings, and I hope they bring as much joy to your kitchen as they have to mine.
Common Recipe Questions
- → How long do chick cookies stay fresh?
-
Stored in an airtight container at room temperature, these maintain their quality for 4-5 days. For extended freshness up to two weeks, refrigerate them. Allow to come to room temperature before serving for the best texture experience.
- → Can I make the dough ahead of time?
-
Absolutely. Prepare the dough, wrap it tightly in plastic, and refrigerate for up to 3 days. You can also freeze the dough for 2-3 months. Thaw overnight in the refrigerator before bringing to room temperature for shaping.
- → What's the best way to get vibrant yellow color?
-
Gel food coloring provides the most intense hue without thinning your dough. Start with a small amount and gradually add more until you reach your desired shade. Liquid coloring works but may require additional flour to maintain proper consistency.
- → Can I use natural decorations instead of gel?
-
Certainly. Use mini chocolate chips for eyes and slivered almonds or orange-colored dried fruit pieces for beaks. These alternatives still create charming chick faces while appealing to those avoiding artificial coloring.
- → Why did my chick shapes lose their definition during baking?
-
This typically occurs when the dough becomes too warm. Chill your formed pieces for 10-15 minutes before baking. Also ensure you're pressing the head and body together firmly enough to create a secure bond without merging them completely.
- → What's the purpose of the optional glaze?
-
The powdered sugar glaze adds a subtle sweetness while providing a smooth, glossy finish that enhances decoration adherence. It also helps seal in moisture, keeping your creations tender longer. Skip it if you prefer a simpler approach.
