 Save
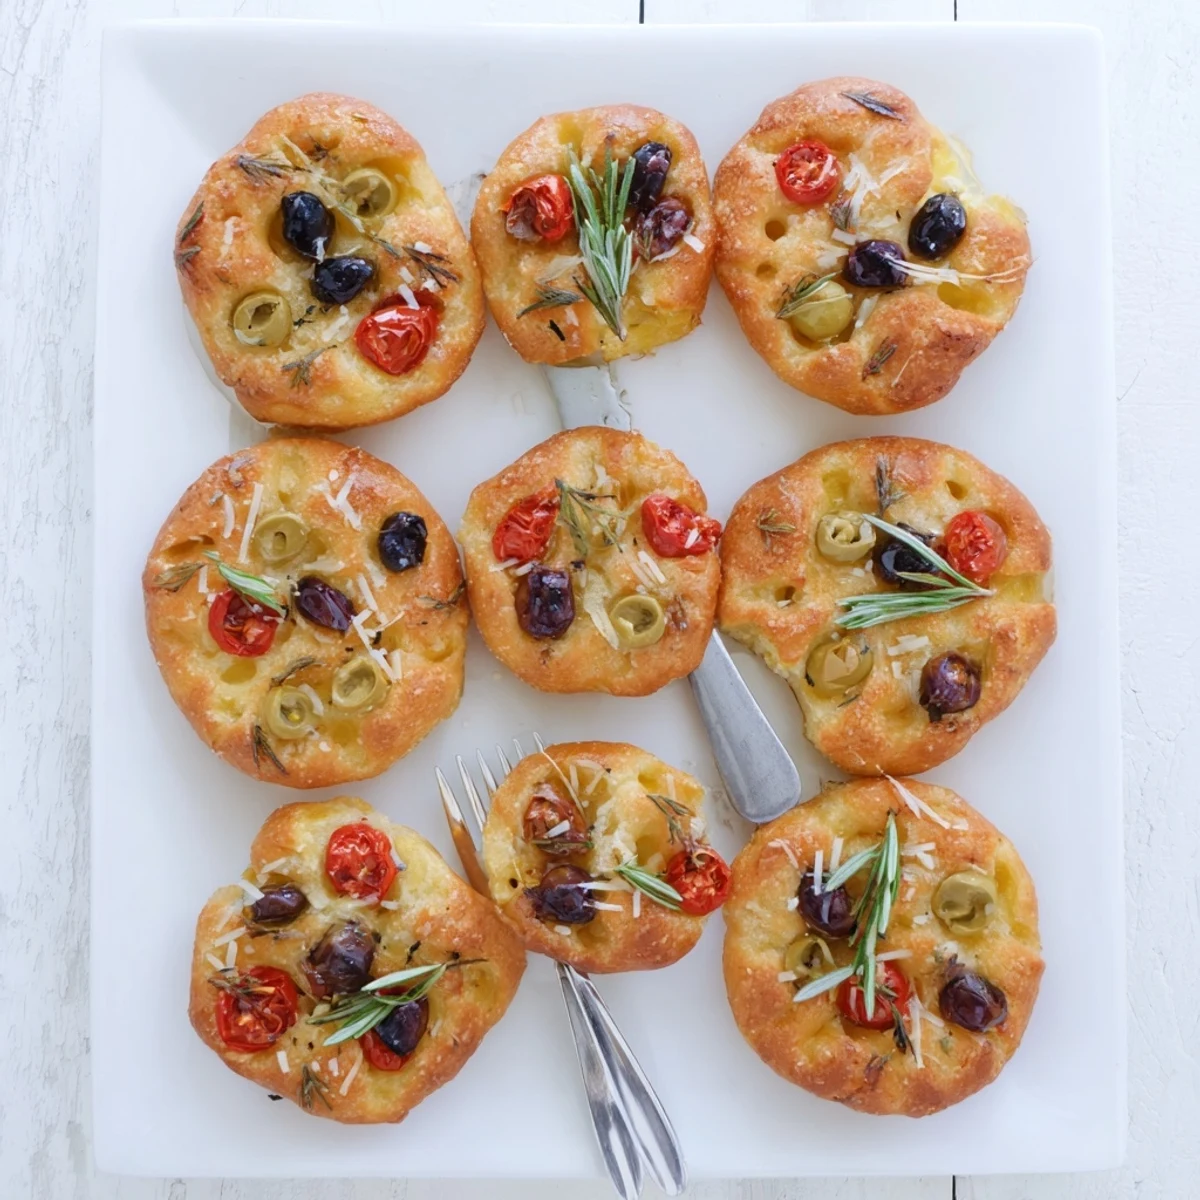
Save These crispy mini focaccias deliver the perfect balance of textures—golden, crackling exteriors giving way to soft, airy interiors infused with olive oil and fragrant rosemary. The individual portions make them ideal for serving alongside soups, salads, or as appetizers at your next gathering.
The dough comes together quickly with just flour, yeast, and water, then rises for an hour while you prepare the toppings. A generous brushing of olive oil creates that signature focaccia crispiness, while flaky sea salt and fresh herbs add layers of flavor. Customize with cherry tomatoes, black olives, or experiment with caramelized onions and parmesan.
Baking at high heat (425°F) ensures perfectly golden tops with just the right amount of crunch. Serve them warm from the oven for the best experience—the aroma alone will have everyone gathering in the kitchen.
The smell of rosemary hitting hot olive oil still transports me to my grandmother's tiny kitchen, where she'd press dough into well-worn jelly roll pans. I was eight years old and convinced that dimpling focaccia with my fingertips was the most important job in the world. Those golden squares disappeared faster than she could pull them from the oven.
Last summer I made fifty of these for a rooftop gathering, watching friends hover around the baking sheet like sharks. Someone admitted they'd skipped dinner just to save room. Now I double the recipe whenever friends come over, because the first batch always vanishes while people pretend to just taste test.
Ingredients
- All-purpose flour: Creates just enough structure without making these mini breads dense or chewy
- Lukewarm water: Activates the yeast while keeping dough workable and soft
- Active dry yeast: One packet gives these babies their signature rise and airy crumb
- Fine sea salt: Evenly distributed throughout dough for depth of flavor
- Extra-virgin olive oil: The secret to that golden crackly crust we're chasing
- Sugar: Just enough to feed the yeast without making the bread taste sweet
- Flaky sea salt: Those occasional crunches of salt make every bite interesting
- Fresh rosemary: Woody and aromatic, this herb loves high heat
- Cherry tomatoes: They blister and concentrate in the oven, adding bursts of sweetness
- Black olives: Salty and briny, they balance the rich olive oil perfectly
Instructions
- Wake up the yeast:
- Stir together lukewarm water and sugar until dissolved, then sprinkle in the yeast and let it bubble for 5 minutes until foamy on top
- Bring dough together:
- Add flour, salt, and 1 tablespoon olive oil to the yeast mixture, stirring until a sticky shaggy dough forms
- Knead until smooth:
- Turn onto a lightly floured surface and knead for 5 to 7 minutes until the dough feels silky and springs back when you press it
- Let it rise:
- Place in a lightly oiled bowl, cover with a damp cloth, and let rise in a warm spot for 1 hour until doubled
- Heat things up:
- Preheat oven to 425F (220C) and line a baking sheet with parchment paper
- Shape mini rounds:
- Punch down dough, divide into 8 equal pieces, and shape each into a small round or oval on the prepared sheet
- Create those classic dimples:
- Use your fingertips to press deep indentations all over each round, then brush generously with olive oil
- Add the toppings:
- Sprinkle with flaky sea salt and rosemary, then press in cherry tomatoes and olives if using
- Bake to golden:
- Bake for 18 to 20 minutes until tops are golden and crisp with deeper brown edges
- Cool slightly:
- Let rest on the baking sheet for a few minutes before serving warm
 Save
Save My neighbor started requesting these for every potluck, saying her family fights over the last one. Now I bring two batches and pretend I'm not watching to see who grabs theirs first.
Making Them Ahead
You can shape the dough rounds, place them on the parchment-lined sheet, cover tightly, and refrigerate overnight. Let them come to room temperature for 30 minutes before dimpling and baking.
Getting the Crispiest Crust
Bake on a preheated baking stone or the lowest oven rack. The extra bottom heat creates that restaurant-quality crunch that makes these irresistible.
Topping Ideas
Caramelized onions add a sweet savory depth, while sundried tomatoes bring concentrated umami. Grated parmesan melted on top during the last 2 minutes creates a salty crispy crust.
- Press toppings gently into the dough so they don't fall off
- Avoid overloading or the crust won't crisp properly
- Brush with oil again halfway through baking for extra golden color
 Save
Save There's something deeply satisfying about pulling warm bread from the oven, still glistening with olive oil and smelling of rosemary.
Common Recipe Questions
- → How do I know when the focaccia dough has risen enough?
-
The dough has properly risen when it has doubled in size, typically after about 1 hour in a warm place. You can test it by gently pressing two fingers into the dough—if the indentation remains, the dough is ready. If it springs back completely, give it more time to rise.
- → Can I make the dough ahead of time?
-
Yes, you can prepare the dough and let it rise in the refrigerator overnight. This slow, cold fermentation actually develops more flavor. When ready to bake, let the dough come to room temperature for about 30 minutes before shaping and proceeding with the baking instructions.
- → What's the best way to store leftover mini focaccias?
-
Store cooled focaccia in an airtight container or resealable bag at room temperature for up to 2 days. For longer storage, freeze them in a freezer bag for up to 3 months. Reheat in a 350°F oven for 5-7 minutes to restore crispiness—microwaving will make them chewy rather than crispy.
- → Can I use fresh herbs other than rosemary?
-
Absolutely! Fresh thyme, oregano, or sage work beautifully with focaccia. You can also create an herb blend with chopped garlic and parsley. Just keep the total amount of herbs around 1 tablespoon to avoid overwhelming the delicate balance of flavors in the dough.
- → Why is my focaccia not crispy on the bottom?
-
If the bottoms are soft, try baking on a preheated baking stone or pizza steel instead of a regular baking sheet—the intense heat from below creates superior crisping. Also ensure your oven is fully preheated before baking, and don't overcrowd the baking sheet, which traps steam and prevents crisping.
- → Can I make these gluten-free?
-
You can substitute the all-purpose flour with a high-quality gluten-free flour blend designed for bread baking. However, the texture will be denser rather than fluffy. Look for blends that include xanthan gum, and consider adding an egg or extra oil to help bind the dough and improve the final texture.
