 Save
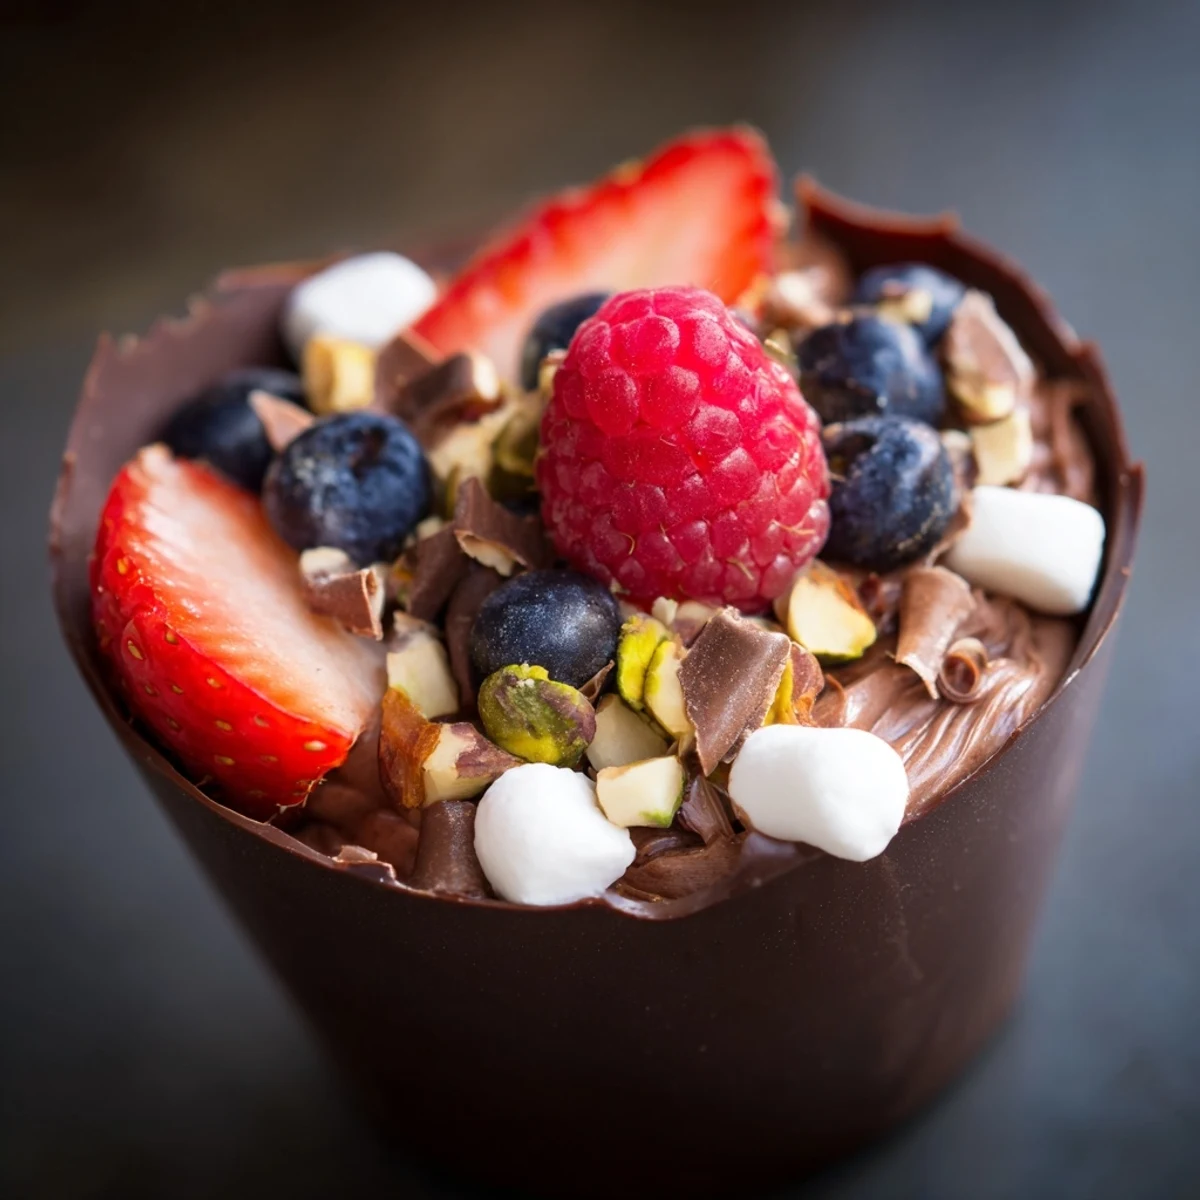
Save Create stunning chocolate grazing cups featuring silky dark chocolate mousse nestled in handmade edible chocolate cups. These individual desserts layer smooth whipped cream infused with melted dark chocolate, topped generously with fresh mixed berries, chopped nuts, mini marshmallows, and delicate chocolate curls.
Perfect for dessert tables, celebrations, or intimate gatherings, each cup offers a luxurious blend of textures and flavors. The crisp chocolate shell gives way to velvety mousse, while seasonal berries provide bright contrast against the rich darkness.
Ready in just over an hour with simple techniques, these impressive treats can be prepared ahead and chilled until serving time.
The moment I spotted chocolate grazing cups at a friends dinner party, I knew Id been serving dessert wrong my entire life. Everyone kept gravitating toward the dessert table, grazing on these little cups of joy instead of taking one formal slice and calling it done. Theres something about having your own individual portion that feels indulgent yet somehow dainty at the same time.
I made these for my sisters birthday last spring and watched my usually health conscious aunt reach for her third cup without hesitation. The birthday girl actually gasped when she saw the edible gold catching the light from the window. Sometimes the most memorable desserts are the ones that make people feel spoiled before they even take a bite.
Ingredients
- Dark chocolate (200 g for cups, 100 g for mousse): Higher cocoa percentage gives you that sophisticated adult chocolate flavor while still being sweet enough for everyone at the table
- Heavy cream (200 ml): Cold cream whips up faster and holds its structure better, so pop it in the fridge for 10 minutes before you start
- Powdered sugar (2 tbsp): Dissolves seamlessly into the mousse without leaving gritty spots that granulated sugar might
- Vanilla extract (1 tsp): Pure vanilla extract makes a noticeable difference in depth compared to imitation
- Fresh mixed berries (1 cup): Choose berries that are firm and dry, so they dont make the chocolate shells soggy
- Chopped nuts (2 tbsp): Toast them lightly in a dry pan for 2 minutes to wake up their natural oils and fragrance
- Mini marshmallows and chocolate curls: These add that grazing element that makes the cups look abundant and inviting
Instructions
- Craft the chocolate cups:
- Melt the chocolate slowly in 30 second bursts, stirring between each interval until it becomes glossy and fluid. Paint the inside of each liner with a generous layer, making sure to build up the rim so the cups have enough structure to hold everything.
- Chill until firm:
- Set the lined tray in your refrigerator for at least 20 minutes, though Ive learned that 30 minutes gives you more confidence when peeling away the liners. The chocolate should release cleanly from the silicone, leaving you with perfect little vessels ready for filling.
- Whip the mousse base:
- Cold cream and a chilled bowl are non negotiable here—whip until you see soft peaks that curl over when you lift the whisk. The melted chocolate needs to be lukewarm, not hot, or youll deflate all that air you just worked into the cream.
- Combine gently:
- Start by folding one spoonful of whipped cream into the chocolate to loosen it up, then add the chocolate mixture back into the remaining cream in parts. Use a spatula and light movements, scraping around the edges and folding through the center, until no white streaks remain.
- Fill and adorn:
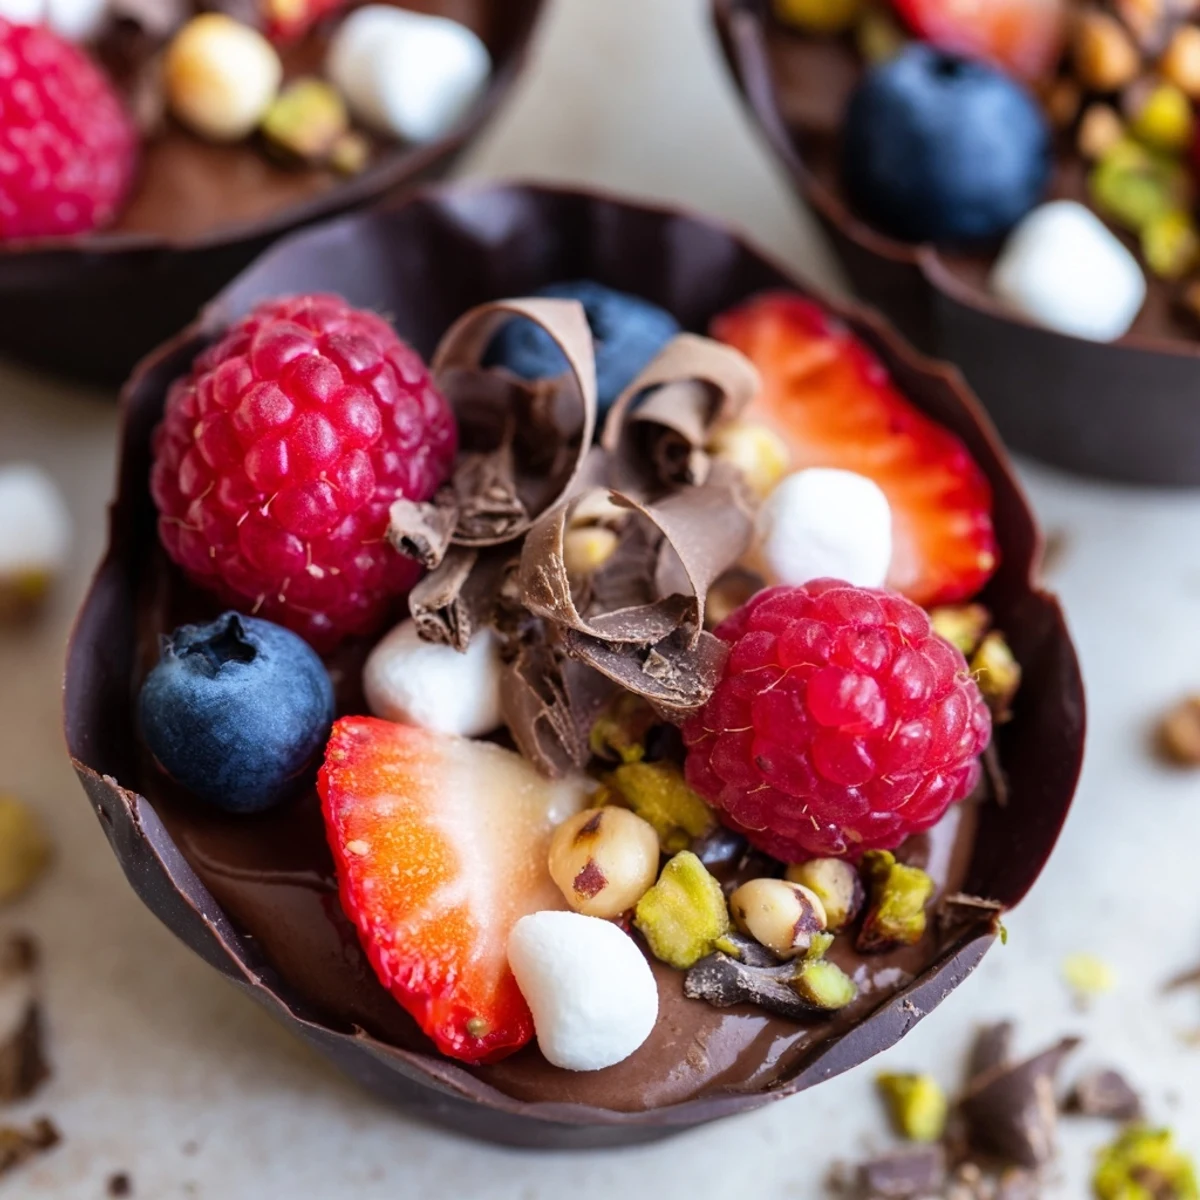
- Pipe or spoon the mousse into each chocolate cup until theyre about two thirds full, then arrange your toppings in a way that looks abundant but not overcrowded. I like clustering berries on one side and scattering nuts and marshmallows across the rest for that grazing aesthetic.
- Final chill:
- Give the assembled cups another 20 minutes in the refrigerator to let everything settle and the mousse firm up slightly. They should hold their shape beautifully when you lift them from the tray.
 Save
Save My neighbor asked for the recipe before shed even finished her first cup, which is always the best kind of feedback. Theres something deeply satisfying about serving a dessert that feels fancy but actually comes together without much fuss.
Choosing Your Chocolate
Ive tried everything from grocery store baking bars to single origin artisanal chocolate, and honestly, people notice the difference. A good 60 to 70 percent cocoa dark chocolate gives you that elegant slight bitterness that balances the sweet cream and berries beautifully.
Make Ahead Strategy
The chocolate cups can be made up to two days in advance and stored between layers of parchment paper in an airtight container. Whip the mousse and assemble the cups the same day you serve them for the freshest texture and most vibrant presentation.
Presentation Ideas
Arrange your finished cups on a tiered stand or long wooden board to create that grazing table effect that draws people in. The more varied and colorful your topping selection, the more irresistible your dessert display becomes.
- Keep some extra berries on the side for guests who want more fruit
- Have a small bowl of chocolate shavings within reach for last minute garnishing
- Consider labeling the cups if some guests have nut allergies
 Save
Save These little cups have become my go to when I want to make people feel special without spending the whole day in the kitchen. Sometimes the smallest desserts leave the biggest impressions.
Common Recipe Questions
- → Can I make these chocolate cups ahead of time?
-
Yes, prepare the chocolate cups and mousse up to 24 hours in advance. Store cups in an airtight container with wax paper between layers. Add fresh toppings just before serving for best texture and appearance.
- → What chocolate percentage works best?
-
Dark chocolate with 60-70% cocoa content provides ideal richness and structure. Higher percentages yield more intense flavor but may require slight adjustments to mousse sweetness. Milk chocolate creates sweeter, softer cups.
- → Can I use different toppings?
-
Absolutely customize with seasonal fruits, crushed cookies, toasted coconut, candied citrus peel, or crystallized ginger. Consider themed combinations like peppermint pieces for holidays or tropical fruits for summer gatherings.
- → How do I prevent chocolate cups from cracking?
-
Ensure chocolate is properly tempered by melting slowly and avoiding moisture. Apply thick, even layers and chill completely before removing liners. Work in a cool room temperature around 68-72°F for best results.
- → Can I make these dairy-free?
-
Substitute coconut cream or full-fat coconut milk for heavy cream in the mousse. Use dairy-free dark chocolate certified vegan. The texture will be slightly different but equally delicious and creamy.
- → What's the best way to melt chocolate?
-
A double boiler provides gentle, even heat—simmer water in a pot and place a heatproof bowl on top, ensuring water doesn't touch the bowl. Microwave in 20-second intervals, stirring between each, for quick results.
