 Save
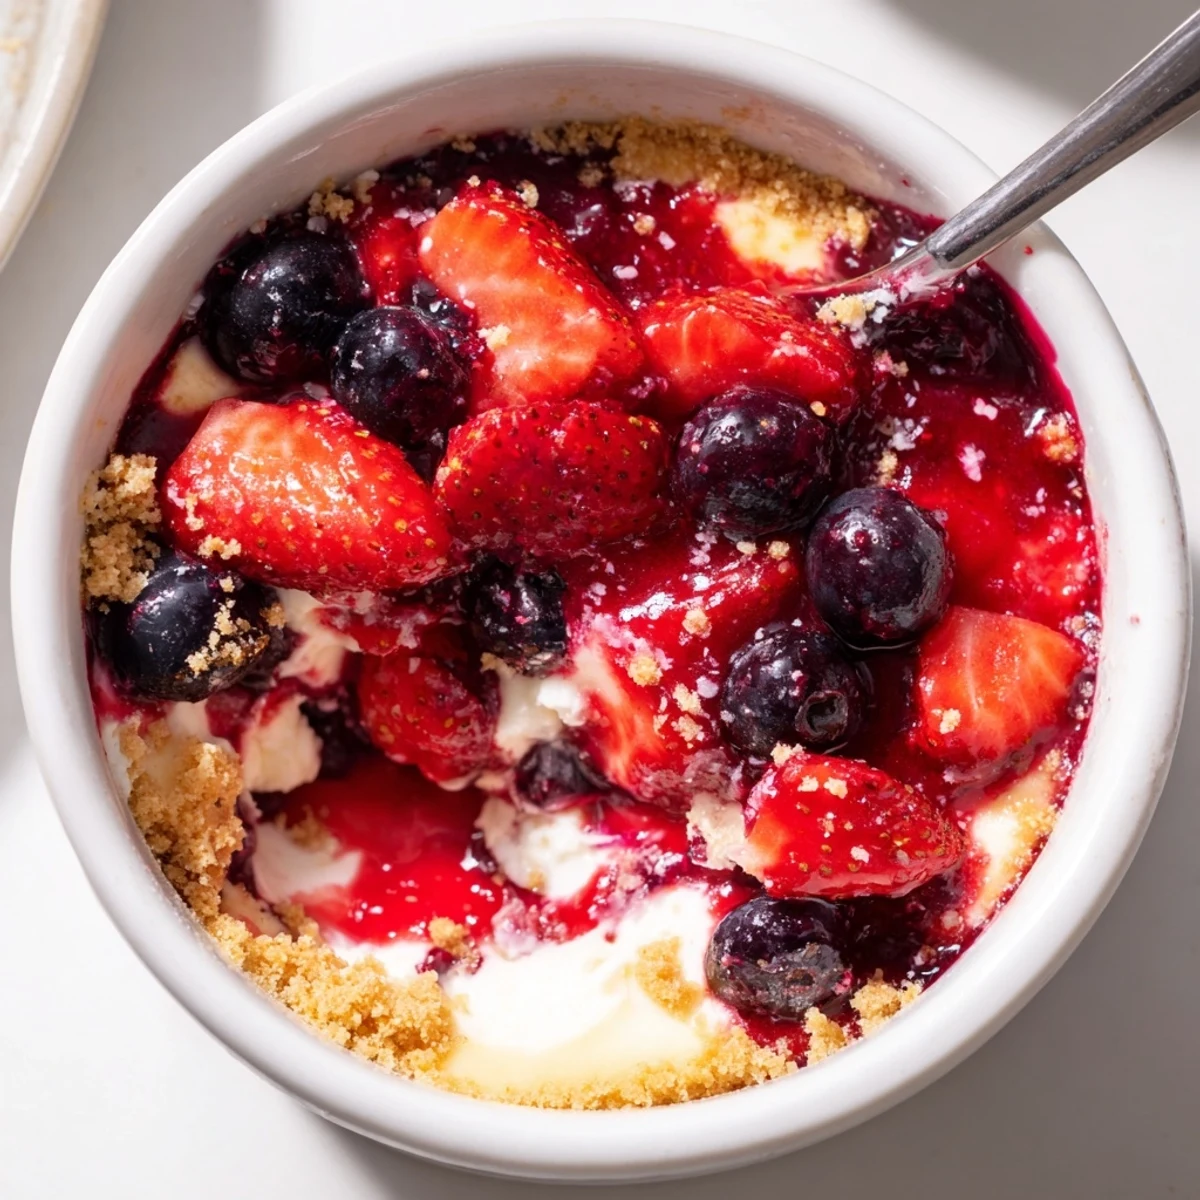
Save This chilled no-bake treat builds a crunchy crushed-biscuit base, a light whipped cream-cheese filling and a tangy mixed-berry topping. Whip cold cream to stiff peaks and gently fold into softened cream cheese sweetened with powdered sugar and vanilla; press bases into glasses, spoon or pipe the filling, top with sugared berries (add lemon juice or a splash of liqueur if desired) and chill at least 3 hours to set.
Some desserts just feel like a breath of fresh air, and I stumbled onto no bake cheesecakes one summer night when the power flickered and my oven was off limits. The cool promise of creamy layers and glossy berries had my kitchen smelling like a garden after rain. There&aposs something playful about assembling little glass jars, each one its own sweet surprise. More than once, I caught myself swiping an extra spoonful of filling—just to taste for balance, of course.
The first time I prepared these berry cheesecakes, it was for a tiny backyard dinner with friends—July heat meant no one wanted to turn on a stove. By dessert, jars were passed around, condensation trailing down the sides, and the conversation paused for a beat as that chilled berry spoonful hit. It became the kind of evening you don&apost plan but end up savoring for weeks. Someone asked for the “secret”, and all I could do was smile and promise to write it down.
Ingredients
- Graham crackers or digestive biscuits: A good, crumbly base is everything—crush them finely for the most even layer and don&apost be afraid to use the bottom of a glass to press down.
- Unsalted butter: Melting the butter fully allows every crumb to glisten and hold together just enough for forkfuls that don&apost crumble apart.
- Cream cheese: Room temperature cream cheese blends silkily without lumps—plan ahead so your filling is perfectly smooth.
- Heavy cream: Whipping cream while it’s good and cold gives that cloudlike lift to the cheesecake layer; I chill my beaters for good measure.
- Powdered sugar: This sweetens gently and melts right in for a delicate finish.
- Vanilla extract: A small splash brings out the warmth in the cream cheese base—don’t skip it, even if you’re tempted.
- Lemon zest (optional): Just a hint wakes everything up—when I have lemons on hand, I never skip this step.
- Mixed fresh berries: Go with whatever is juicy and ripe; sometimes I do all blueberries, other nights it’s a riot of color.
- Sugar: A couple of spoonfuls help draw out juices for a spoonable berry topping.
- Lemon juice: The sharpness rounds out the sweetness and keeps the berries bright and perky.
Instructions
- Prepare the base:
- In a mixing bowl, stir crushed biscuits and melted butter together until every crumb shines. Press the mixture evenly into the bottom of 6 serving glasses using the back of a spoon or your fingers.
- Make the filling:
- With a hand mixer, beat softened cream cheese until airy and smooth—my kitchen always goes quiet for this step. Blend in powdered sugar, vanilla, and lemon zest gently, watching the batter become glossy.
- Whip and fold:
- In a clean bowl, whip heavy cream to stiff peaks—look for soft mountain-like swirls that hold their shape. Fold the whipped cream carefully into the cream cheese mixture, keeping every bit of air for that pillowy texture, then spoon or pipe onto the base.
- Berry compote magic:
- Toss the fresh berries with sugar and lemon juice in a bowl and let them sit until their juices pool at the bottom and everything glistens—this takes about 10 to 15 minutes.
- Assemble and chill:
- Spoon the berry mixture gently over each cheesecake layer, letting the syrup cascade down the sides. Cover and refrigerate for at least 3 hours, though overnight brings the most luxurious texture.
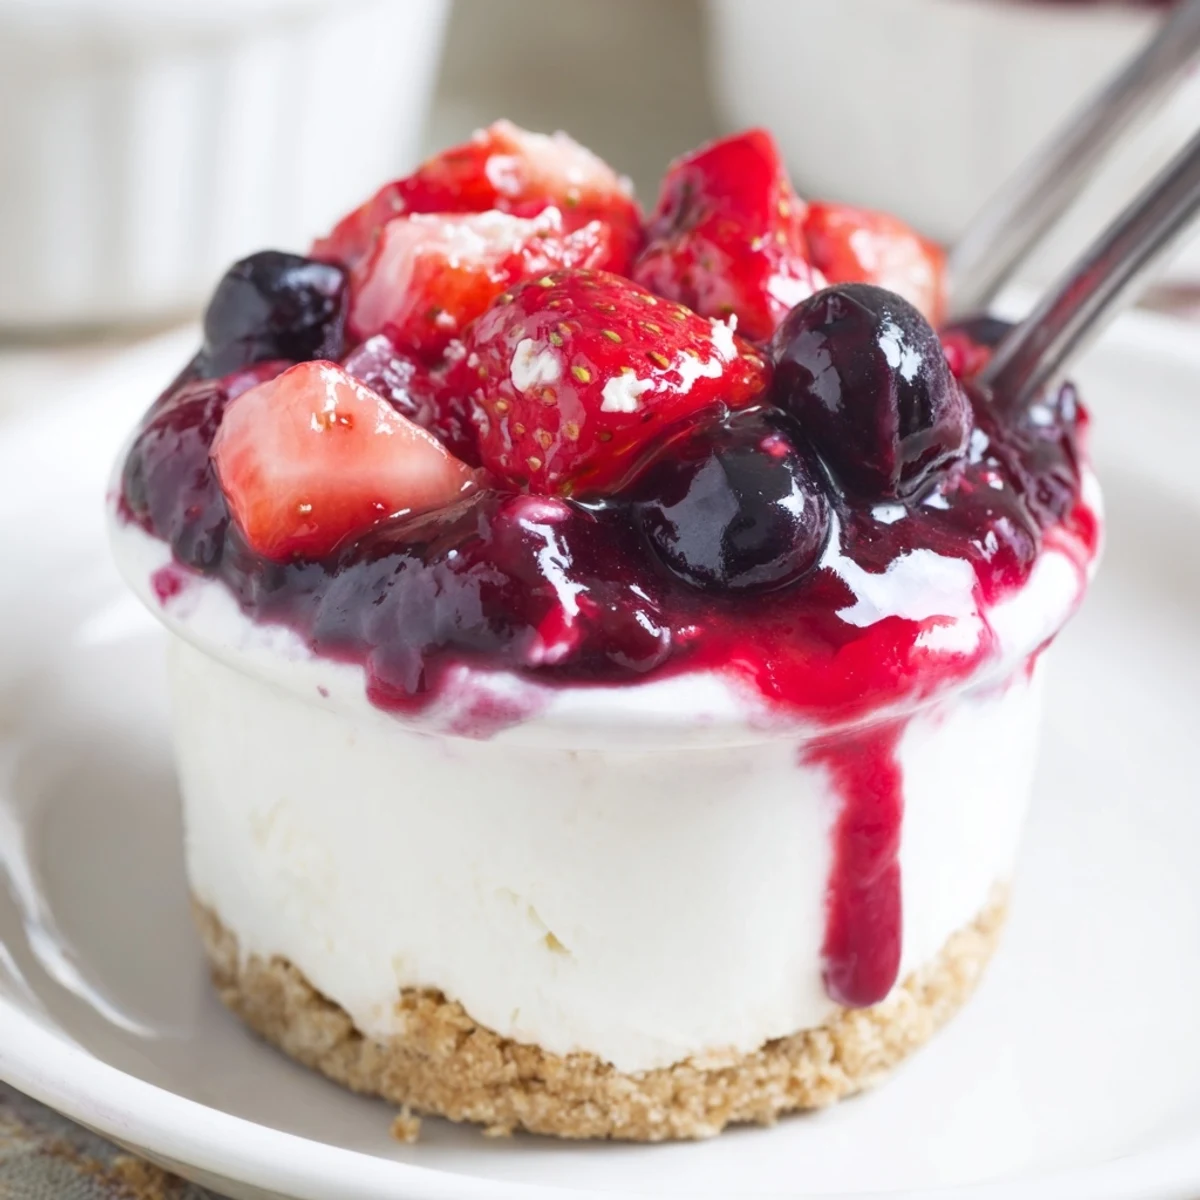 Save
Save When my sister visited after a long trip, I handed her a chilled glass before she’d even dropped her bags. We sat on the stoop and shared stories and cheesecake, the berry juice staining our spoons and making us laugh. Somehow, that no-bake dessert felt like the welcome-home we both needed.
Finding Your Favorite Berry Mix
Use whatever berries look best at the market or in your fridge—one time I tossed in some blackcurrants for a tart kick, and it was a hit. If berries aren&apost in season, frozen ones can work in a pinch, just thaw and drain them first. The topping is all about what you love and what makes you smile.
The Tools That Make It Easy
You don&apost need fancy gadgets—just bowls, a whisk or mixer, and something to serve in. Repurposed jam jars, tiny bowls, or even mismatched teacups make this dessert feel as special or as casual as you want. It&aposs half the fun to build a little collection on the counter before you start.
Chilling for Success: Timing Matters
Patience transforms this cheesecake from good to unforgettable. Overnight chilling sets the filling until it&aposs sliceable by spoon, and the flavors deepen in the fridge. Trust me, it&aposs worth every minute of anticipation.
- If you&aposre short on time, 3 hours works, but texture is best after a full night.
- Cover your glasses with plastic wrap to prevent fridge odors seeping in.
- Let each person top their own just before serving for freshest berries.
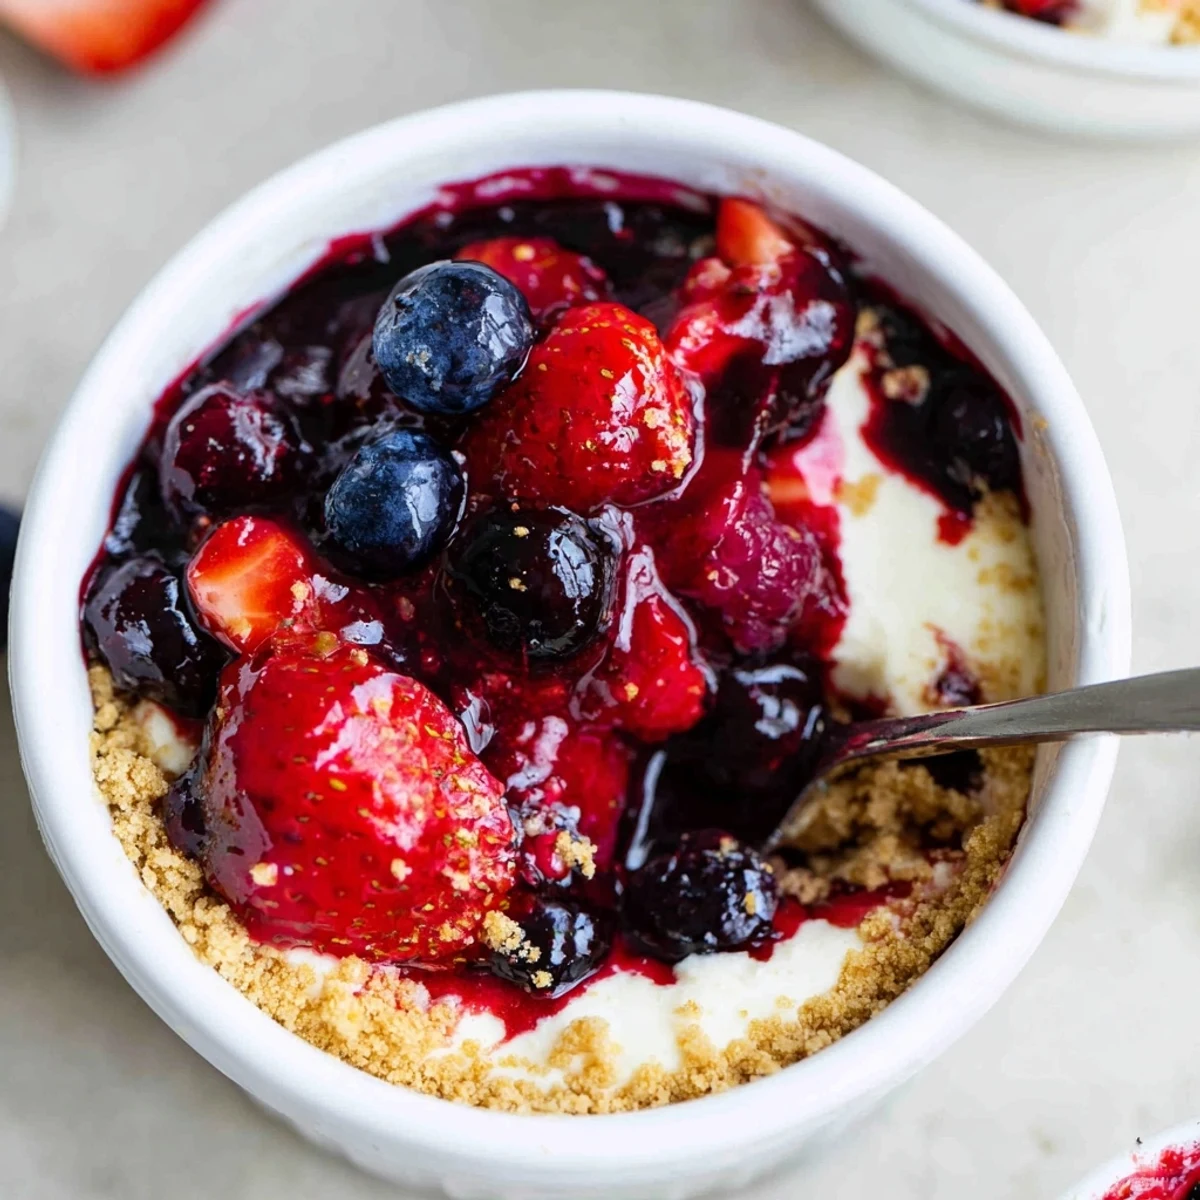 Save
Save There&aposs a quiet triumph in desserts this effortless that delight every time. I hope yours disappears just as quickly from the table.
Common Recipe Questions
- → How long should these set in the fridge?
-
Chill for a minimum of 3 hours to allow the filling to firm up; overnight gives the best texture and flavor meld.
- → Can I use frozen berries for the topping?
-
Yes. Thaw and drain excess liquid, then toss with sugar and lemon juice; cook briefly if you prefer a thicker compote.
- → What’s the best way to get stiff peaks when whipping cream?
-
Use very cold cream and chilled bowls, start slow and increase speed, and stop as soon as peaks hold shape to avoid overwhipping.
- → How can I make a gluten-free base?
-
Swap graham or digestive biscuits for certified gluten-free biscuits or crushed gluten-free cookies; combine with melted butter the same way.
- → Any tips for smoother filling?
-
Beat cream cheese until completely smooth before adding sugar and vanilla, then fold in whipped cream gently to retain air and a silky texture.
- → Can these be prepared ahead for entertaining?
-
Yes—assemble up to 24 hours ahead and keep chilled. Add fresh berries just before serving for best presentation and texture.
