 Save
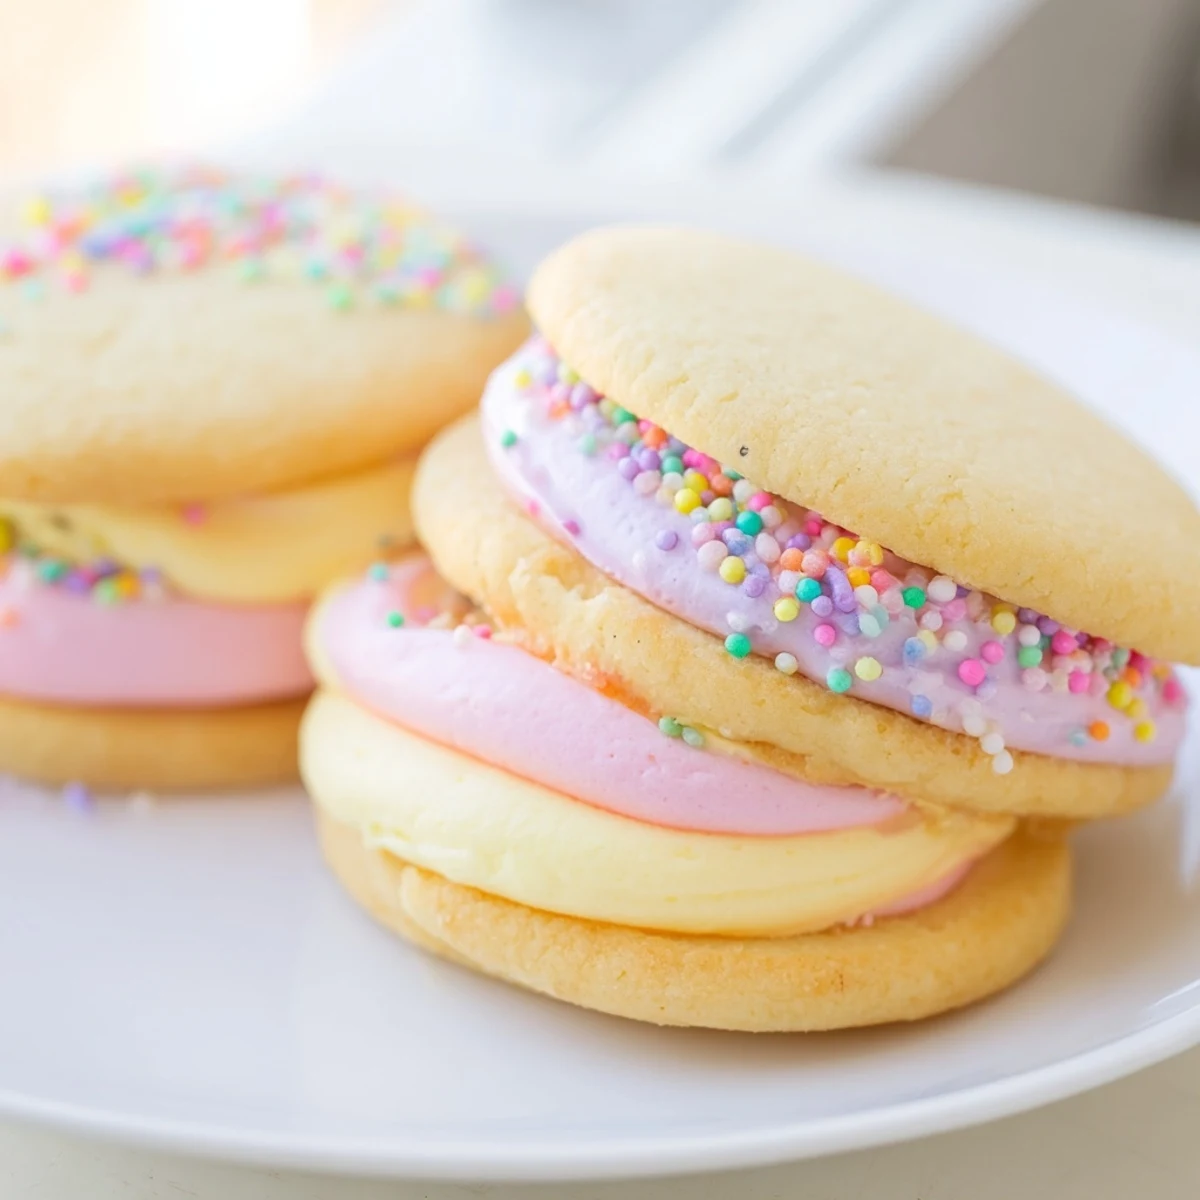
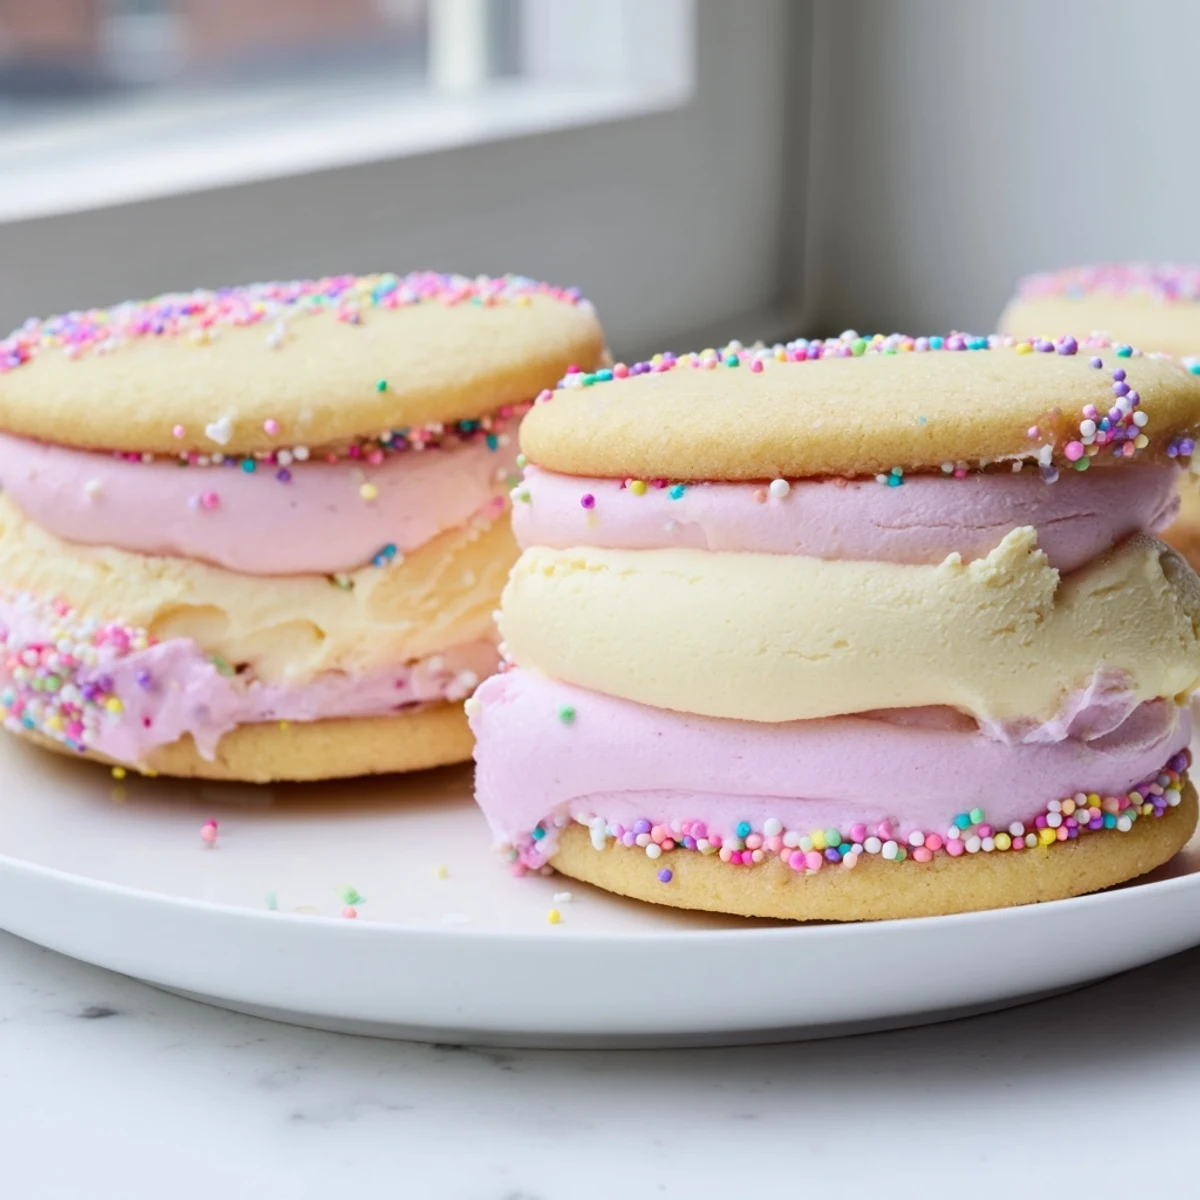
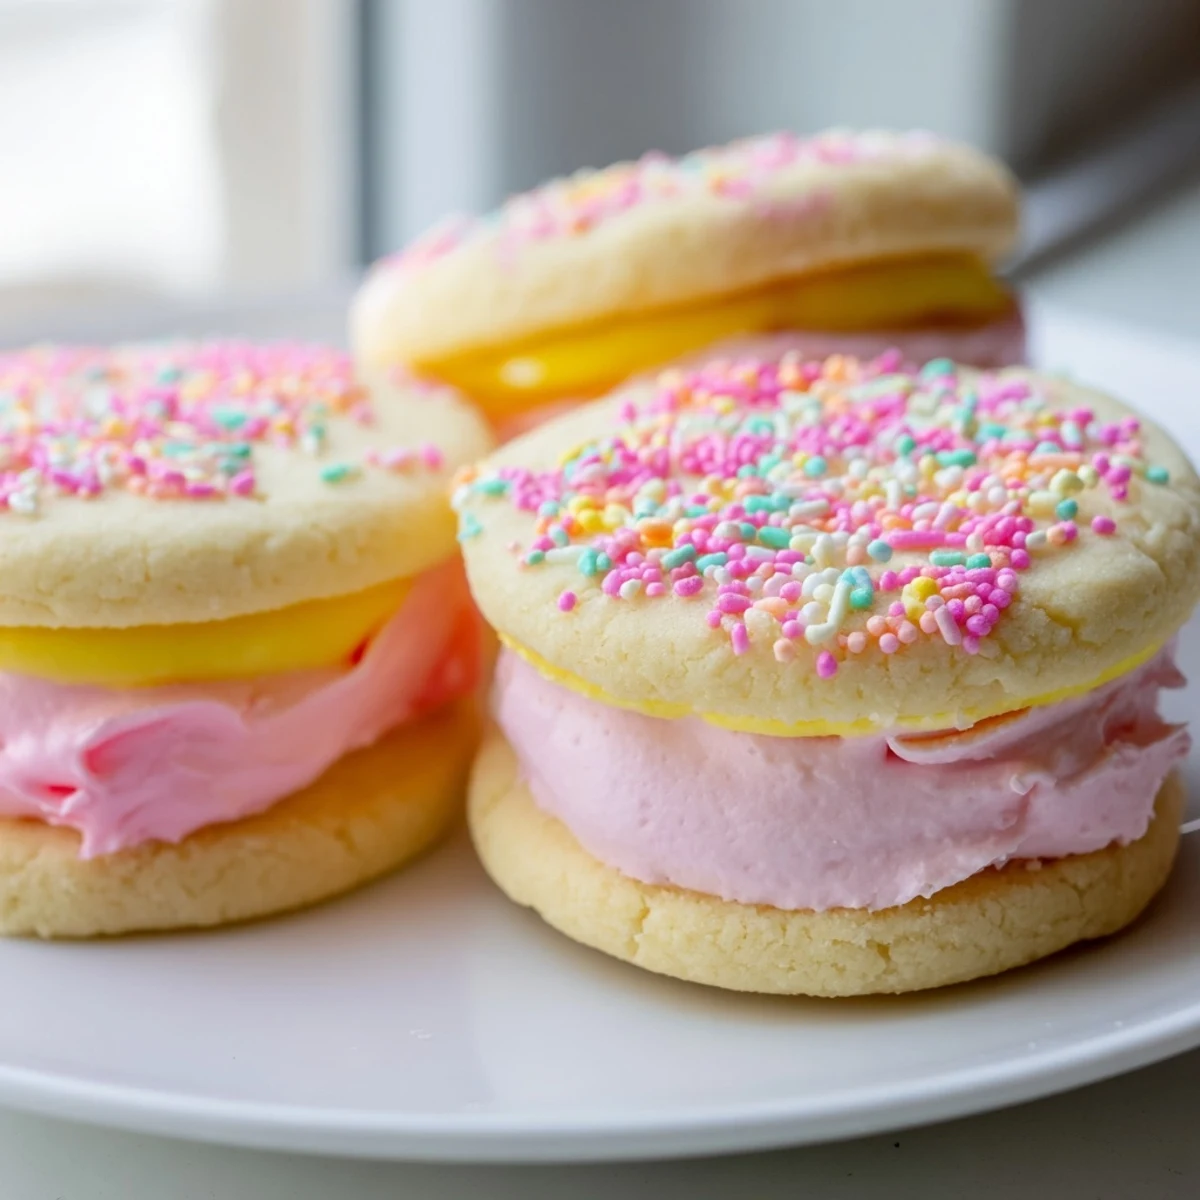
Save These tender sugar cookies feature a classic vanilla base rolled thin and baked until just golden at the edges. The magic happens in the filling—creamy buttercream tinted in soft pastel shades of pink, yellow, green, blue, or purple.
The dough requires chilling for optimal texture, so plan ahead. When rolling, aim for an even ¼-inch thickness to ensure uniform baking. The buttercream comes together quickly and divides easily into small bowls for coloring.
Assembly is straightforward: spread or pipe the colorful frosting onto half the cooled cookies, then gently press remaining cookies on top. For extra whimsy, roll the exposed edges in pastel sprinkles before the frosting sets.
These handheld treats store beautifully for up to three days, making them perfect for preparing ahead of parties. The vanilla base adapts well to almond or lemon extracts if you want to vary the flavor profile while keeping the charming pastel aesthetic.
The kitchen was already covered in a fine dusting of flour when my youngest declared we needed something happy for the gray spring afternoon. I pulled out the food coloring gels I'd been hoarding and suddenly those ordinary sugar cookies became tiny edible rainbows. There is something genuinely joyful about pastel buttercream peeking out between two golden cookies.
I first made these for a friend's baby shower and watched three different people ask for the recipe while still holding their half-eaten cookies. Since then they have become my go-to when I need something that feels special without requiring professional decorating skills.
Ingredients
- All-purpose flour: Provides the tender structure that keeps these cookies from spreading too thin
- Baking powder: Just enough to give the cookies a subtle lift without making them cakey
- Salt: Balances the sweetness and makes all the flavors pop
- Unsalted butter: Room temperature butter is crucial for proper creaming with the sugar
- Granulated sugar: Creates the classic crisp edges and tender center we love in sugar cookies
- Egg: Binds everything together and adds richness
- Pure vanilla extract: The backbone of flavor that pairs beautifully with any buttercream variation
- Unsalted butter for filling: Make sure it is softened but not melting for the smoothest buttercream
- Powdered sugar: Sifting first prevents those dreaded lumps in your frosting
- Milk: Adjust this to get your ideal buttercream consistency
- Pastel gel food coloring: Gel colors give vibrant results without thinning the frosting
Instructions
- Whisk the dry ingredients:
- In a medium bowl combine the flour baking powder and salt until well blended
- Cream the butter and sugar:
- Beat the butter and sugar for 2 to 3 minutes until the mixture looks pale and fluffy
- Add the egg and vanilla:
- Mix until everything comes together into a smooth uniform batter
- Incorporate the flour:
- Add the dry ingredients gradually and stop mixing as soon as you no longer see dry streaks
- Chill the dough:
- Divide the dough in half flatten into discs wrap and refrigerate for at least 30 minutes
- Prepare for baking:
- Preheat your oven to 350°F and line two baking sheets with parchment paper
- Roll and cut:
- Roll the dough to ¼ inch thickness and cut rounds with a 2 inch cutter spacing them 1 inch apart
- Bake to perfection:
- Bake for 8 to 10 minutes until the edges just begin to turn golden then cool completely
- Make the buttercream:
- Beat the butter until creamy then gradually add powdered sugar milk vanilla and salt until fluffy
- Color the frosting:
- Divide the buttercream into small bowls and tint each with a different pastel gel color
- Assemble the sandwiches:
- Spread or pipe buttercream on half the cookies and top with the remaining cookies
- Let them set:
- Wait 20 minutes for the filling to firm up slightly before serving
 Save
Save My daughter now requests these for every school celebration and has started suggesting new color combinations for each holiday. Watching her carefully choose which color sandwich to eat first has become one of those small happy moments I treasure in the kitchen.
Making The Perfect Pastel Colors
Start with a tiny amount of gel coloring on a toothpick because you can always add more but cannot take it back. I keep a small piece of white paper nearby to test the color against white before committing it to the buttercream.
Rolling Tips For Success
Work with one dough disc at a time keeping the other in the refrigerator so it does not become too soft to handle. If the dough starts to stick pop it back in the fridge for ten minutes and resume rolling.
Serving And Storage Suggestions
These cookies actually taste better after sitting for a few hours because the buttercream softens the cookie interiors slightly.
- Stack them carefully between sheets of parchment paper in an airtight container
- Let them come to room temperature before serving if refrigerated
- Consider wrapping individual cookies in clear bags for party favors
 Save
Save May your kitchen be filled with flour dust and happy moments whenever you make these little treats.
Common Recipe Questions
- → How long should I chill the cookie dough?
-
Refrigerate the dough for at least 30 minutes wrapped in plastic. This step is crucial—it prevents the cookies from spreading too much in the oven and makes rolling easier. You can chill up to overnight if needed.
- → Can I use liquid food coloring instead of gel?
-
Gel coloring works best because it won't thin out the buttercream. Liquid food coloring can alter the frosting consistency, making it too soft to hold its shape between the cookies. If you only have liquid, use it sparingly and add extra powdered sugar to compensate.
- → What's the best way to fill the cookies?
-
You can either spread the buttercream with a small offset spatula or pipe it using a piping bag fitted with a round tip. Piping gives more uniform results, while spreading is quicker. Either method works well—just ensure the filling isn't too thick or the sandwiches may slide apart.
- → How do I know when the cookies are done baking?
-
The cookies are ready when the edges just begin to turn golden, about 8–10 minutes. They should still appear slightly soft in the center. They'll firm up as they cool, so avoid overbaking or you'll lose that tender texture that makes them perfect for sandwiches.
- → Can I make these ahead of time?
-
Absolutely. The dough can be refrigerated for up to 2 days or frozen for a month. Baked cookies (without filling) store in an airtight container for 3 days. Once assembled, the sandwiches stay fresh for 3 days at room temperature. For best results, fill them the day you plan to serve.
- → What size cookie cutter works best?
-
A 2-inch round cutter creates the ideal proportion—substantial enough to hold filling while still being delicate and elegant. Larger cookies work but yield fewer sandwiches. Smaller ones become dainty tea cookies that disappear quickly. Stick to 2 inches for the classic sandwich experience.
