 Save
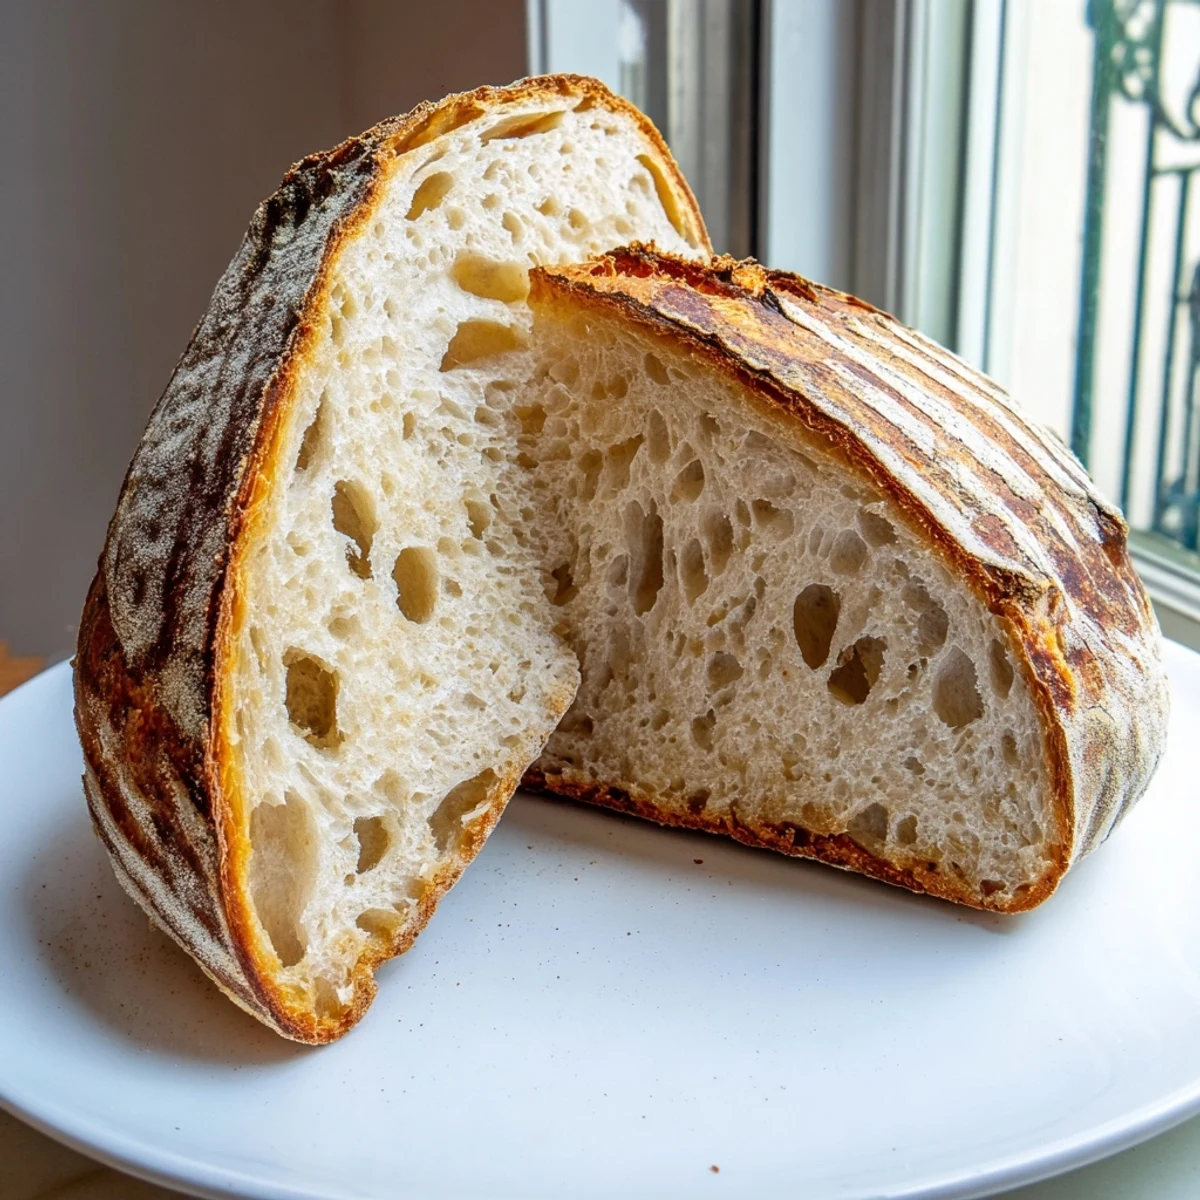
Save Master the art of traditional sourdough with this naturally fermented loaf featuring wild yeast. The process begins with autolyse, followed by strategic stretch-and-fold techniques during bulk fermentation that develop both structure and flavor. After an overnight cold proof, bake in a preheated Dutch oven to achieve that signature crackling crust and tender, airy interior. The result is a tangy, complex bread perfect for artisan sandwiches, toast, or simply enjoying with cultured butter.
My kitchen smelled like heaven the first morning I successfully baked sourdough. The crust crackled as it cooled, that singing sound bakers talk about, and I stood there just listening to my bread tell me it was ready. I had fed my starter for weeks, watching it bubble and grow, almost like a weird little pet I'd somehow become responsible for.
I brought my first successful loaf to a dinner party, still warm from the oven. My friend Sarah took one bite and looked at me like I'd revealed some ancient secret, asking how bread from a grocery store could ever compare again. That moment hooked me completely, this strange alchemy of patience and flour.
Ingredients
- Active sourdough starter: Feed it 8-12 hours before baking, it should double in size and pass the float test
- Bread flour: Higher protein content gives you that beautiful chewy crumb structure
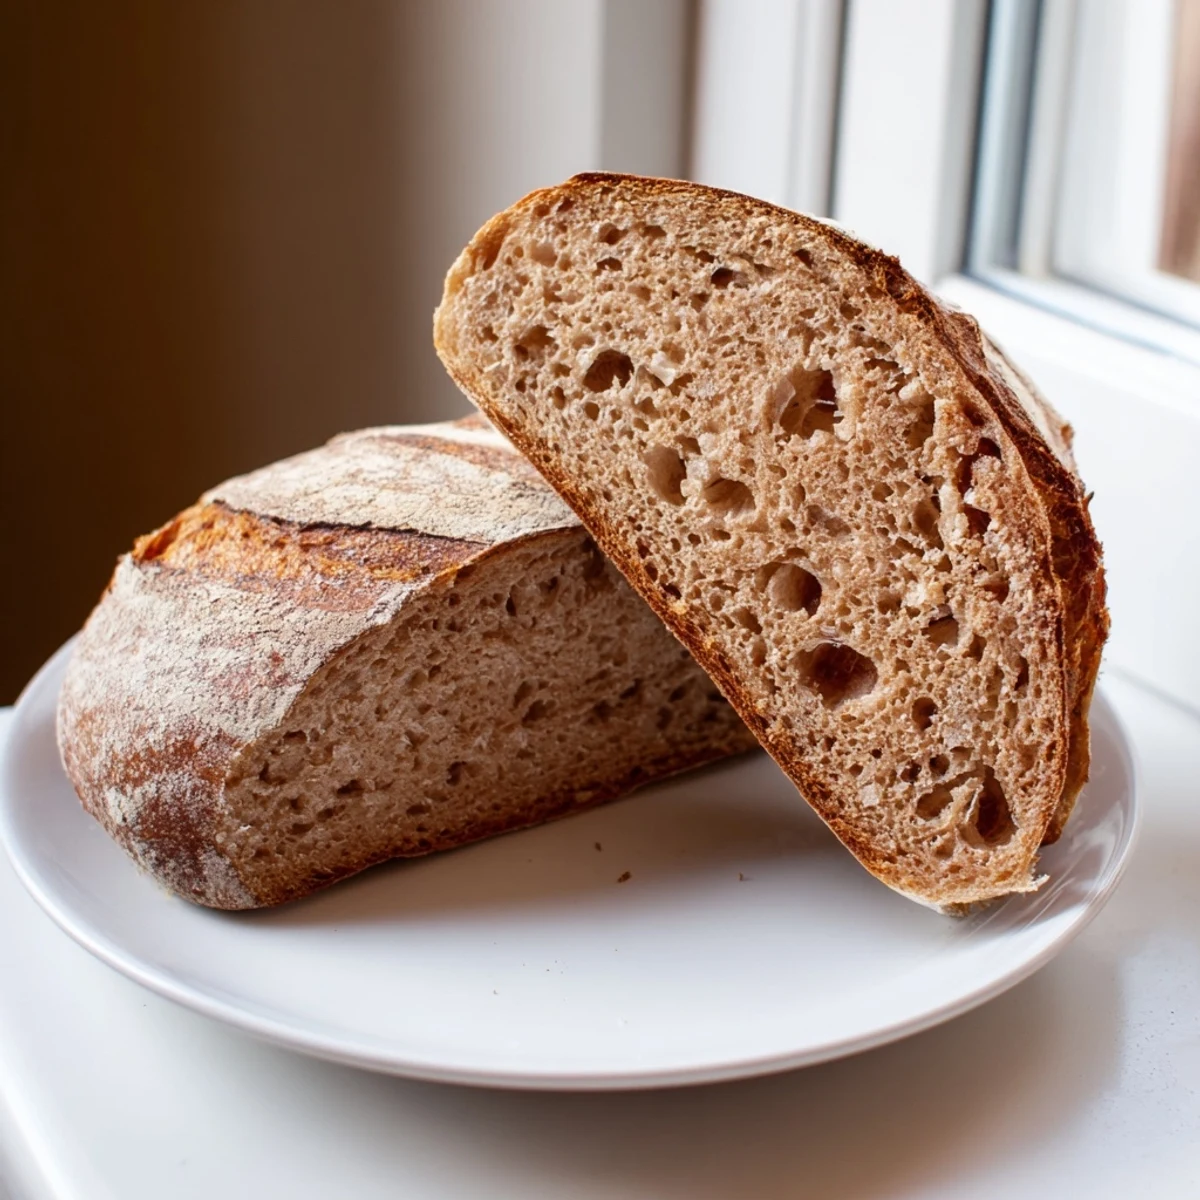
- Whole wheat flour: Adds depth and nuttiness, but keep it under 10% or your bread gets dense
- Water: Room temperature works best, too cold and fermentation slows down
- Sea salt: Don't skip this, it controls fermentation and deepens flavor
Instructions
- The autolyse rest:
- Mix your flours and water until shaggy, then walk away for an hour. This simple step lets gluten develop on its own, making your job easier later.
- Bring it together:
- Add starter and salt, squeezing the dough through your fingers until everything's incorporated. It'll feel sticky and weird, but trust the process.
- The stretch and fold:
- Every 30-45 minutes, grab one side of the dough and pull it up high, then fold it over itself. Do this four times around the bowl.
- Pre-shape gently:
- Turn dough onto a floured surface, fold edges toward the center to create tension, then flip over and let it rest for 20 minutes.
- Final shaping:
- Create surface tension by folding the dough tight like a burrito, then place it seam-side up in your proofing basket.
- Proofing patience:
- Let it rise until a gentle poke with your finger springs back slowly. Rushing this step gives you dense bread.
- Oven prep matters:
- Heat your Dutch oven at 250°C for 30 minutes minimum. That steam chamber is what creates artisan crust.
- The big moment:
- Invert dough onto parchment, score with a confident slash, and bake covered for 20 minutes before removing the lid.
- Final bake:
- Reduce heat to 220°C and bake another 25 minutes until deep golden. Cool completely or you'll squish those precious air pockets.
 Save
Save Now I keep a jar of starter in my fridge, this living thing I've nurtured through countless bakes and even one forgetful week where I nearly killed it. There's something profound about maintaining a sourdough starter, passing it down like bread bakers have done for generations.
Understanding Fermentation
Your dough is ready when it's grown by about 50% and looks puffy with tiny bubbles on the surface. I've learned that room temperature affects timing wildly, so watch your dough more than your clock. Under-proofed bread won't expand properly in the oven, while over-proofed loaves collapse and turn dense.
Steam Secrets
That Dutch oven creates a steam chamber that keeps your crust soft initially, allowing maximum oven spring. Without steam, your bread develops a crust too early and stays dense. If you don't have a Dutch oven, try placing a tray of ice cubes in the bottom of your oven while it preheats.
Storage Solutions
Homemade bread stale faster than store-bought because we lack commercial preservatives. I slice my loaves and freeze what I won't eat within two days, then toast slices straight from frozen.
- Store cut-side down on a cutting board for 1-2 days
- Never refrigerate bread, it stales six times faster
- Revive stale bread by sprinkling with water and reheating at 180°C for 10 minutes
 Save
Save There's no feeling quite like pulling a gorgeous golden loaf from your oven, knowing you created something from almost nothing. Happy baking, and may your crust always sing.
Common Recipe Questions
- → What makes sourdough different from regular bread?
-
Sourdough relies on wild yeast and beneficial lactic acid bacteria naturally present in flour, rather than commercial yeast. This slow fermentation creates tangy flavor, improves digestibility, and produces a distinctive chewy texture with superior keeping qualities.
- → How do I know when my starter is active enough?
-
An active starter should be bubbly, doubled in volume 4-6 hours after feeding, and have a pleasant slightly sour aroma. When you drop a spoonful into water, it should float. This indicates sufficient yeast activity for leavening.
- → Why is the dough folded during bulk fermentation?
-
Stretching and folding strengthens gluten structure without vigorous kneading. Each fold redistributes yeast, incorporates oxygen, and aligns protein strands. This creates the open crumb structure and excellent oven spring that characterize artisan loaves.
- → Can I skip the overnight proof in the refrigerator?
-
You can proof at room temperature for 2-3 hours, but refrigeration develops superior flavor. The cold slows fermentation, allowing enzymes to break down starches and proteins. This creates deeper complexity, better texture, and more pronounced tanginess.
- → Why bake in a Dutch oven?
-
A preheated Dutch oven creates a miniature steam chamber. Trapped steam keeps the crust flexible initially, allowing dramatic oven spring. Once the lid is removed, dry heat creates a thick, crackling crust that gives artisan bread its signature appearance and texture.
- → How should I store the finished loaf?
-
Wrap completely cooled bread in a cloth or paper bag and store at room temperature for up to 3 days. Avoid plastic, which makes the crust tough. For longer storage, slice and freeze. Refresh room-temperature pieces in a 350°F oven for 10 minutes.
