 Save
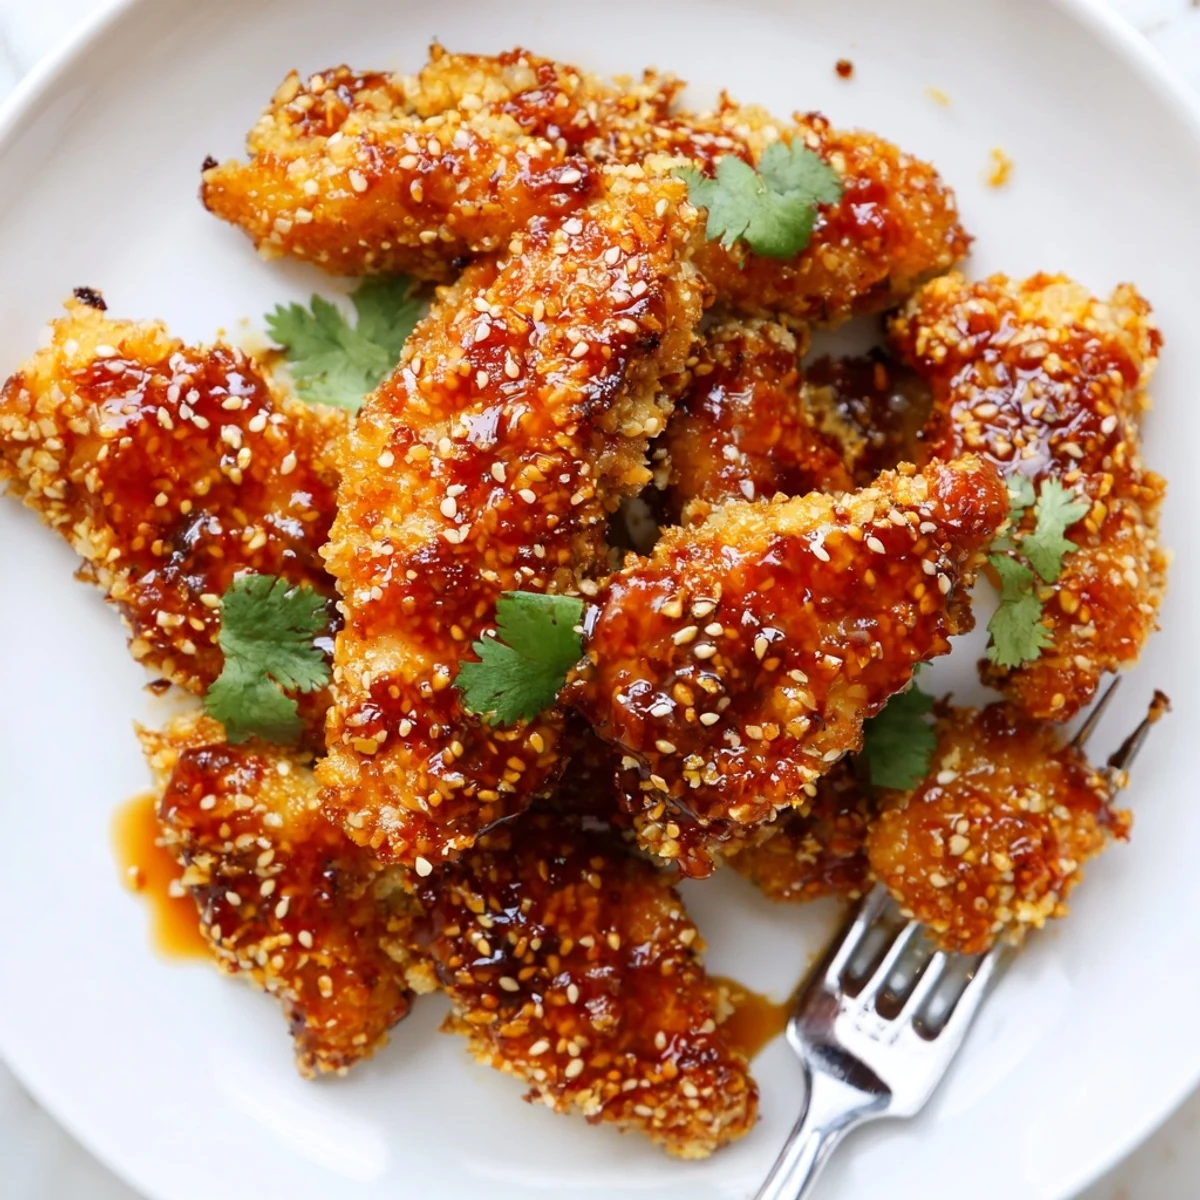
Save These Thai sticky chicken fingers feature tender strips of chicken coated in crispy panko breadcrumbs, then tossed in a luscious sweet chili and honey glaze.
The sauce brings together soy sauce, rice vinegar, Sriracha, garlic, and fresh ginger for a balance of sweet, tangy, and mildly spicy flavors.
Ready in just 40 minutes, they work beautifully as a party appetizer or a satisfying main dish paired with jasmine rice and fresh vegetables.
The sizzle of chicken hitting a hot pan on a rainy Tuesday evening is what convinced me this Thai sticky chicken fingers recipe was going to be a permanent fixture in my kitchen. My neighbor had just dropped off a bottle of homemade sweet chili sauce and challenged me to do something interesting with it. Three batches later, my family was fighting over the last few pieces and I was already texting her to ask for the recipe. That was two years ago and I have not stopped making them since.
I made a double batch for my daughters swim team end of season potluck and watched a platter of sixty chicken fingers vanish in under ten minutes. One parent pulled me aside to ask if I catered, which I found hilarious considering I was standing there in a faded apron with sauce on my elbow. The kids went back for thirds until there was nothing left but sesame seeds on an empty plate.
Ingredients
- Chicken: 600 g boneless skinless chicken breasts or thighs cut into strips, thighs stay juicier but breasts work beautifully too.
- Salt and pepper: half a teaspoon of salt and a quarter teaspoon of black pepper for seasoning the flour.
- All purpose flour: 1 cup for the first coating layer, this helps the egg adhere properly.
- Eggs: 2 large eggs beaten, the bridge between flour and breadcrumbs that holds everything together.
- Panko breadcrumbs: 1 cup, the secret to that shatteringly crispy exterior that soaks up sauce without going soft immediately.
- Vegetable oil: 2 tablespoons for drizzling or spraying on the chicken before baking.
- Sweet chili sauce: one third of a cup, the fruity backbone of the entire sticky glaze.
- Honey: a quarter cup, balances the heat and gives the sauce that gorgeous glossy finish.
- Soy sauce: 2 tablespoons, adds depth and saltiness that rounds everything out.
- Rice vinegar: 2 tablespoons, a gentle tanginess that keeps the sweetness from becoming cloying.
- Sriracha: 1 tablespoon optional, but I always include it for that slow warm burn at the back of your throat.
- Garlic: 2 cloves minced, fresh is non negotiable here for the best flavor punch.
- Fresh ginger: 1 teaspoon grated, it brightens the whole sauce in a way ground ginger never could.
- Toasted sesame oil: 1 tablespoon, this is the flavor that makes people close their eyes when they take the first bite.
- Fresh cilantro: 2 tablespoons finely chopped plus more for garnish, it adds a fresh herbal contrast to the richness.
- Sesame seeds: 1 tablespoon for garnish, mostly for looks but they add a nice little crunch too.
Instructions
- Set up your cooking station:
- Preheat your oven to 220 degrees Celsius or 425 degrees Fahrenheit, line a baking sheet with parchment paper, and lightly grease it or set a wire rack on top for maximum air circulation.
- Build your breading assembly line:
- Arrange three shallow bowls side by side with seasoned flour in the first, beaten eggs in the second, and panko in the third so you can move quickly without making a mess of your counters.
- Coat each strip with care:
- Dredge every chicken piece through flour first shaking off excess, then dip it fully into egg, and finally press it firmly into panko making sure every surface is covered for that even golden crust.
- Cook until gloriously golden:
- Arrange the coated strips on your prepared sheet, drizzle or spray with oil, and bake for 18 to 20 minutes flipping halfway through until the exterior is deeply golden and the chicken is cooked through.
- Simmer the sticky sauce:
- While the chicken cooks whisk together sweet chili sauce, honey, soy sauce, rice vinegar, Sriracha, garlic, ginger, and sesame oil in a saucepan over medium heat and let it bubble for 3 to 4 minutes until it thickens slightly and coats the back of a spoon.
- Bring it all together:
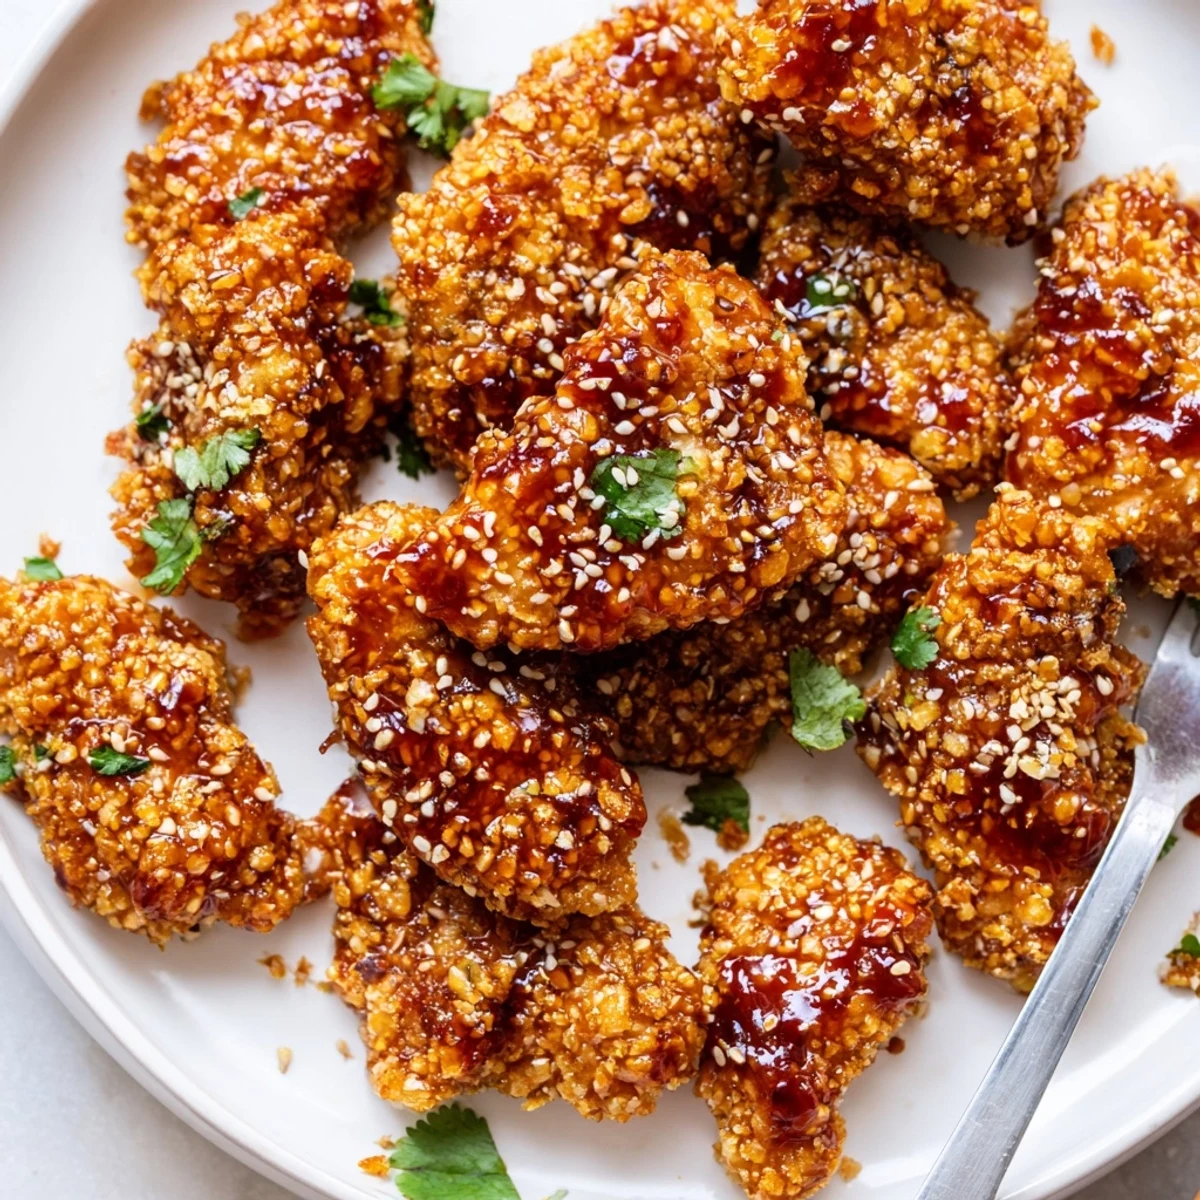
- Stir the chopped cilantro into the warm sauce, then toss the freshly cooked chicken fingers in until every piece is generously coated and glistening.
- Finish and serve:
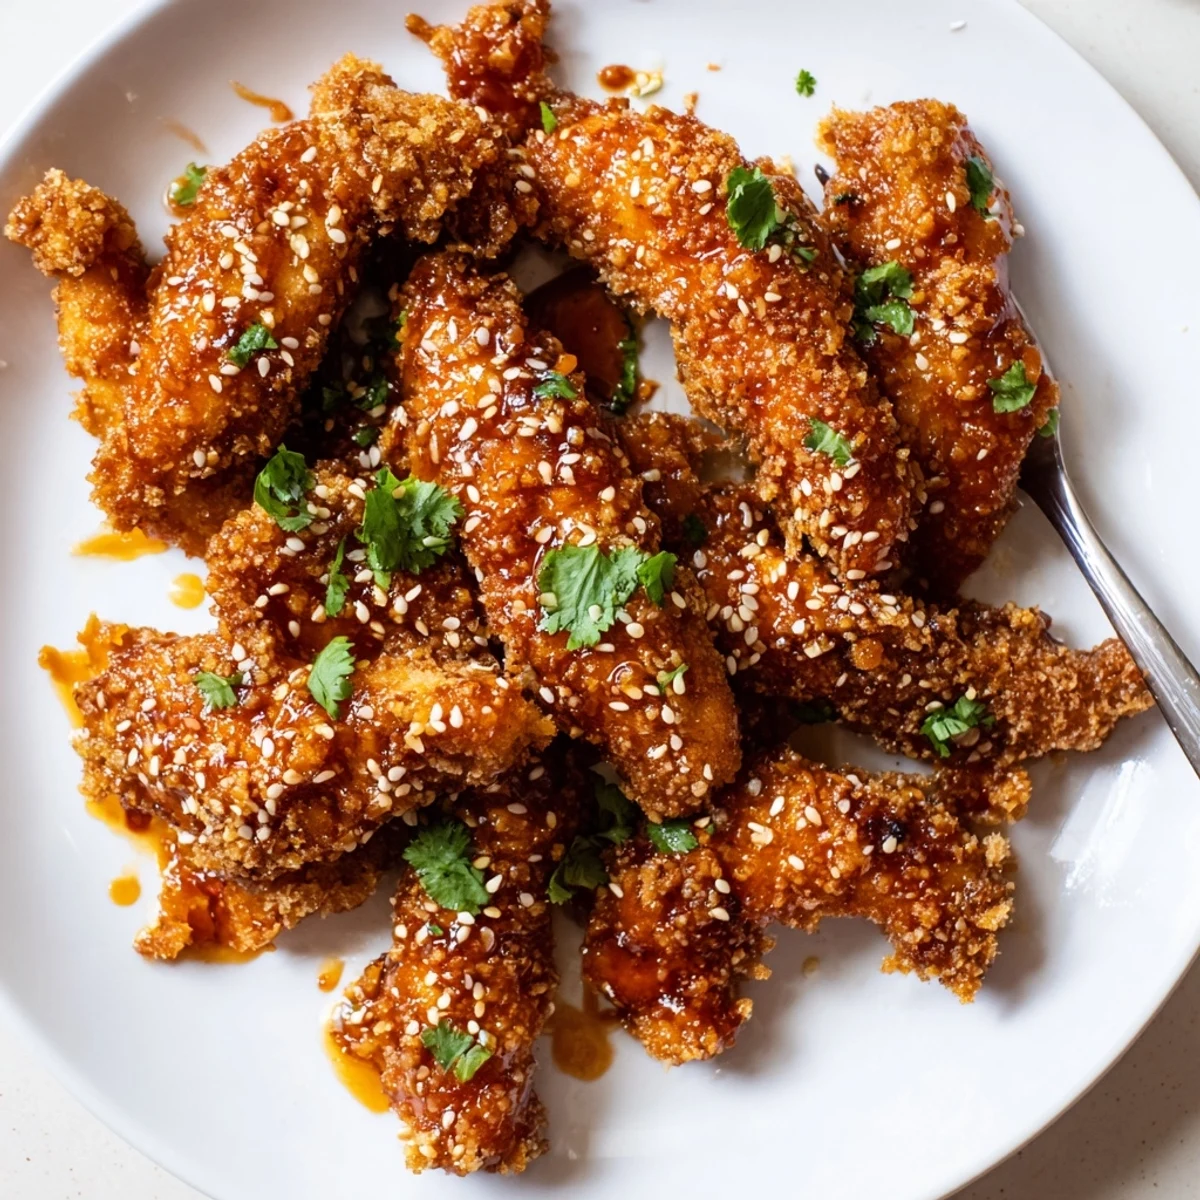
- Transfer to a platter, shower with extra cilantro and sesame seeds, and serve immediately while the contrast between the crispy coating and sticky sauce is at its absolute best.
 Save
Save There is something about a plate of these chicken fingers that turns a regular weeknight dinner into an event worth sitting down for. My husband has started setting the table with actual plates instead of paper ones whenever he sees me pulling out the panko, which I take as the highest compliment.
Serving Suggestions Worth Trying
Pile these next to a bowl of steamed jasmine rice and some quick pickled cucumbers and you have a meal that feels far more composed than the twenty minutes of effort suggests. They also disappear shockingly fast arranged on a wooden board with carrot sticks, bell pepper strips, and a little bowl of extra sauce for dipping.
Making Them Your Own
The beauty of this recipe is how forgiving it is once you understand the basic technique. I have swapped the honey for maple syrup when I was out, doubled the Sriracha for a friend who treats spice like a competitive sport, and even used leftover sauce as a glaze on salmon the next day. Trust your instincts and taste as you go because that is how the best versions of any recipe are born.
Getting Ahead and Storing Leftovers
You can bread the chicken strips hours in advance and keep them covered in the fridge which makes the actual cooking feel almost effortless at dinnertime. Leftovers reheat surprisingly well in an air fryer or hot oven for about five minutes though honestly I have rarely had any left over to test this.
- Freeze breaded uncooked strips on a sheet pan then transfer to a bag for up to three months of emergency appetizers.
- The sauce keeps in a jar in the refrigerator for a week and is delicious on practically everything.
- Always let the chicken rest for two minutes after cooking before tossing in sauce so the crust has a chance to set.
 Save
Save Every time I make these I think about that rainy evening and the bottle of sauce that started it all, and I smile knowing some of the best things in my kitchen came from a little spontaneity and a hungry family willing to eat my experiments.
Common Recipe Questions
- → Can I bake these chicken fingers instead of frying?
-
Yes, bake them at 220°C (425°F) for 18-20 minutes on a parchment-lined sheet, flipping halfway through. You can also use an air fryer at 200°C (390°F) for about 15 minutes. Both methods yield crispy results with less oil.
- → How do I adjust the spice level of the Thai sauce?
-
The Sriracha is optional, so you can omit it entirely for a milder sauce suited to kids. For more heat, increase the Sriracha to 2 tablespoons or add a pinch of red pepper flakes. The sweet chili sauce already provides a gentle warmth.
- → Can I make the sticky Thai sauce ahead of time?
-
Absolutely. Prepare the sauce up to 3 days in advance and store it in an airtight container in the refrigerator. Gently reheat it in a saucepan over low heat before tossing with the freshly cooked chicken fingers.
- → What should I serve with Thai sticky chicken fingers?
-
They pair wonderfully with steamed jasmine rice, fresh vegetable sticks like carrots and cucumbers, or a simple Asian slaw. For drinks, a crisp Riesling or a cold lager beer complements the sweet and tangy flavors perfectly.
- → How do I make this dish gluten-free?
-
Substitute the all-purpose flour with a gluten-free flour blend and use gluten-free panko breadcrumbs. Replace the soy sauce with tamari or coconut aminos. Always double-check labels on sweet chili sauce and Sriracha to confirm they are gluten-free as well.
- → Can I use chicken thighs instead of breasts?
-
Yes, boneless skinless chicken thighs work great and tend to stay juicier. Cut them into even strips similar in size to ensure uniform cooking. Adjust the cooking time by a minute or two if needed since thighs can be slightly thicker.
