 Save
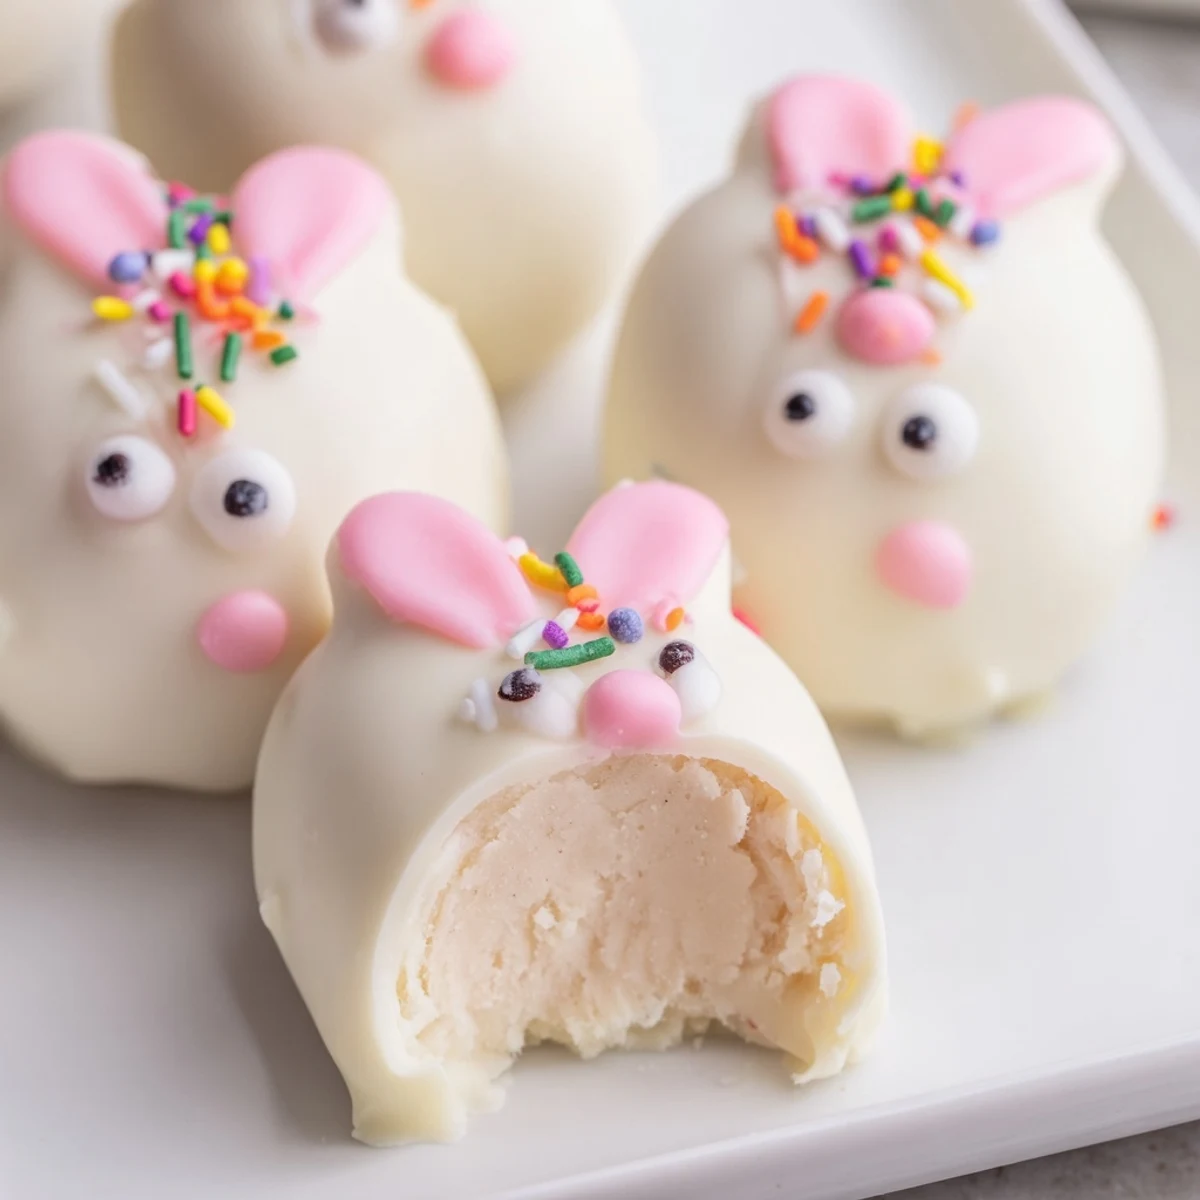
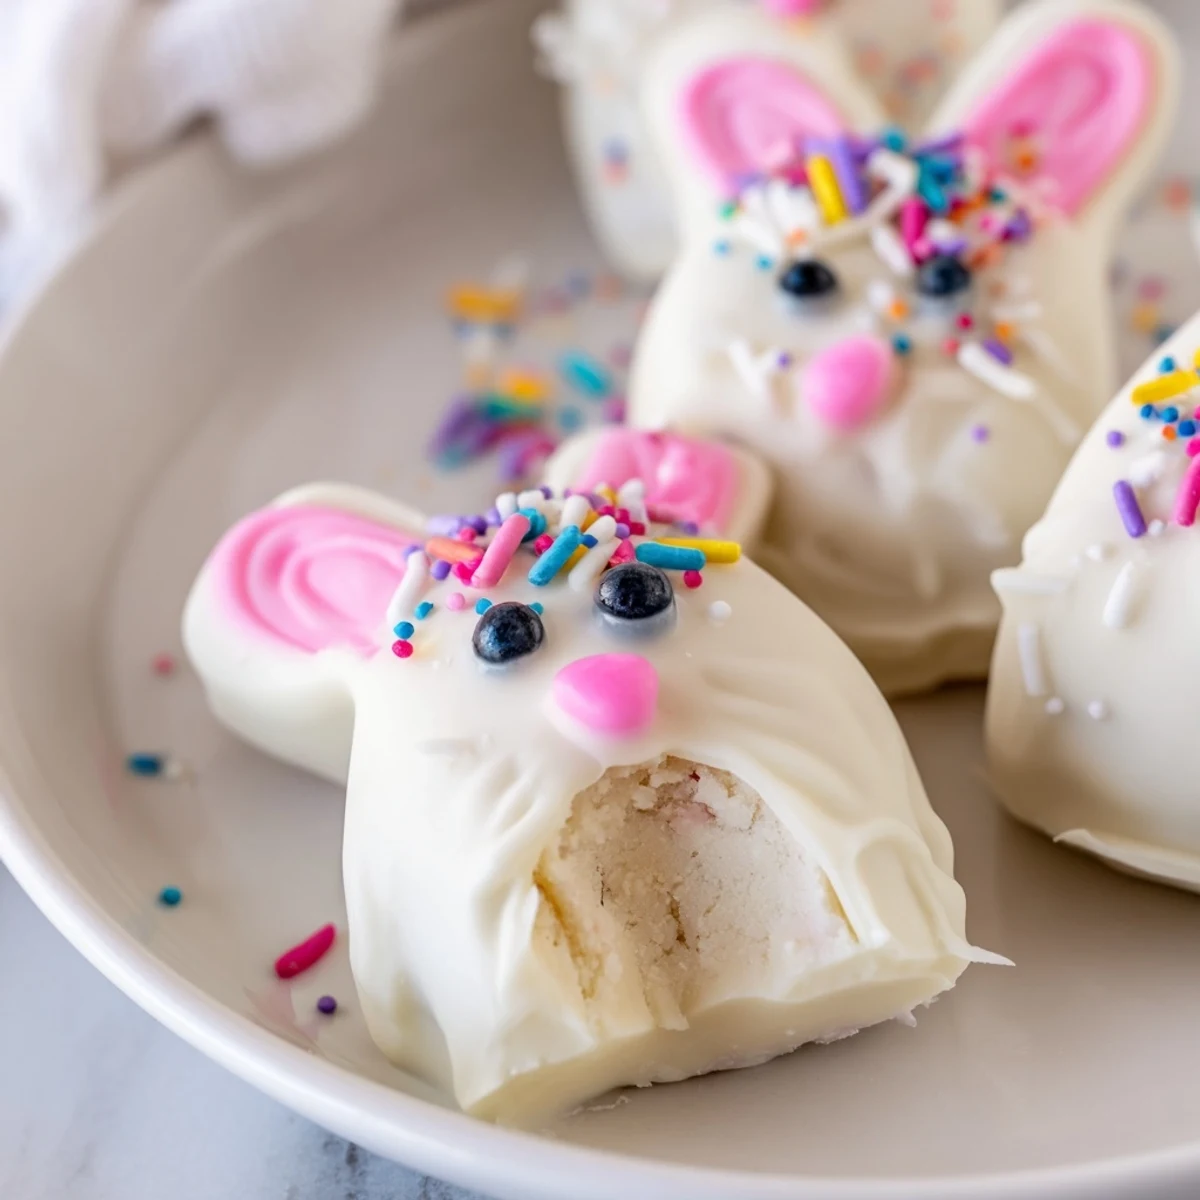
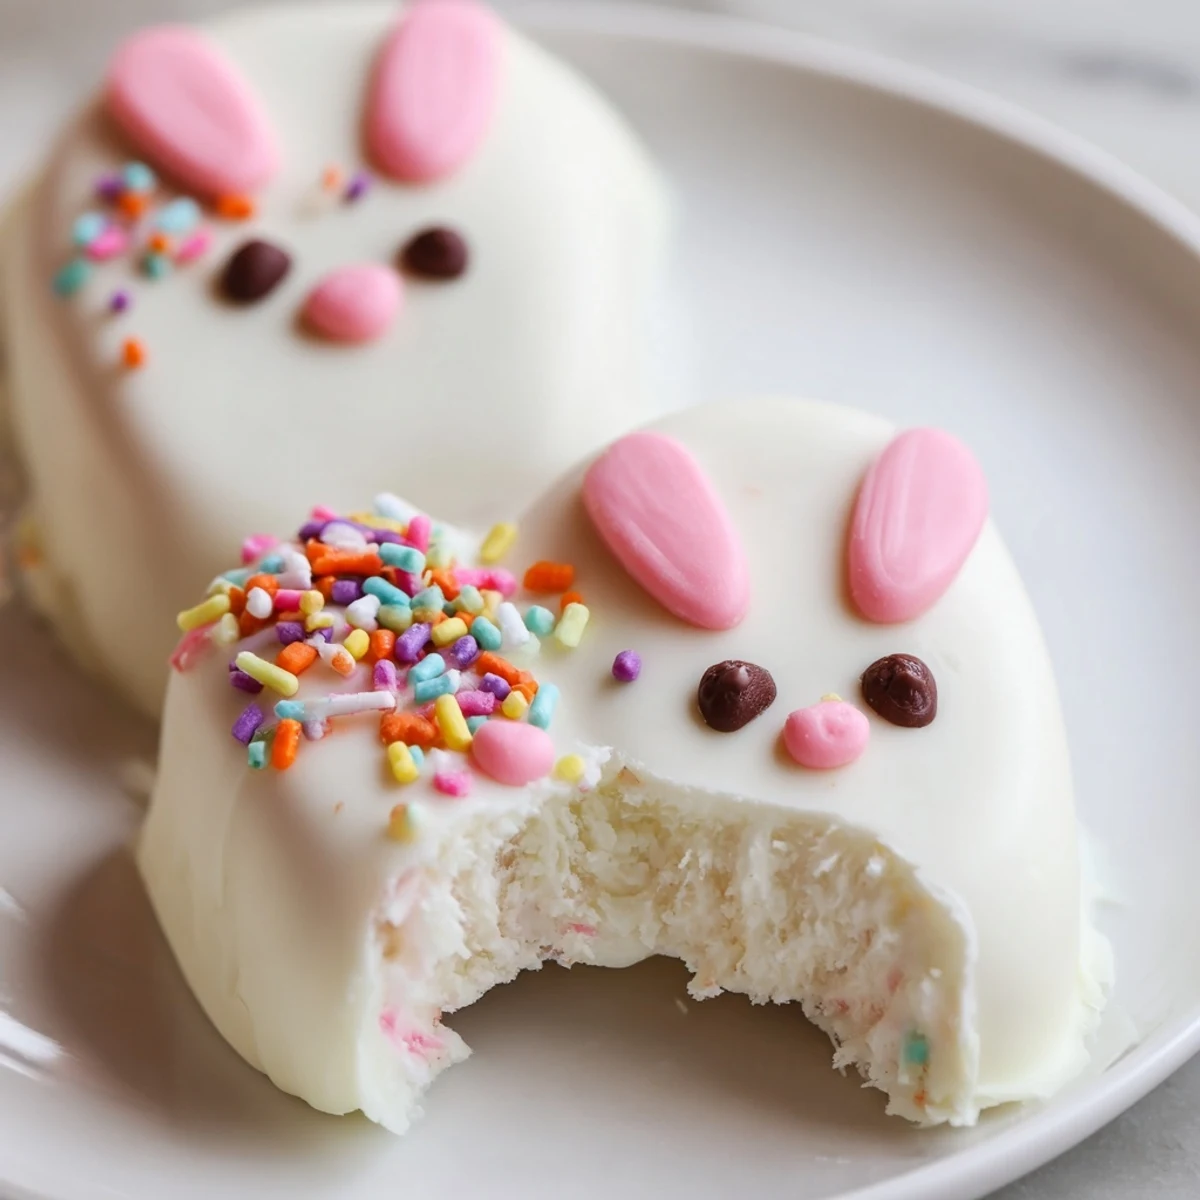
Save Create adorable bunny-shaped treats perfect for Easter celebrations. These white chocolate cakesicles combine moist vanilla cake with creamy frosting, shaped into festive bunnies and dipped in smooth white chocolate. Easy to make and customize with colorful decorations, they're ideal for spring gatherings, family activities, or edible gifts.
Last Easter my niece insisted we make something that could hop, so we spent a giggly afternoon shaping cake into these ridiculous white chocolate bunnies. By the third one, we had chocolate smudged on our noses and flour dusting the counters, but the pure joy on her face when she held up her lopsided creation was absolutely worth the mess.
I made these for a spring brunch last year and watched a grown man actually fight his sister over the last bunny ear. The decorations make each one unique, so somehow that makes them feel extra special and worth defending.
Ingredients
- Vanilla cake crumbs: Starting with cake instead of flour gives these treats the most incredibly moist, fudgy texture that feels like biting into a truffle
- Cream cheese and butter: This duo binds everything together into a perfectly moldable dough that still tastes indulgent and rich
- Powdered sugar: Just enough sweetness to balance the tanginess of the cream cheese without making the filling cloying
- White chocolate: The smooth coating creates that satisfying snap when you bite through to the soft cake center inside
- Cakesicle sticks: These transform the treats into something portable and fun to eat while keeping your fingers clean
Instructions
- Make the dough:
- Mix cake crumbs with cream cheese, butter, powdered sugar and vanilla until the mixture holds together when squeezed
- Shape your bunnies:
- Divide into 8 portions and press each into a flattened oval, gently pressing a stick into the center before chilling for 20 minutes
- Melt and coat:
- Melt white chocolate in 30 second bursts, stirring until smooth, then dip each chilled cake pop fully and tap off excess
- Decorate while wet:
- Add candy eyes, sprinkles, or fondant ears immediately so they stick to the soft chocolate, then let set completely
 Save
Save My first batch had me frantically wiping chocolate drips off the floor because I skipped the chilling step. Now I know better, and somehow those bumpy, imperfect first attempts still disappeared faster than the perfect ones.
Getting Creative With Shapes
You can absolutely skip the bunny shapes and make traditional rounds or even eggs for Easter. The flavor stays the same, but sometimes uniform shapes are faster when you are pressed for time or feeding a crowd.
Flavor Variations
Chocolate cake crumbs work beautifully here and create a cookies and cream vibe that kids especially love. Lemon cake adds a bright spring freshness that cuts through the sweet white chocolate coating perfectly.
Storage And Serving Tips
These actually taste better after a day in the fridge because the flavors meld together and the coating firms up nicely. Plan to make them the day before your celebration.
- Stand them up in a jar filled with sprinkles or sugar for an adorable display
- Wrap individually in clear bags tied with pastel ribbon for party favors
- Keep refrigerated until serving so the chocolate does not soften
 Save
Save There is something ridiculously satisfying about pulling a tray of these out of the fridge and seeing them all lined up with their cute little faces. Hope your Easter is filled with equally sweet moments.
Common Recipe Questions
- → How far in advance can I make these cakesicles?
-
You can prepare the cake mixture and shape the bunnies up to 2 days ahead, storing them tightly wrapped in the refrigerator. Dip and decorate within 24 hours of serving for the freshest appearance. Completed cakesicles stay fresh in the fridge for 3 days.
- → What's the best way to melt white chocolate without seizing?
-
Melt white chocolate slowly in 30-second bursts at 50% power, stirring thoroughly between each interval. Avoid overheating—white chocolate is sensitive and can seize easily. If it becomes too thick, add 1 teaspoon of vegetable oil to restore smooth consistency.
- → Can I make these without a cakesicle mold?
-
Absolutely! Hand-shaping flattened ovals works perfectly for bunny faces. Simply press the cake mixture into your desired shape, insert the stick, and chill until firm before dipping. The mold creates uniform shapes, but free-form bunnies have charming rustic appeal.
- → How do I prevent the sticks from falling out?
-
Ensure the cake mixture is thoroughly chilled before inserting sticks. Dip each stick tip in melted chocolate before pushing into the cakesicle—the chocolate acts as adhesive once set. Refrigerate for at least 30 minutes after shaping to firm everything before dipping.
- → What other cake flavors work well for these treats?
-
Chocolate cake creates stunning contrast with white chocolate coating. Lemon or strawberry cake adds bright spring flavors. Funfetti brings extra festivity with colorful sprinkles baked in. Red velvet offers dramatic visual appeal. Simply match your cake crumbs to your celebration theme.
