 Save
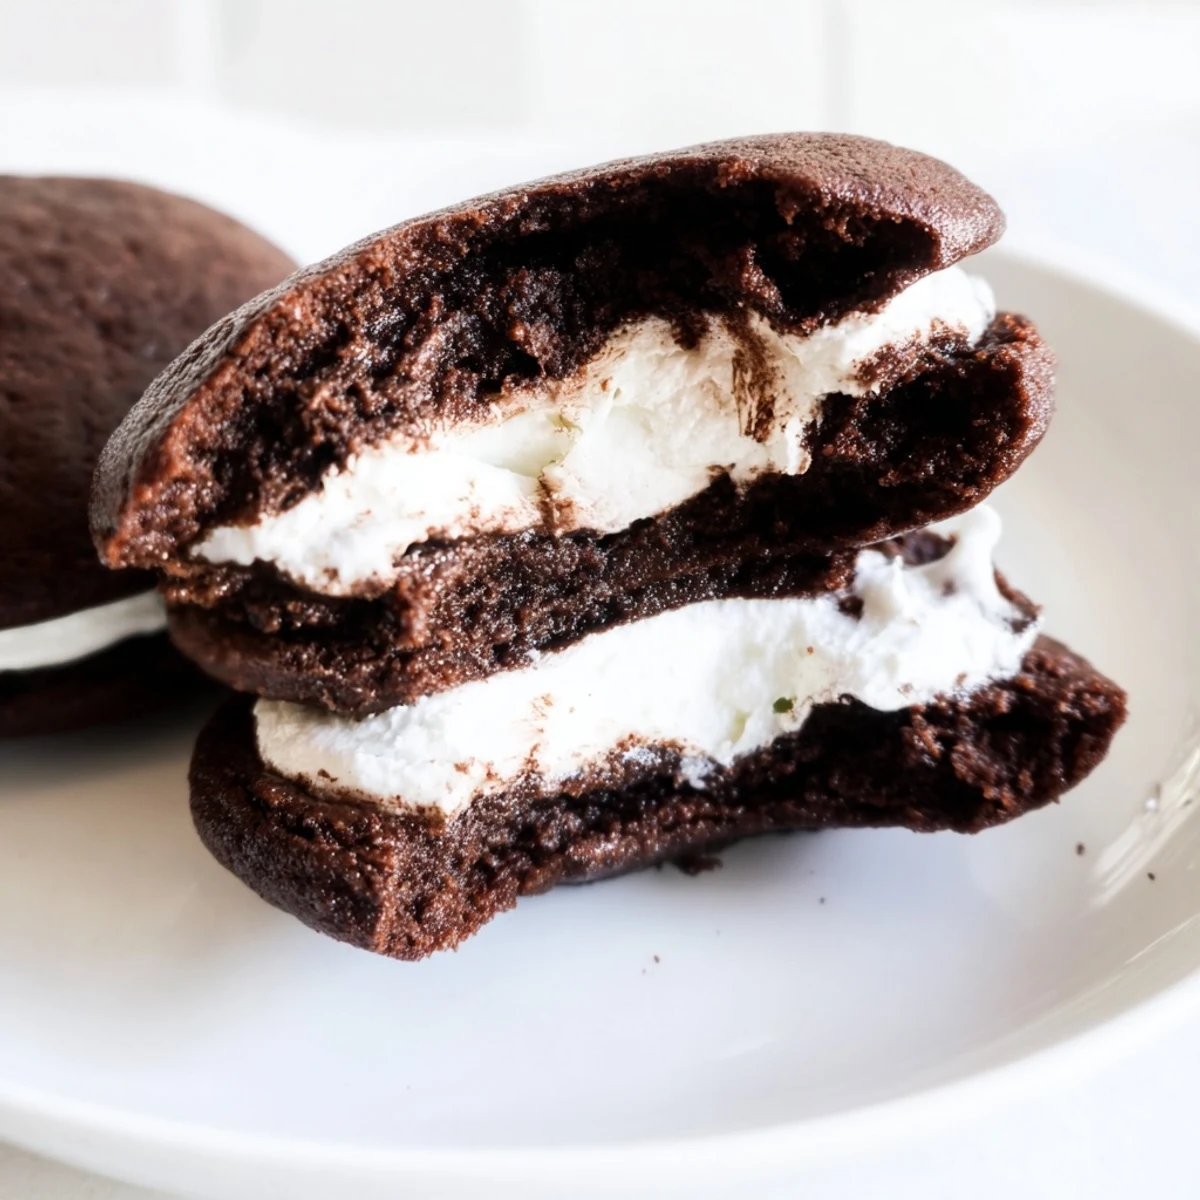
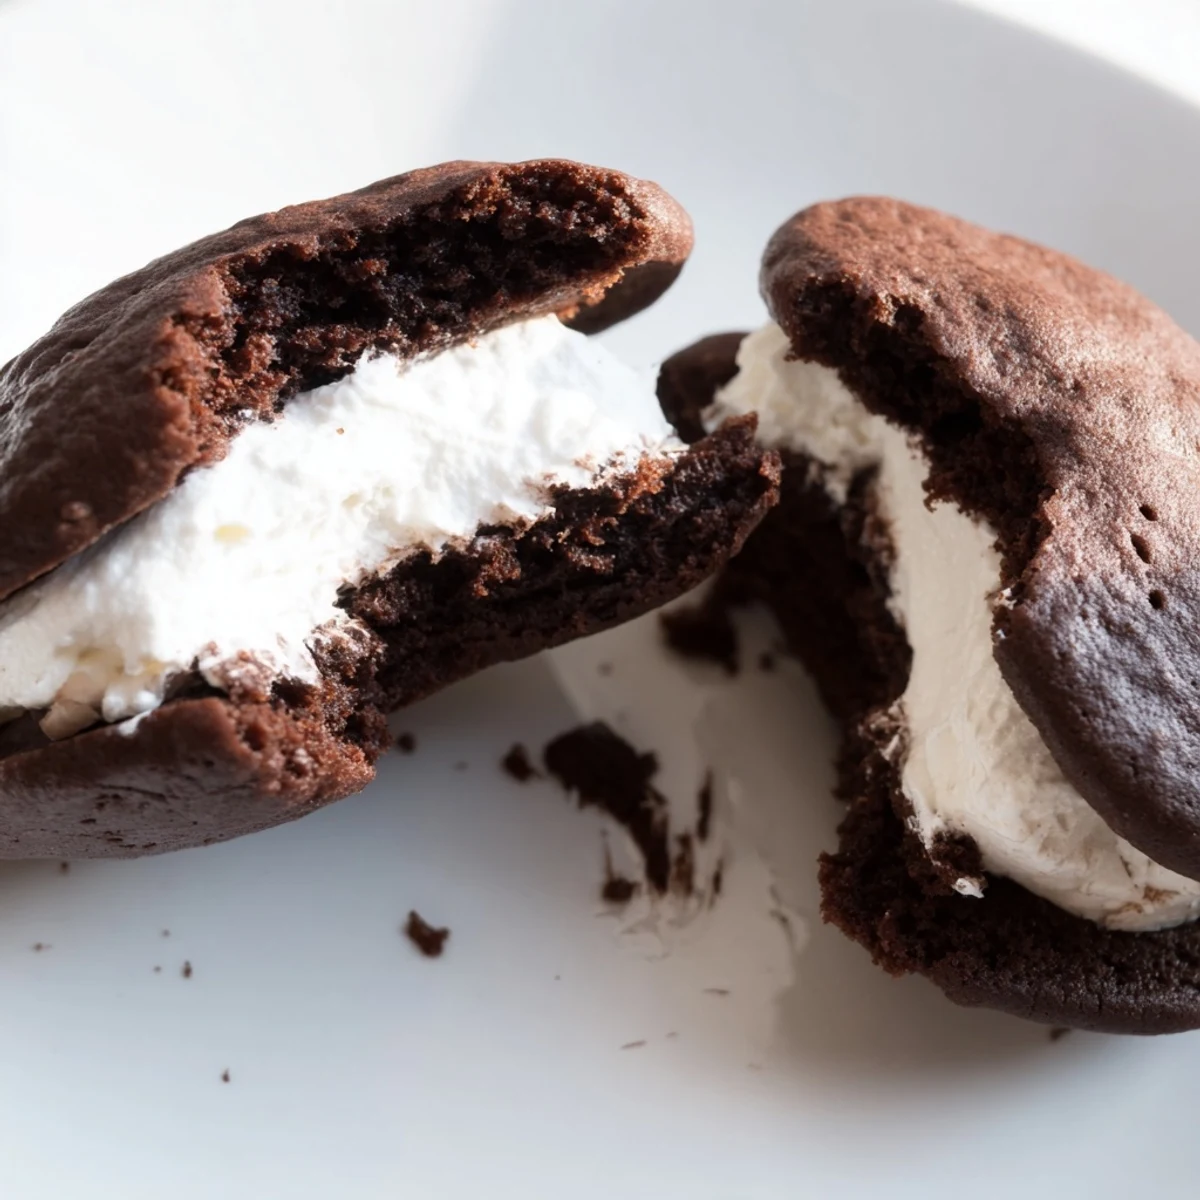
Save Create these beloved American treats featuring soft, cake-like chocolate cookies paired with a light and airy marshmallow filling. The combination of rich cocoa and sweet cream creates a perfectly balanced handheld dessert that's ideal for gatherings, bake sales, or everyday treats.
Preparation comes together in under an hour, yielding ten sandwich cookies that store beautifully for days. The chocolate shells stay moist thanks to buttermilk, while the marshmallow filling provides that signature fluffy texture.
The first time I made whoopie pies, I accidentally made the cookies way too big and ended up with sandwich cookies the size of my face. My family still talks about that afternoon, laughing as we tried to take bites of these monstrous treats.
Last summer, I brought a batch to a potluck and watched them disappear within minutes. My friends sister actually asked if she could take some home for her kids, and I felt like the ultimate dessert hero.
Ingredients
- All-purpose flour: The structure builder that keeps these cookies soft but sturdy enough to hold the filling
- Unsweetened cocoa powder: Use a good quality brand here because it really makes or breaks the chocolate flavor
- Baking soda: This is what gives the cookies their characteristic dome and cakey rise
- Salt: Never skip salt in chocolate desserts it balances and intensifies the cocoa
- Granulated sugar: Cream this thoroughly with butter for that perfect cookie texture
- Unsalted butter: Let it come to room temperature naturally for the smoothest results
- Large egg: Bring this to room temperature too so it incorporates evenly into the batter
- Buttermilk: The secret ingredient that makes these cookies incredibly tender and moist
- Vanilla extract: Pure vanilla makes a noticeable difference in the final flavor
- Unsalted butter for filling: Soften this completely so you get that perfectly smooth fluffy texture
- Powdered sugar: Sift this first to avoid any lumps in your silky smooth filling
- Marshmallow creme: Do not use homemade marshmallows here the jar stuff works best
- Vanilla extract: A little extra vanilla in the filling ties everything together beautifully
- Pinch of salt: Just enough to make the filling taste complete without being salty
Instructions
- Getting your oven ready:
- Preheat your oven to 350°F and line two baking sheets with parchment paper for easy cleanup and perfect cookies every time.
- Whisking the dry ingredients:
- In a medium bowl, combine the flour, cocoa powder, baking soda, and salt until well blended.
- Creaming butter and sugar:
- Beat the butter and sugar in a large bowl for about 2 minutes until its noticeably lighter and fluffy.
- Adding the egg:
- Add your egg and beat until completely incorporated into the butter mixture.
- Adding liquid ingredients:
- Mix in the buttermilk and vanilla. Do not panic if the mixture looks curdled or separated this is completely normal.
- Combining everything:
- Gradually add the dry ingredients to the wet ingredients and mix until just combined do not overmix.
- Scooping the cookies:
- Drop rounds of batter onto your prepared baking sheets using about 2 tablespoons per cookie, leaving 2 inches between them.
- Baking to perfection:
- Bake for 10 to 12 minutes until the tops spring back when you press them gently.
- Cooling completely:
- Let the cookies cool completely on a wire rack because warm cookies will melt your filling.
- Making the marshmallow filling:
- Beat the butter until creamy, then add powdered sugar and beat smooth. Mix in the marshmallow creme, vanilla, and salt until fluffy.
- Assembling your whoopie pies:
- Spread or pipe filling onto half the cookies and top with remaining cookies to create sandwiches.
 Save
Save My niece now requests these for every family gathering, and I have learned to make double batches because they disappear faster than I can plate them.
Making Them Ahead
I love that I can bake the cookies a day ahead and store them in an airtight container. The filling comes together in minutes so I can assemble them right before serving.
Getting The Size Right
After my giant cookie incident, I bought a cookie scoop and it changed everything. Consistent size means even baking and picture perfect whoopie pies every time.
Perfect Pairings
These are fantastic with a cold glass of milk or a cup of coffee. The contrast between the rich chocolate and creamy filling just begs for something to wash it down.
- Try adding a drop of peppermint extract to the filling for holiday whoopie pies
- Roll the edges in mini chocolate chips or sprinkles for a birthday party version
- If you need a buttermilk substitute mix one cup milk with one tablespoon vinegar and let sit five minutes
 Save
Save There is something so satisfying about that first bite when the marshmallow filling squishes out the sides a little. Pure happiness in cookie form.
Common Recipe Questions
- → What makes whoopie pies different from regular cookies?
-
Whoopie pies feature a soft, cake-like texture rather than crisp cookies. The chocolate shells are moist and tender, similar to sponge cake, which creates the perfect base for the fluffy marshmallow filling.
- → How should I store these?
-
Keep assembled whoopie pies in an airtight container at room temperature for up to 3 days. For longer storage, freeze unfilled cookies and add fresh marshmallow filling before serving.
- → Can I make the filling ahead of time?
-
Yes, prepare the marshmallow filling up to 2 days in advance and refrigerate. Let it come to room temperature before assembling to ensure smooth spreading.
- → What if I don't have buttermilk?
-
Substitute with 1 cup regular milk mixed with 1 tablespoon lemon juice or white vinegar. Let the mixture sit for 5 minutes until slightly thickened before using.
- → Why did my batter look curdled?
-
This is completely normal when combining buttermilk with butter and eggs. The batter will smooth out once dry ingredients are added and the result will be perfectly moist.
- → Can I add flavors to the filling?
-
Absolutely! Try adding peppermint extract for a minty version, or roll the filled edges in mini chocolate chips, sprinkles, or crushed nuts for extra texture and visual appeal.
