 Save
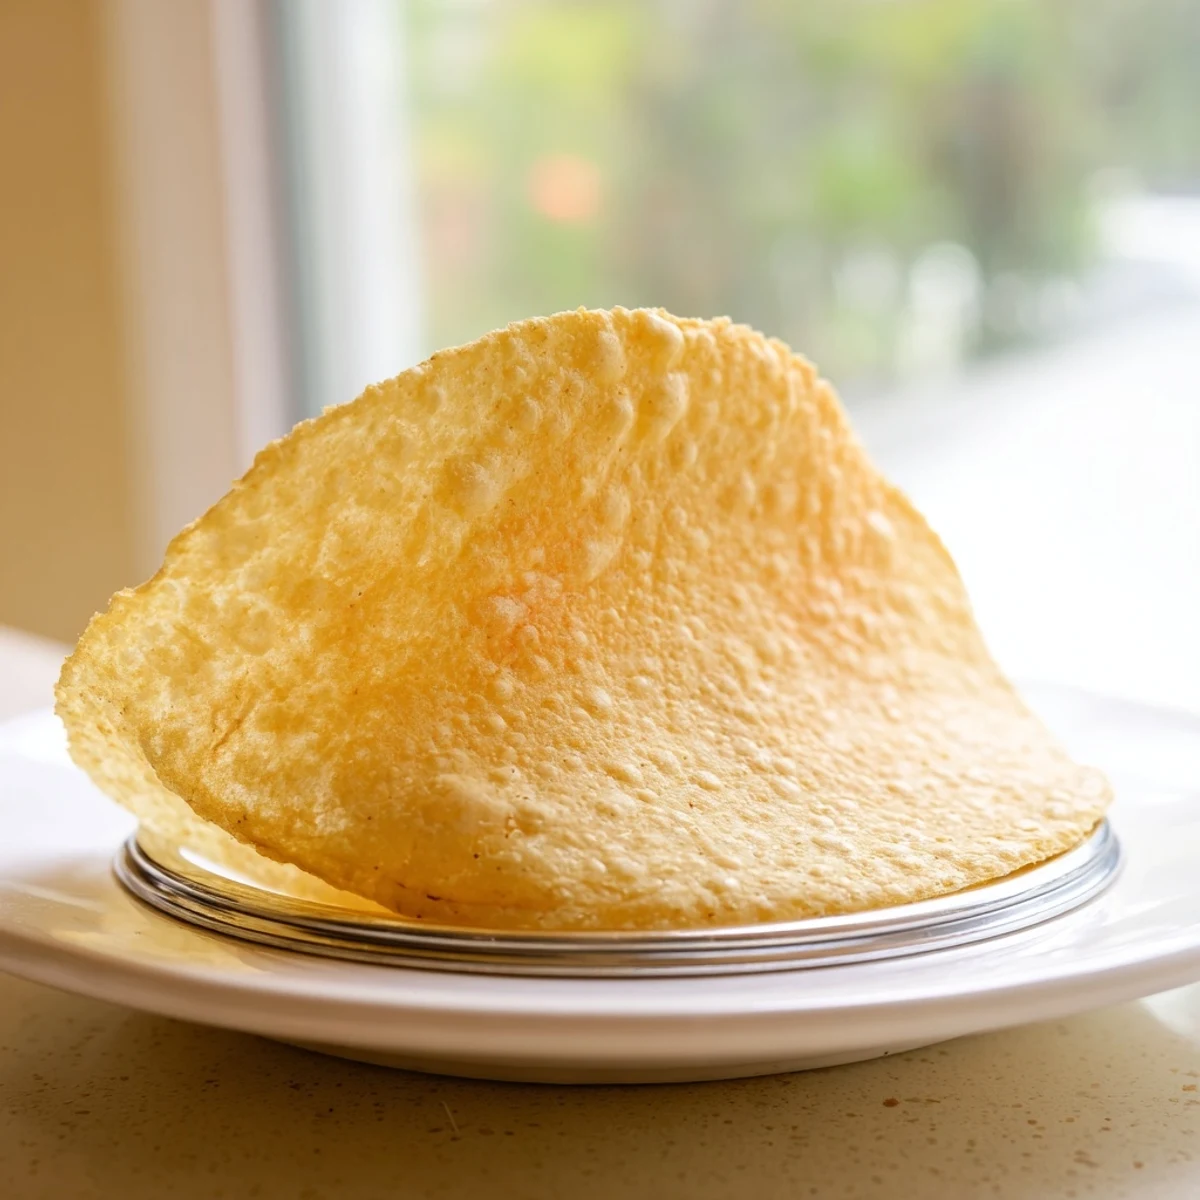
Save These golden-brown crispy shells offer a light and crunchy base ideal for a variety of dishes from tacos to desserts. Made from simple dry and wet ingredients, the dough is rolled thin and deep-fried until perfectly crisp. Sweet or savory options can be achieved by adjusting spices like cinnamon or smoked paprika. Ready in under 30 minutes, these shells bring a delightful texture and flavor to any filling, enhancing your culinary creations with ease and versatility.
There's a particular magic that happens when you watch a flat circle of dough transform into something crispy and hollow in just seconds of hot oil. I discovered that magic while experimenting with ways to make crispy vessels that could hold anything I wanted them to—savory fillings one night, sweet ice cream the next. The sound of that first shell crackling as it cooled on paper towels told me I'd found something special.
I remember making a batch on a random Tuesday evening when a friend dropped by hungry and skeptical about my promise of "homemade crispy shells." Watching their face when they bit into one, feeling that satisfying crunch before the filling, made me realize this wasn't just a recipe—it was a moment I could create whenever I wanted.
Ingredients
- All-purpose flour: This is your foundation, creating structure as the dough fries and puffs. Make sure it's fresh and store-bought—old flour won't develop the same way.
- Salt: Just a quarter teaspoon anchors the flavor so nothing tastes bland or one-dimensional.
- Sugar: Add this only if you're heading toward sweet fillings like ice cream or fruit; it caramelizes slightly as the shell fries, adding depth.
- Water: Keeps your dough hydrated enough to roll thin without cracking; it's not about having lots of liquid, but just enough.
- Vegetable oil for mixing: Two tablespoons in the dough keeps everything tender and helps it fry up light instead of dense.
- Vegetable oil for frying: One full cup ensures your oil stays at a consistent temperature and your shells fry evenly without absorbing excess oil.
Instructions
- Mix Your Dry Ingredients:
- Grab a medium bowl and whisk the flour, salt, and sugar together with just a few strokes—this aerates the flour slightly and makes sure salt and sugar distribute evenly rather than creating pockets of saltiness.
- Build the Dough:
- Pour your water and the two tablespoons of oil into the bowl slowly while stirring, watching for the moment when a shaggy dough forms. You're not making bread dough here; this should come together quickly without much resistance.
- Knead Gently:
- Work it briefly on a floured surface—about two minutes—until it's smooth and no longer sticky to the touch. Over-kneading will make your shells tough, so stop the moment it feels silky.
- Portion into Balls:
- Divide your dough into eight equal pieces and roll each into a smooth ball. This makes it easier to roll thin circles without tearing.
- Roll Paper-Thin:
- Using a rolling pin, stretch each ball into a circle about six inches across—thin enough that you can almost see light through it, but not so thin it tears when you pick it up. A little flour on your work surface and the pin prevents sticking.
- Heat Your Oil:
- Bring one cup of vegetable oil to 350°F (175°C) in a deep skillet. If you have a thermometer, use it; if not, test with a tiny piece of dough—it should sizzle immediately but not smoke.
- Shape as You Fry:
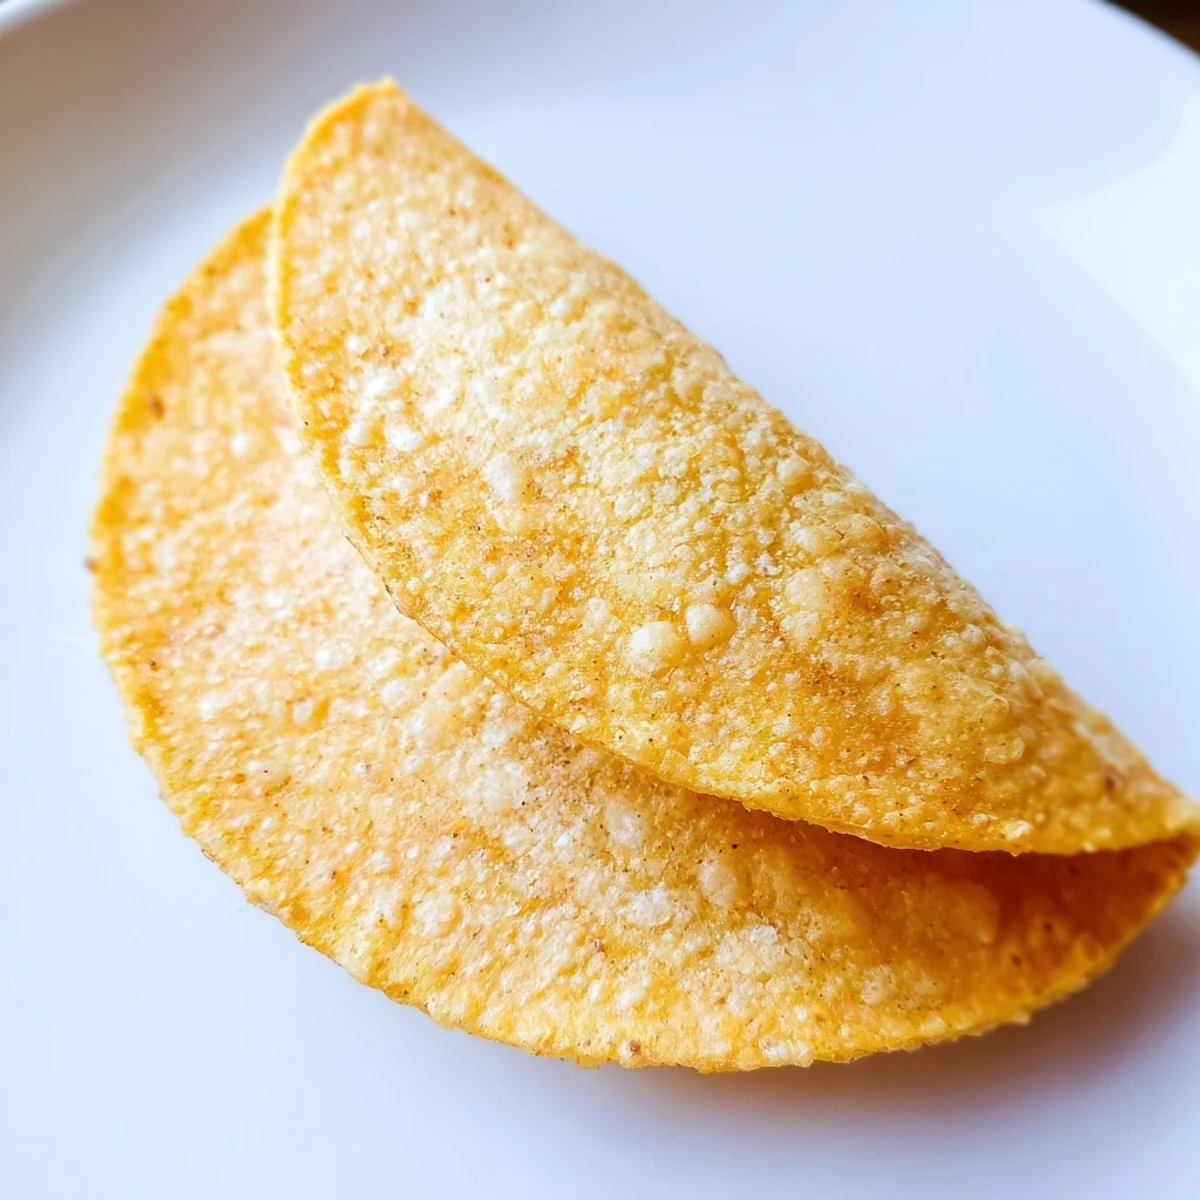
- Carefully place each dough circle into the hot oil and either drape it over a taco shell mold to create that classic taco shape, or gently fold it with tongs to make a boat-like shell. You're working quickly here because the dough sets fast.
- Fry Until Golden:
- Cook for one to two minutes per side until the shell is deep golden and crispy throughout. The color tells you everything—pale shells aren't fully cooked and will be chewy.
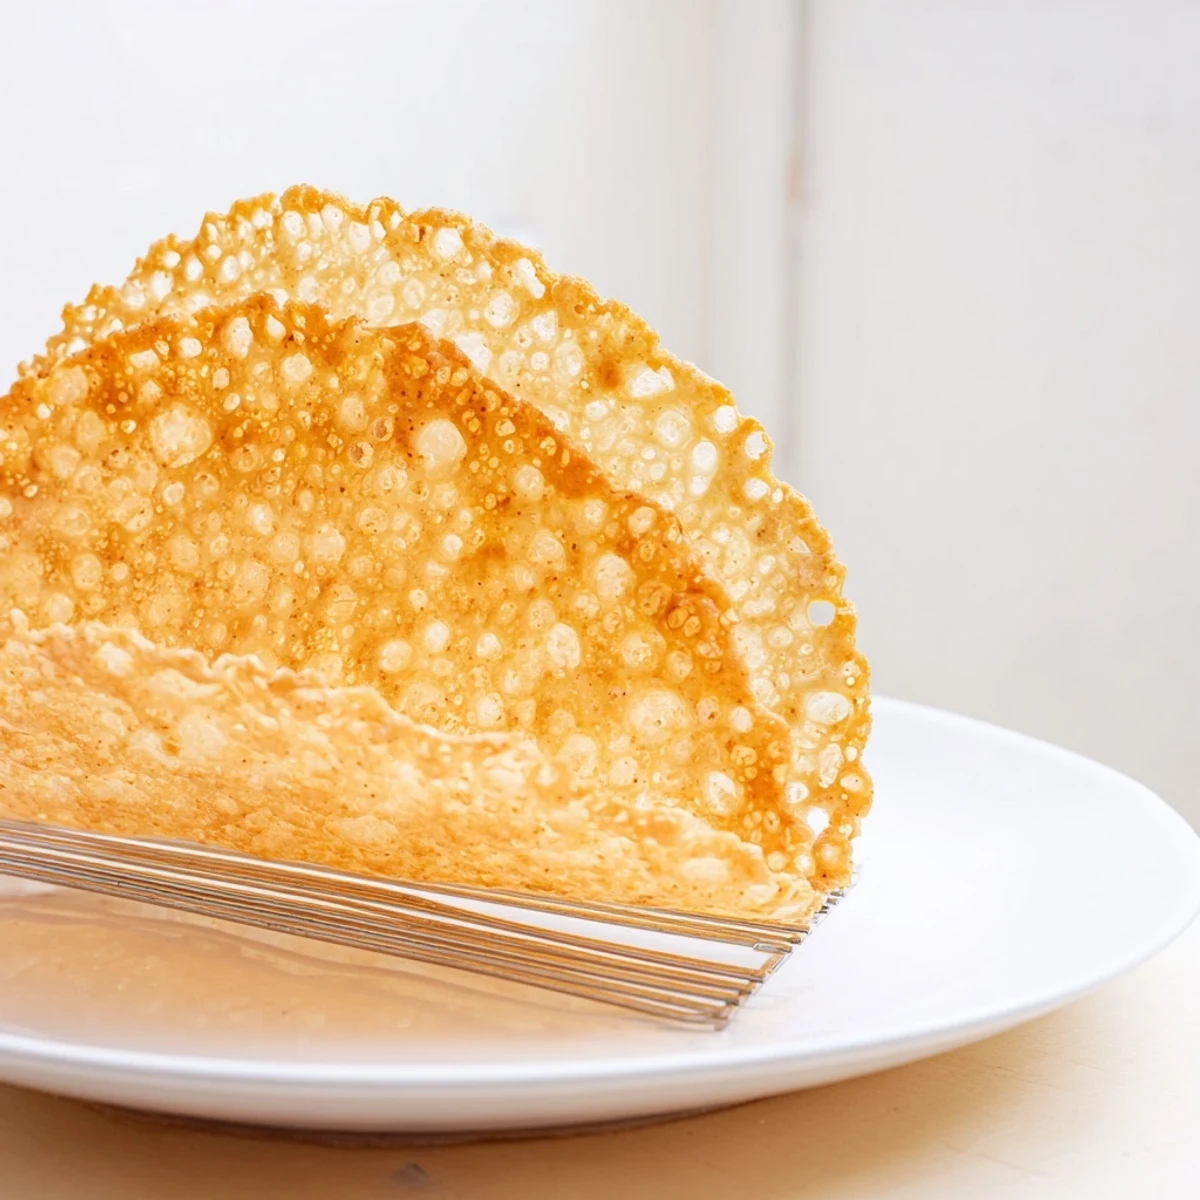
- Drain and Cool:
- Place finished shells on paper towels to drain off excess oil. Let them cool completely—they'll crisp up even more as they cool, becoming that satisfying crunch you're after.
 Save
Save There was a moment when I realized these crispy shells had become more than just a technique—they'd become a way to say yes to whatever hunger showed up at my table. Suddenly I could satisfy a taco craving and a dessert craving in the same meal, depending only on what I filled them with.
Sweet Versus Savory: Two Different Personalities
The magic of this recipe lives in how a simple dough can split into two entirely different directions. For sweet versions, add a pinch of cinnamon to the dry ingredients and skip any herbs—the shell becomes the perfect vessel for vanilla ice cream, fresh berries, or a drizzle of chocolate. For savory shells, leave out the sugar entirely and whisper in a pinch of smoked paprika or dried oregano, creating something that feels at home holding shredded chicken, seasoned beef, or crispy vegetables.
Storing and Keeping Your Shells Fresh
Once cooled completely, store your shells in an airtight container where they'll stay crispy for up to three days. I've learned that humidity is the enemy here—a sealed container protects them far better than an open shelf, and they never quite taste the same if you store them in a humid kitchen. If they do start to soften, a quick warm-up in a 275°F oven for five minutes will restore that crunch, though freshly made is always better.
Pairing with Wine and Building Complete Meals
These shells pair beautifully with beverages that complement what's inside. A light white wine works wonderfully alongside savory fillings, while a Moscato's subtle sweetness aligns perfectly with ice cream or fruit-filled versions. What I've discovered is that serving crispy shells becomes an occasion—they elevate a casual weeknight into something that feels intentional and special.
- For savory fillings, chill your white wine and let the shell's crunch contrast with whatever warm filling you choose.
- For sweet shells, Moscato's light sparkle pairs with ice cream in a way that feels almost celebratory.
- Remember that homemade shells always taste fresher and lighter than anything store-bought, making them worth the brief cooking time.
 Save
Save Making crispy shells at home is one of those small kitchen wins that feels disproportionately rewarding, turning basic ingredients into something that tastes like care and effort. Once you've made them once, you'll find yourself reaching for them again and again.
Common Recipe Questions
- → What ingredients are used to make the crispy shells?
-
The shells are made from all-purpose flour, salt, sugar (optional), water, and vegetable oil for frying.
- → How do you achieve the perfect crispy texture?
-
Rolling the dough thin and frying each shell at medium-high heat until golden ensures a light, crunchy texture.
- → Can the shells be sweet or savory?
-
Yes, adding cinnamon creates a sweet shell, while omitting sugar and adding smoked paprika or herbs yields a savory flavor.
- → How should the shells be stored after cooking?
-
Store cooled shells in an airtight container for up to three days to maintain crispness.
- → What dishes pair well with these crispy shells?
-
They work well with tacos, creamy desserts like ice cream, and creative appetizers, enhancing both sweet and savory fillings.
