 Save
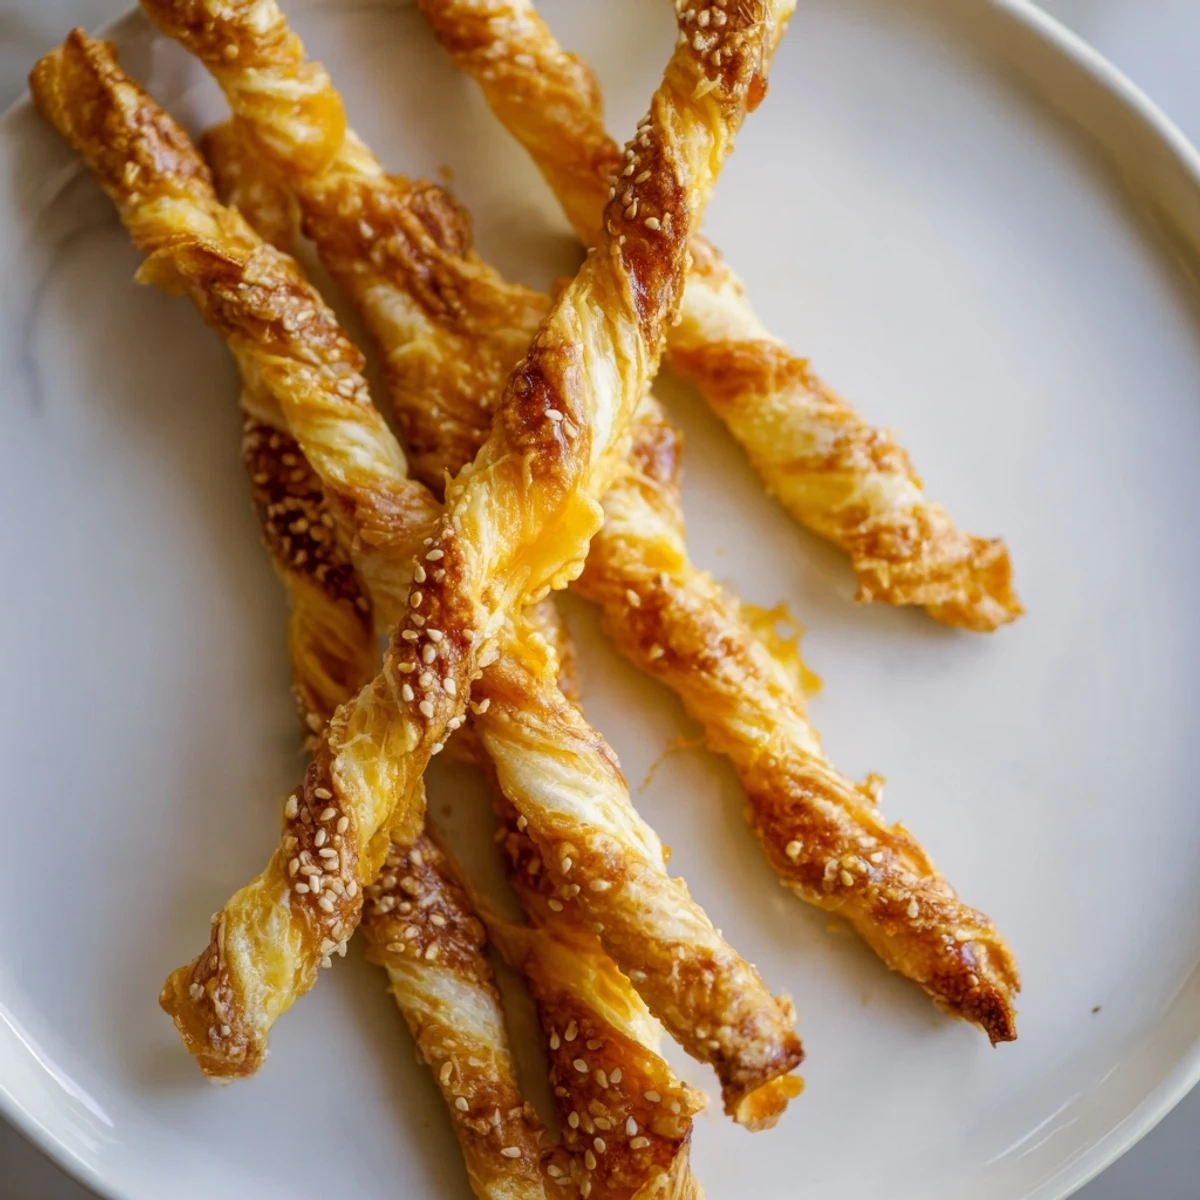
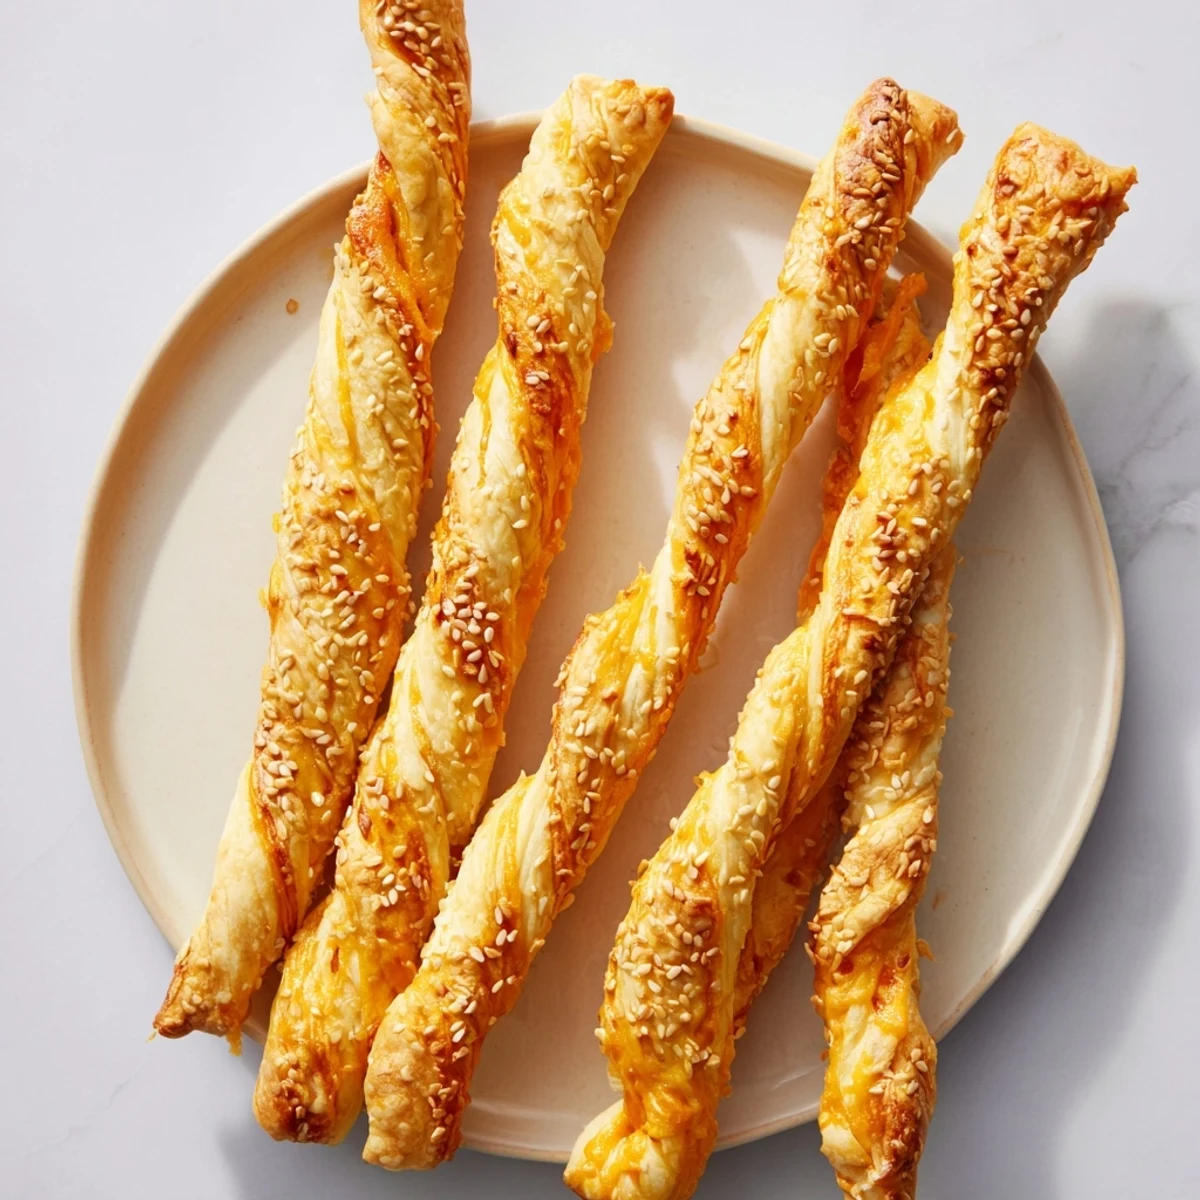
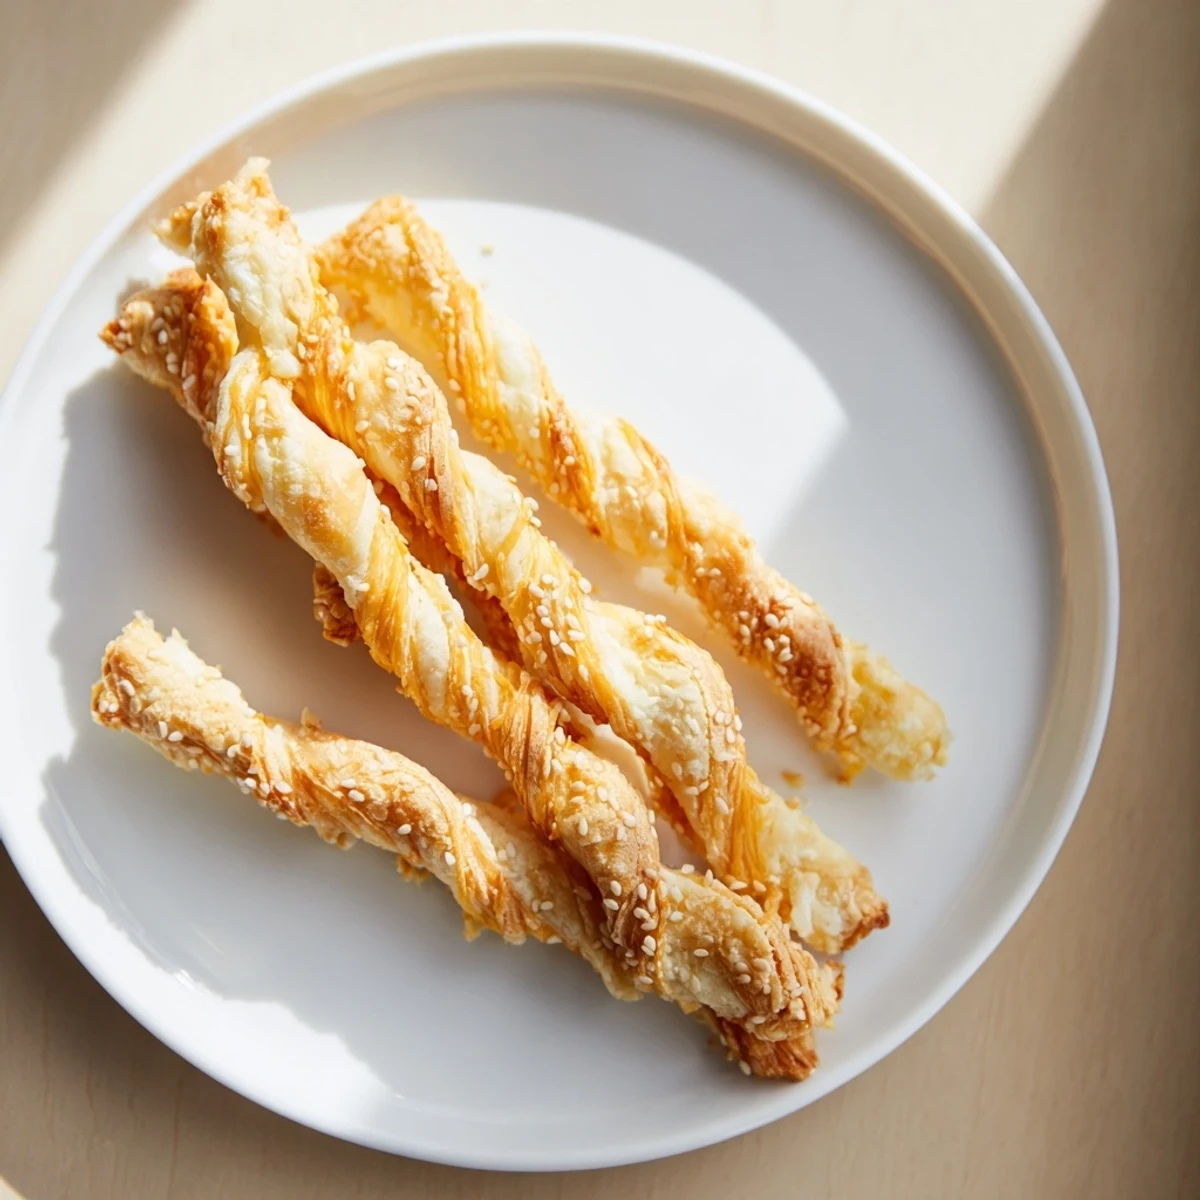
Save These golden cheese straws offer a crispy texture with rich sharp cheddar and a subtle spicy kick from cayenne. Made from a simple dough of flour, butter, and cheese, the strips are twisted and baked to perfection. Garnished with sesame or poppy seeds, they make a delightful snack or a savory companion to soups and salads. Ready in just 30 minutes, they bring a flavorful twist to any gathering or casual bite.
I pulled a tray of these from the oven one rainy afternoon, and the smell alone brought my neighbor to the door. She thought I'd ordered something fancy, but it was just butter, cheese, and twenty minutes of work. I've been making them ever since, usually in double batches because they vanish faster than I expect.
I brought a batch to a book club once, tucked in a napkin lined basket. They were gone before the meeting even started, and someone asked if I'd trained at a bakery. I laughed and said no, just a home cook with a good cheese grater and a love for anything that pairs with soup.
Ingredients
- Sharp cheddar cheese: The sharper the cheese, the more flavor you get in every bite, and finely grating it helps it blend smoothly into the dough.
- Unsalted butter: Cold butter is key, it creates flaky layers when you rub it in, so don't let it soften on the counter.
- All purpose flour: This is your base, and a light hand when mixing keeps the straws tender instead of tough.
- Baking powder: Just a touch gives them a slight lift and a more delicate crumb.
- Fine sea salt: It balances the richness of the cheese and butter without overpowering the other flavors.
- Cayenne pepper: Optional, but a small pinch adds warmth that sneaks up on you in the best way.
- Cold water: Add it slowly, the dough should just come together without getting sticky or wet.
- Egg: Brushing it on before baking gives the straws a beautiful golden shine.
- Sesame or poppy seeds: A sprinkle on top adds texture and a little visual charm, though they taste wonderful plain too.
Instructions
- Preheat and prep:
- Set your oven to 375°F (190°C) and line a baking sheet with parchment paper. This keeps the straws from sticking and makes cleanup a breeze.
- Mix the dry ingredients:
- Whisk together the flour, baking powder, salt, and cayenne in a bowl until evenly combined.
- Rub in the butter:
- Add the cold, diced butter and use your fingertips to rub it into the flour until it looks like coarse breadcrumbs. You'll feel the butter soften slightly, but that's fine.
- Add the cheese:
- Stir in the grated cheddar until it's evenly distributed through the crumbly mixture.
- Form the dough:
- Drizzle in cold water one tablespoon at a time, stirring gently until the dough comes together in a stiff ball. Don't add too much or it'll be hard to roll.
- Roll it out:
- Flour your work surface lightly and roll the dough into a rectangle about 1/4 inch thick. Keep the edges as even as you can for uniform baking.
- Cut into strips:
- Use a sharp knife or pizza cutter to slice the dough into strips about 1/2 inch wide and 5 inches long. If you want, twist each strip gently for a classic look.
- Arrange and brush:
- Lay the strips on your prepared baking sheet, leaving a little space between them. Brush the tops with beaten egg and sprinkle with seeds if you like.
- Bake until golden:
- Slide the tray into the oven and bake for 12 to 15 minutes, watching for a deep golden color and crisp edges. They'll firm up more as they cool.
- Cool completely:
- Transfer the straws to a wire rack and let them cool fully before serving. This step locks in the crunch.
 Save
Save One winter evening, I served these alongside a pot of tomato soup, and my partner said it felt like being wrapped in a warm blanket. That's when I realized these little cheese straws weren't just a snack, they were comfort you could hold in your hand.
Flavor Variations
I've swapped cheddar for Gruyere when I wanted something a bit more mellow and nutty, and Parmesan when I craved a sharper, saltier bite. A pinch of smoked paprika or dried thyme stirred into the dough can shift the whole mood, making them feel smoky or herbaceous depending on what you're serving them with.
Storage and Make Ahead
These keep beautifully in an airtight tin for up to three days, and I've even frozen the unbaked strips on a tray before transferring them to a freezer bag. When you're ready, bake them straight from frozen, adding a minute or two to the time, and they taste just as fresh as the first batch.
Serving Suggestions
I love setting out a pile of these next to a simple green salad or a bowl of butternut squash soup. They're also perfect for parties, stacked in a glass or scattered on a board with olives and pickles.
- Serve them warm or at room temperature, both ways work beautifully.
- Pair them with a sharp mustard or a tangy chutney for dipping.
- They're wonderful tucked into lunchboxes or packed for picnics too.
 Save
Save These cheese straws have become my go to whenever I want to feel like I've really cooked, even on the busiest days. I hope they bring you the same quiet joy they've brought me, one crisp, cheesy bite at a time.
Common Recipe Questions
- → What type of cheese works best for these straws?
-
Sharp cheddar is recommended for a bold flavor, but Gruyère or Parmesan can be used to add variety and richness.
- → Can I make the straws spicy?
-
Yes, adding cayenne pepper to the dough adds a subtle heat that complements the cheddar well without overpowering the flavor.
- → How do I achieve a crisp texture in the cheese straws?
-
Ensure the dough is chilled well before rolling, cut the strips evenly, and bake until golden for that perfect crispiness.
- → Are there garnish options to enhance presentation?
-
Brushing the straws with beaten egg and sprinkling sesame or poppy seeds adds flavor, texture, and visual appeal.
- → What dishes pair well with these cheese straws?
-
They’re great alongside tomato soup, fresh salads, or served as party snacks for a tasty bite any time.
