 Save
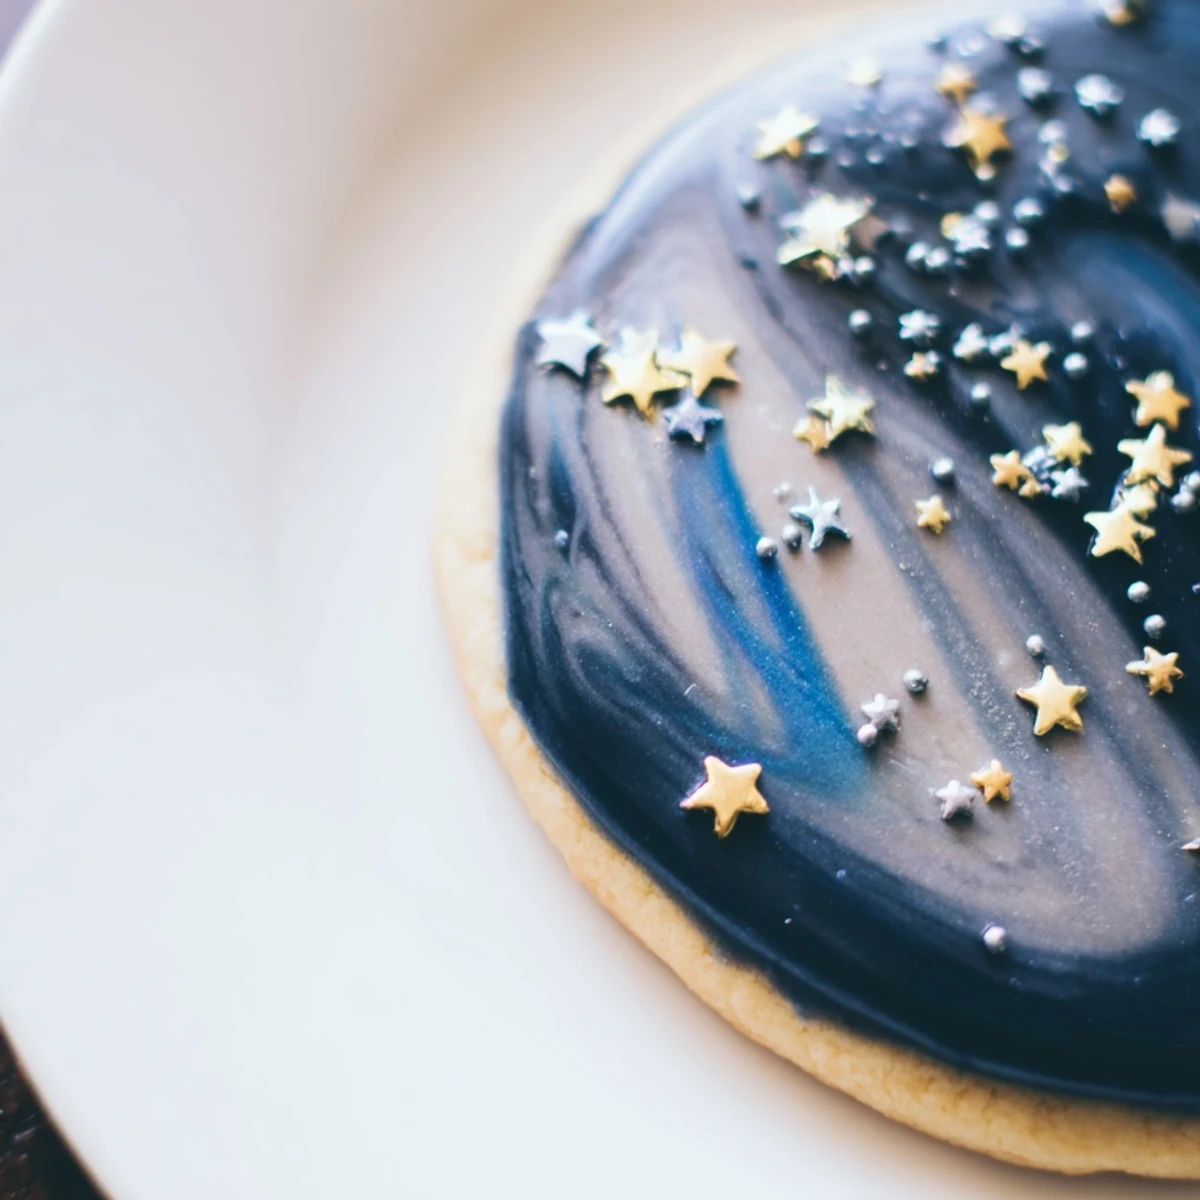
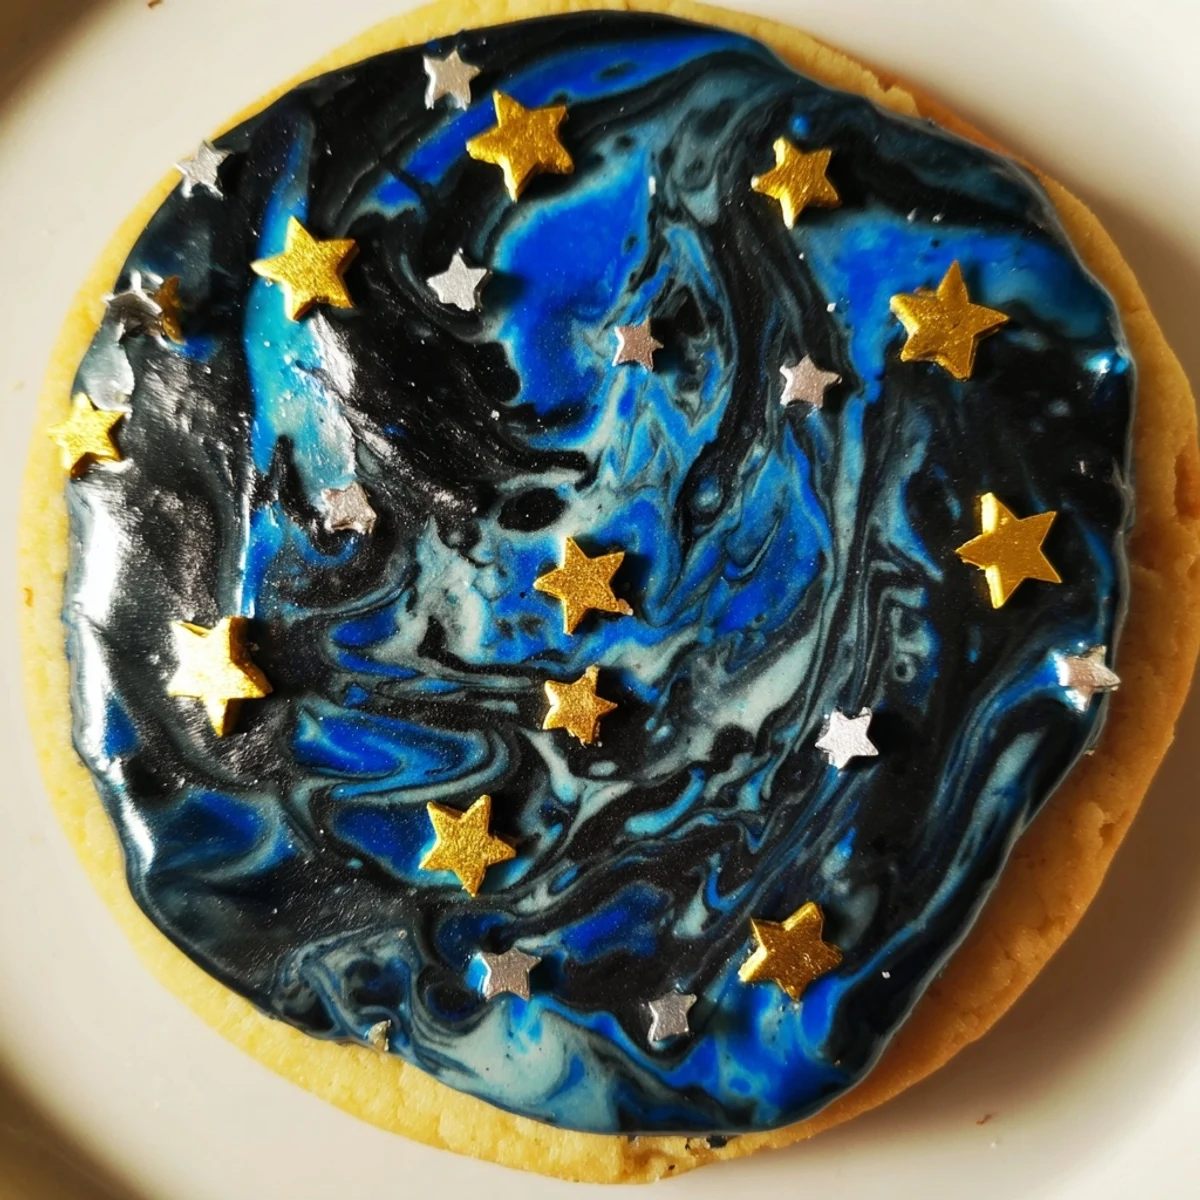
Save These delicate vanilla sugar cookies feature a stunning night sky effect with dark blue and black marbled icing. The buttery, tender base pairs perfectly with the sweet glaze, while edible gold or silver stars add magical sparkle. Each step, from chilling the dough to swirling the colors, creates bakery-worthy results that impress at any gathering.
My niece had been begging me to make galaxy-themed treats for her astronomy club meeting, and I will admit I was skeptical about how edible stars would actually look. The first time I pulled these marbled cookies from the oven, she gasped and declared them literally perfect. Now they are the most requested treat for anything involving celebrations or just because Tuesday needs magic.
Last winter, I made three batches for a solstice party and watched adults hover around the dessert plate like kids. Someone actually asked if I had studied pastry arts, which made me laugh out loud. There is something about food that looks like the night sky that makes people slow down and savor every bite.
Ingredients
- All-purpose flour: The backbone of these tender cookies, measured precisely so they hold their shape
- Baking powder and salt: Just enough to give them a gentle lift without losing that delicate texture
- Unsalted butter: Use this at room temperature or your dough will rebel and refuse to come together
- Granulated sugar: Sweetens the cookies and creates that perfect crisp edge against the soft center
- One large egg: Binds everything together and adds richness
- Pure vanilla extract: Do not skimp here because the flavor comes through beautifully
- Powdered sugar: Sift this first or your icing will have stubborn lumps that ruin the smooth finish
- Milk: Start with two tablespoons and add more only if the icing seems too thick to pour
- Light corn syrup: The secret ingredient that keeps the icing shiny and prevents it from hardening into a rock
- Gel food coloring: Use the gel type instead of liquid so you do not thin out the icing too much
- Edible star sprinkles: Sprinkle these immediately after dipping or they will not stick properly
Instructions
- Whisk the dry ingredients together:
- In a medium bowl, combine the flour, baking powder, and salt until everything is evenly distributed
- Cream the butter and sugar:
- Beat them together for at least two full minutes until the mixture looks pale and fluffy
- Add the egg and vanilla:
- Mix until just combined, making sure to scrape down the sides of the bowl
- Incorporate the flour mixture:
- Add the dry ingredients gradually and mix only until you no longer see visible flour streaks
- Chill the dough:
- Divide it in half, form into discs, wrap tightly, and refrigerate for at least thirty minutes
- Preheat your oven:
- Get it to 350 degrees Fahrenheit and line your baking sheets with parchment paper
- Roll and cut the cookies:
- Work with one disc at a time, rolling to about one quarter inch thickness and cutting into shapes
- Bake until just golden:
- This takes nine to eleven minutes, and remember they continue cooking slightly on the hot pan
- Cool completely:
- Let them rest on the baking sheet for five minutes before moving them to a wire rack
- Make the icing base:
- Whisk together the powdered sugar, milk, corn syrup, and vanilla until smooth and thick
- Create the marble effect:
- Dye one portion of icing deep blue and another black, then swirl them together gently in a shallow dish
- Dip and decorate:
- Dip each cookie face down into the icing, lift straight up, and immediately scatter the edible stars on top
 Save
Save These have become my go-to for midnight snack cravings because something about eating stars under actual stars just feels right. My partner accidentally ate three in one sitting and tried to blame it on the edible glitter making them irresistible.
Getting That Perfect Marble
I learned the hard way that overmixing the two colored icings just makes a muddy gray mess instead of those beautiful distinct swirls. Use a toothpick to drag through the colors just once or twice before dipping. The key is looking at the surface and thinking there is no way this will work, then trusting the process anyway.
Cookie Cutting Wisdom
Star cutters are classic but honestly any shape works with this night sky theme. I have used circles for moons and even made crescents by cutting a small circle out of a larger one. Just make sure to dip and decorate quickly because the icing starts setting after about thirty seconds and that is when the stars stop sticking.
Storage Secrets
These cookies actually taste better on day two because the flavors have time to meld and the icing softens just slightly. Store them in an airtight container with parchment paper between the layers so they do not stick together. The freezer is your friend for long term storage, just wrap them tightly and they will stay fresh for months.
- Let frozen cookies thaw at room temperature still wrapped to prevent condensation from making the icing sticky
- If the icing becomes too firm after refrigeration, a quick ten minutes at room temperature brings back that perfect texture
- Never stack decorated cookies before the icing has completely set or you will end up with a marbled mess instead of stars
 Save
Save There is something deeply satisfying about biting into a cookie that looks like it belongs in an art exhibit. May your kitchen be filled with flour, starlight, and the joy of creating something magical.
Common Recipe Questions
- → How do I achieve the marbled effect on the icing?
-
Gently swirl blue and black tinted icing together in a shallow dish using a toothpick or skewer. Don't overmix—the beauty lies in the organic, flowing patterns that mimic a night sky.
- → Can I make the dough ahead of time?
-
Absolutely. Wrap the dough discs tightly in plastic wrap and refrigerate for up to 3 days, or freeze for up to 2 months. Thaw frozen dough overnight in the refrigerator before rolling.
- → Why is chilling the dough important?
-
Chilling prevents the cookies from spreading too much while baking, ensuring clean edges and perfect thickness. It also makes the dough easier to roll and cut without sticking.
- → What's the best way to store decorated cookies?
-
Once the icing has completely set (about 2-4 hours), store in an airtight container at room temperature for up to a week. Layer with parchment paper to prevent sticking.
- → Can I use natural food coloring instead of gel?
-
Gel coloring provides the most vibrant deep blues, but you can use liquid or natural alternatives. Just keep in mind that liquid colors may thin your icing, so adjust by adding more powdered sugar as needed.
- → What other shapes work well for this design?
-
While star shapes enhance the celestial theme, rounds, moons, or cloud shapes also look beautiful. The marbled icing creates lovely effects on any simple shape that lets the colors shine.
