 Save
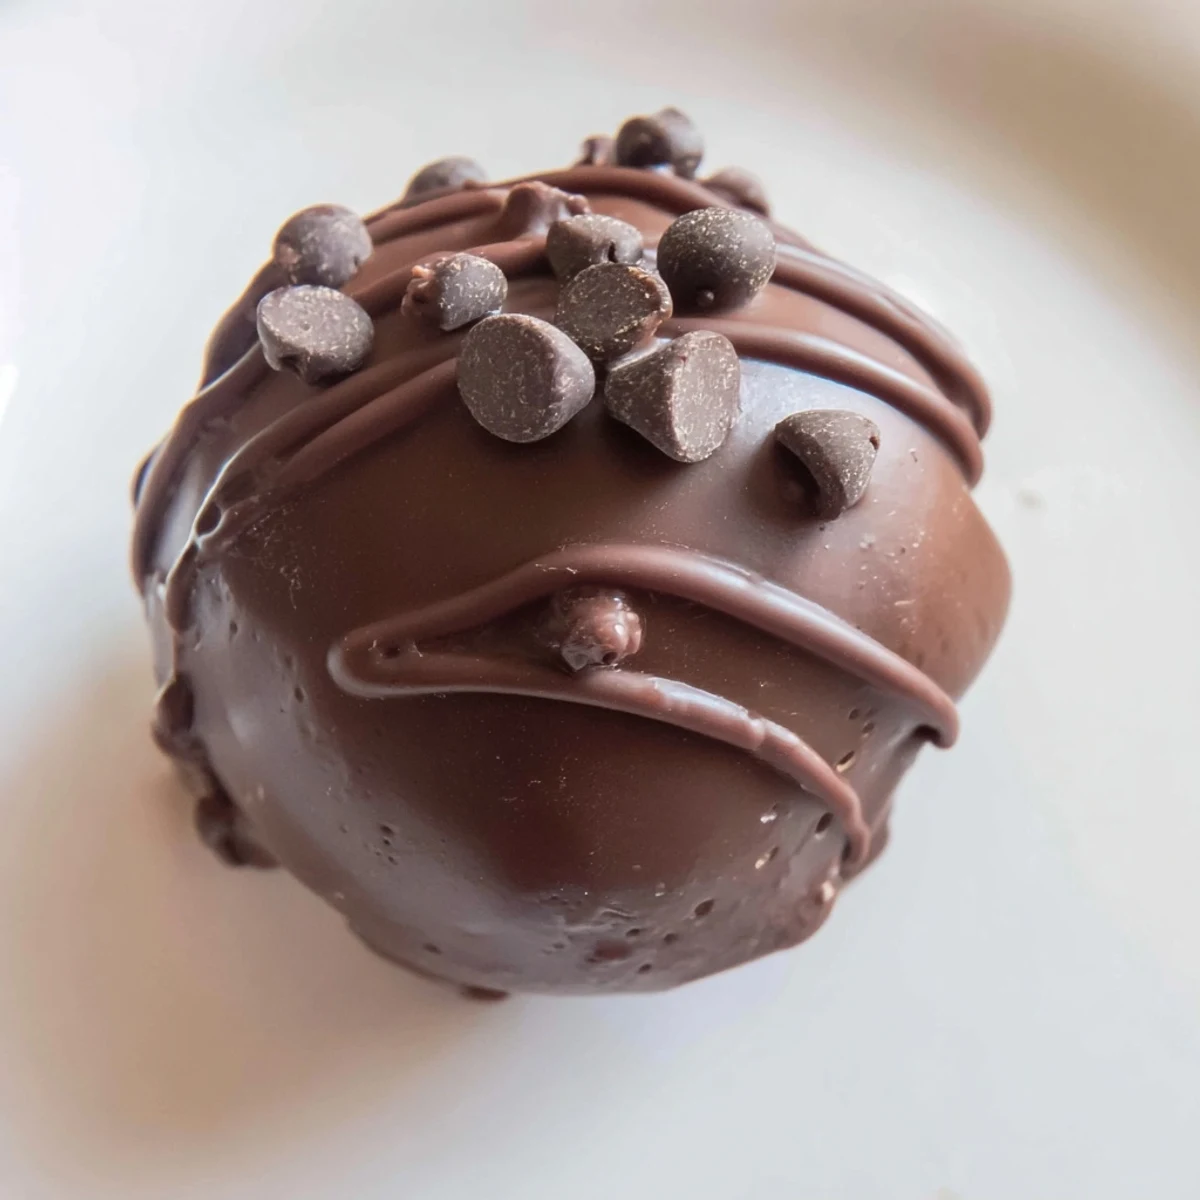
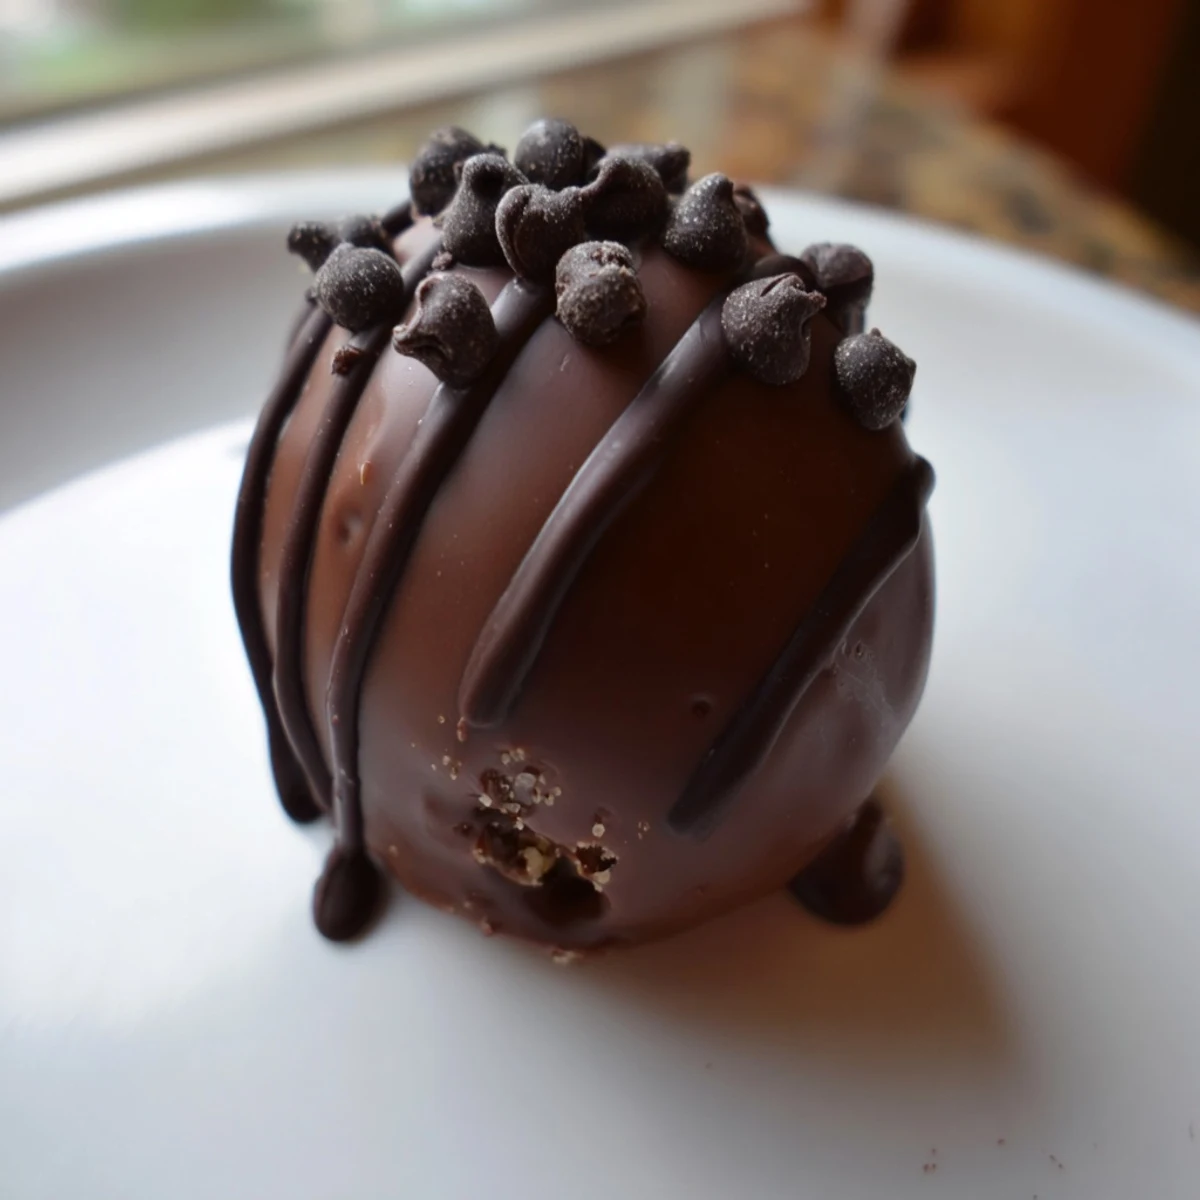
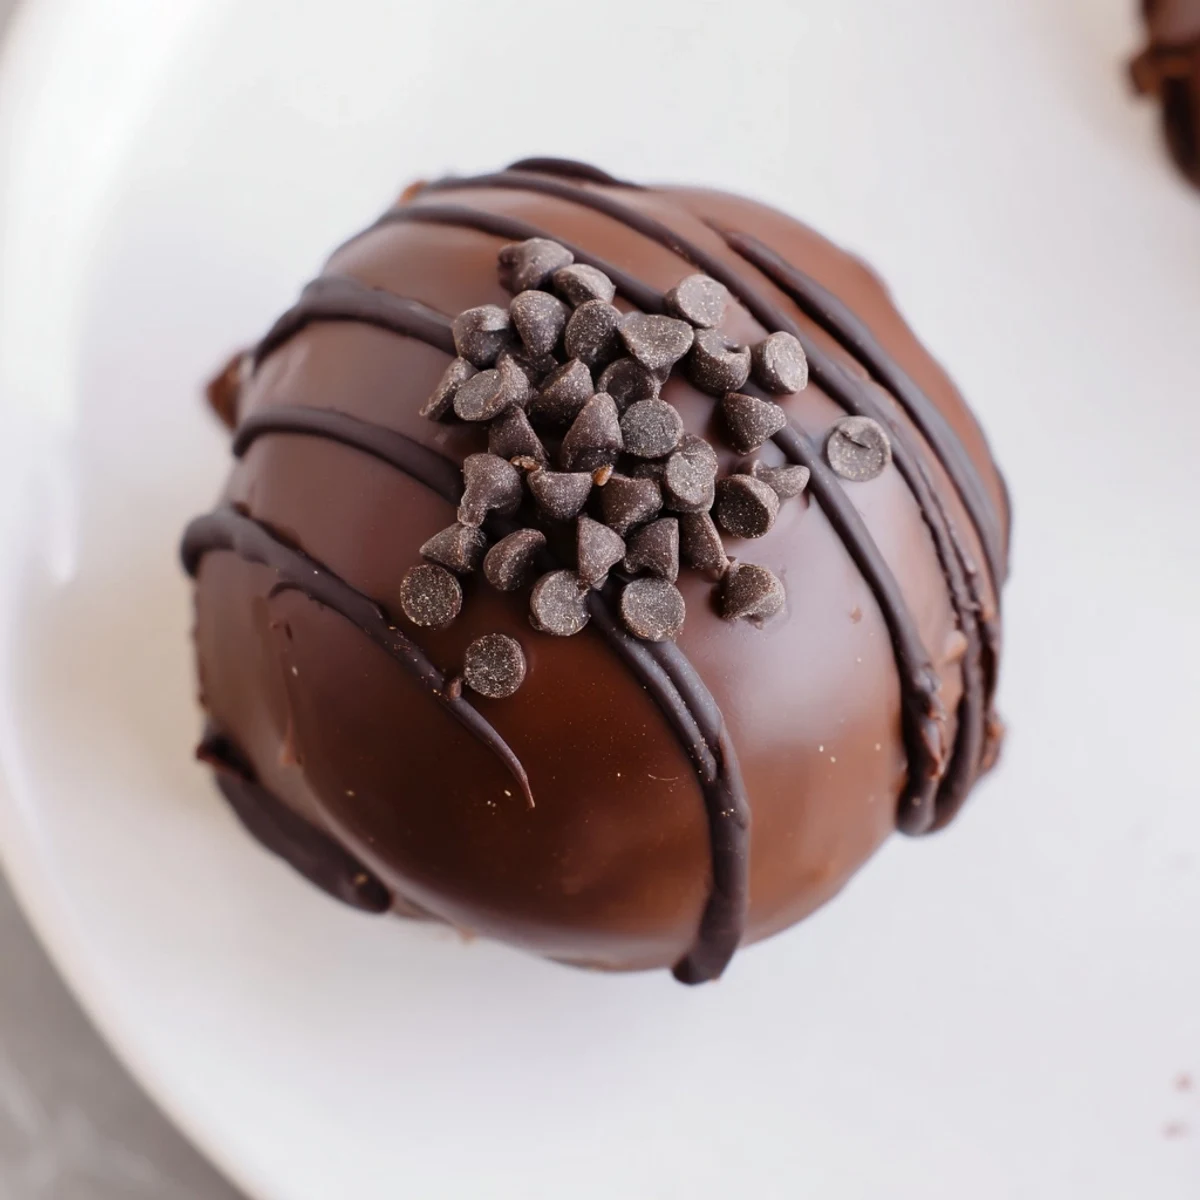
Save These bite-sized chocolate chip dough truffles combine rich, egg-free dough dotted with mini chips, enveloped in a smooth chocolate coating. Heat-treating the flour ensures safety while preserving flavor. The dough is chilled for firmness before dipping, creating a luscious texture that melts in your mouth. They require no baking after chilling and set quickly in the fridge, making them a simple yet impressive option for a sweet finish or snack.
The first time I made cookie dough truffles, I was trying to solve a problem: I wanted the indulgent taste of edible cookie dough without the guilt of raw eggs, but I didn't want to bake actual cookies either. What came out of that kitchen experiment was something better than either option—little spheres of pure dough joy, sealed in chocolate like tiny treasures. Now, whenever I make a batch, people ask if they're homemade, and the answer is always yes, made with hands and butter and a bit of kitchen magic.
I remember serving these at a winter gathering and watching a friend take one bite, then immediately reach for three more before I'd even finished setting down the plate. That moment of watching someone discover something delicious is partly why I keep making them—it never gets old, and neither does the look of surprise when they realize there's no egg involved.
Ingredients
- Unsalted butter, softened: This is your foundation—softened butter creams with sugar to create that light, fluffy base that makes the dough taste like it came from a professional kitchen.
- Packed light brown sugar and granulated sugar: The combination of both sugars gives you molasses depth plus granulated sweetness; don't skip the brown sugar or you'll miss those subtle caramel notes.
- Milk: Just a splash keeps the dough tender and prevents it from being too dense, almost like you're making a very thick batter instead of stiff dough.
- Vanilla extract: A teaspoon is all you need to round out the flavors and make everything taste more like a bakery creation than a casual experiment.
- Heat-treated all-purpose flour: This is the safety step—baking the flour for five minutes at 350°F kills any bacteria that might lurk in raw flour, letting you eat these without hesitation.
- Salt: A quarter teaspoon is barely detectable but absolutely vital; it magnifies the sweetness and keeps the whole thing from tasting one-dimensional.
- Mini chocolate chips: The surprise element—they create pockets of chocolatey texture throughout the dough and give you something to look forward to with each bite.
- Semisweet or dark chocolate for coating: Choose based on your mood; semisweet is sweeter and more approachable, while dark chocolate gives an elegant, slightly bitter contrast.
- Coconut oil or vegetable oil: This is optional but honestly worth it—just a teaspoon keeps the chocolate glossy and makes dipping easier instead of having the coating be thick and stubborn.
Instructions
- Heat-treat your flour for peace of mind:
- Preheat the oven to 350°F and spread the flour on a baking sheet in a thin, even layer. Let it bake for five minutes—you're not trying to brown it, just gently warm it through to eliminate any potential bacteria. Once it's done, spread it on a plate and let it cool completely; warm flour mixed into your dough will mess up the texture.
- Cream the butter and sugars until they're light and fluffy:
- This should take about two to three minutes with an electric mixer, or five minutes by hand if you're using a whisk. You're incorporating air and making sure the sugars are fully dissolved, which creates that tender crumb and luxurious mouthfeel.
- Mix in the milk and vanilla:
- Stir these together just until the dough looks evenly combined and the vanilla scent becomes noticeable. This is a quick step—you're not looking for anything special, just incorporation.
- Add the cooled heat-treated flour and salt:
- Stir gently until you don't see any streaks of flour anymore. Be careful not to overmix or you'll develop gluten and end up with dense, tough dough instead of that tender, crumbly texture.
- Fold in the mini chocolate chips:
- Use a spatula and make gentle folding motions, turning the dough over itself rather than stirring aggressively. This distributes the chips evenly without overdoing the mixing.
- Scoop and roll the dough into balls:
- Use a tablespoon or small cookie scoop to portion out the dough, then roll each portion between your palms until it's a smooth sphere. If the dough feels too soft, pop the whole baking sheet in the freezer for five minutes first.
- Chill the dough balls until they're firm:
- Freezing them for twenty to thirty minutes is crucial—this keeps them from falling apart when you dip them into hot chocolate. Use this time to wash your dishes or prepare your chocolate coating.
- Melt the chocolate gently and smoothly:
- If using a microwave, heat in thirty-second intervals, stirring between each one to prevent scorching; if using a double boiler, keep the water at a gentle simmer and stir constantly. Add the optional coconut oil now if you want a silkier coating.
- Dip each cold truffle into the melted chocolate:
- Using a fork or dipping tool, submerge each ball for a second or two, then lift it out and let the excess chocolate drip back into the bowl. A gentle twist on the fork helps release the truffle without it falling off.
- Return coated truffles to parchment and let them set:
- You can drizzle extra chocolate on top or add mini chips while the coating is still wet if you want extra flair, but this step is purely decorative. Refrigerate for about fifteen minutes until the chocolate hardens.
 Save
Save There's something oddly satisfying about the moment when you pull those firm, cold dough balls out of the freezer and see them all lined up, waiting to be transformed. Then you dip the first one into the chocolate, watch it come out glistening and perfectly coated, and suddenly you realize you've made something that looks like it came from a fancy candy shop, entirely in your own kitchen.
Why This Recipe Became My Favorite
The beauty of these truffles is that they solve multiple cravings at once. You get the nostalgic taste of raw cookie dough—that slightly sweet, buttery, slightly grainy texture that makes you feel like a kid again—but without the worry of salmonella or the guilt of eating something technically unsafe. The chocolate coating transforms them from a simple indulgence into something that feels intentional and generous, whether you're making them for yourself or wrapping them up as gifts. They're the kind of treat that makes your kitchen smell incredible while they're being made, and taste even better after they've chilled.
Storage and Serving Tricks
These truffles live happily in an airtight container in the fridge for up to a week, though honestly, they rarely last that long in my house. You can serve them straight from the fridge for a firmer, more structured bite, or let them sit on the counter for five minutes if you prefer a slightly softer, more melt-in-your-mouth experience. I've also found that storing them in single layers with parchment between each layer prevents the chocolate coating from sticking to each other, which matters more than you'd think when you're trying to grab just one and end up with a handful.
Ways to Customize and Elevate
The base recipe is honestly perfect on its own, but the fun part is that it's incredibly customizable. You can add chopped toasted nuts, a pinch of sea salt on top of the chocolate before it sets, or even a tiny sprinkle of cinnamon into the dough if you want a subtle warmth. Some people I know use white chocolate or milk chocolate for the coating instead of dark, and while that's a different experience, it's equally valid—this recipe is forgiving enough to handle variations without falling apart. You could even infuse the melted chocolate with a teaspoon of peppermint extract or a pinch of espresso powder if you want to get creative, but I usually don't because the original flavor is already so good.
- Try drizzling the coated truffles with white chocolate for a two-tone look that's as pretty as it is delicious.
- Add a tiny pinch of sea salt on top of each truffle while the chocolate coating is still wet for an unexpected savory-sweet moment.
- If you want extra indulgence, roll the dough balls in cocoa powder or finely chopped nuts before freezing them for additional flavor and texture.
 Save
Save These little chocolate-covered gems have a way of turning an ordinary afternoon into something special, whether you're making them for yourself or sharing them with someone who matters. Once you've made a batch, you'll understand why people keep coming back for more.
Common Recipe Questions
- → How is the dough made safe to eat without baking?
-
The flour is heat-treated by baking at 350°F for 5 minutes to eliminate harmful bacteria, allowing safe consumption without further cooking.
- → Can I use different types of chocolate for coating?
-
Yes, semisweet, dark, or milk chocolate can be used, and adding coconut or vegetable oil helps achieve a smooth coating.
- → What is the purpose of chilling the dough balls before coating?
-
Chilling firms the dough, making it easier to dip in melted chocolate and helping the truffles hold their shape.
- → Are there any variations recommended for added texture?
-
Adding chopped toasted nuts to the dough adds a crunchy contrast to the smooth chocolate exterior.
- → How long can the truffles be stored?
-
They can be kept in an airtight container in the fridge for up to one week while maintaining freshness.
