 Save
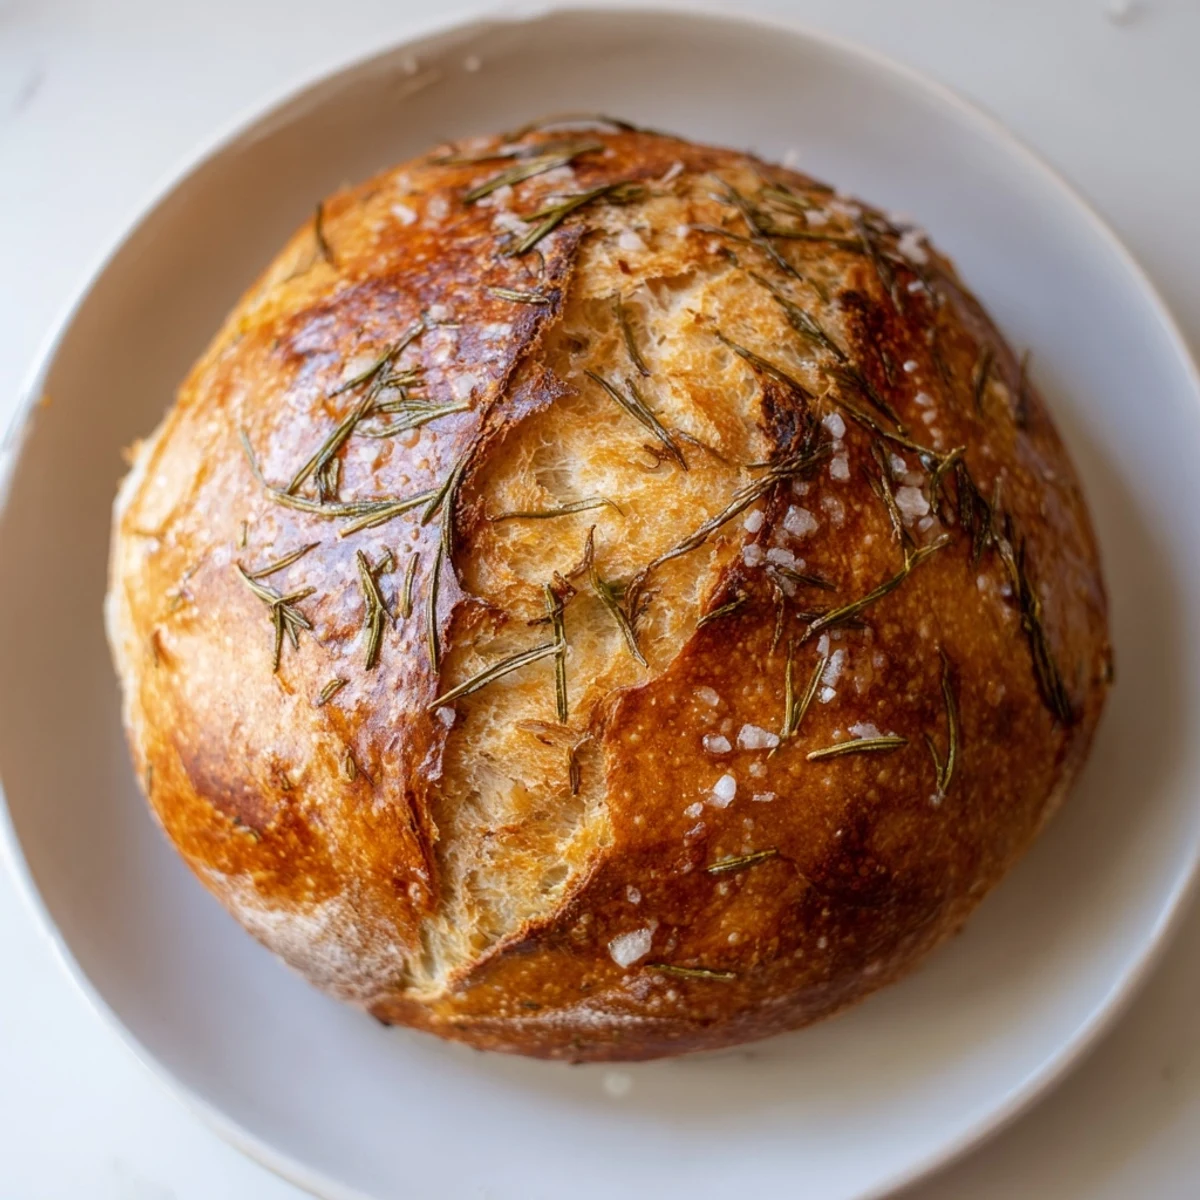
Save Create bakery-worthy artisan bread at home with this Dutch oven technique. The combination of roasted garlic and fresh rosemary infuses every slice with deep, savory flavor. Baking in a preheated Dutch oven creates the perfect environment for developing that sought-after crackly crust while keeping the interior tender and airy.
The process involves roasting garlic beforehand, mixing a simple dough with bread flour and yeast, then letting it rise twice. The Dutch oven traps steam during baking, mimicking professional bread ovens. After 30 minutes covered, removing the lid allows the crust to develop its beautiful golden-brown color and satisfying crunch.
The smell of roasting garlic filling my tiny apartment kitchen is one of those sensory memories that instantly pulls me back to my first attempts at breadmaking. I was terrified of yeast something about feeding living organisms felt like chemistry class gone wrong. But when that first loaf emerged from the Dutch oven with a crackling crust and soft interior studded with roasted garlic cloves I knew Id found something worth mastering. Now this bread is my go to when I want to impress guests without actually trying too hard.
My friend Sarah refused homemade bread for years claiming she was gluten intolerant until I served this warm from the oven with salted butter. She ate three slices standing at my counter then asked for the recipe before even leaving. Thats the thing about truly good bread it converts people. The beauty of this recipe lies in its unfussy nature no kneading required just time and a hot heavy pot.
Ingredients
- Bread flour: Higher protein content than all purpose gives this loaf its structure and chewy texture essential for supporting all those flavorful add ins
- Lukewarm water: Think bathwater temperature about 100°F if its too hot it kills the yeast too cold and the dough will take forever to rise
- Active dry yeast: I keep a stash in my freezer always fresh and ready to go one packet works perfectly here no need to proof it first
- Fine sea salt: Controls yeast development and enhances flavor without the metallic aftertaste of table salt
- Garlic head: Roasting transforms sharp raw garlic into sweet mellow cloves that practically dissolve into the dough creating pockets of intense flavor
- Fresh rosemary: Woody piney aroma cuts through the rich garlic and adds that rustic Mediterranean feel dried herbs simply cannot replicate this intensity
- Olive oil: Keeps the crust tender and adds subtle fruity notes while helping those beautiful salt flakes adhere to the surface
- Flaky sea salt: These crunchable salt crystals on top create restaurant style contrast that makes each bite memorable
Instructions
- Roast the garlic until golden and soft:
- Cut just the very top off your garlic head to expose the cloves drizzle with olive oil wrap tightly in foil and let it roast at 400°F for about 35 minutes until the cloves are soft and golden. The kitchen will smell amazing and those cloves will squeeze out like butter.
- Mix the shaggy dough:
- Combine flour yeast and salt in a large bowl then add lukewarm water stirring until everything comes together into a rough sticky dough. Fold in your roasted garlic and chopped rosemary until distributed throughout the mixture.
- Let the dough do its thing:
- Cover your bowl with plastic wrap or a clean kitchen towel and set it somewhere warm for 1 to 2 hours until the dough has doubled in size and looks puffy with bubbles on the surface. This rise time is where the flavor develops so be patient.
- Shape into a round ball:
- Turn your dough onto a floured surface and fold the edges toward the center creating tension on the surface. Place it seam side down on parchment paper brush with olive oil and sprinkle with flaky salt and extra rosemary if you want extra flavor on top.
- Rest while your oven gets screaming hot:
- Let your shaped dough rest covered for 30 minutes while you preheat your Dutch oven at 450°F for at least 30 minutes. This hot start is what creates the dramatic oven spring and crispy crust.
- Bake covered then uncovered:
- Carefully lift your parchment and dough into the hot Dutch oven cover with the heavy lid and bake for 30 minutes trapping steam. Remove the lid and continue baking 12 to 15 more minutes until deep golden brown all over.
- Cool completely before slicing:
- Let the bread cool on a wire rack for at least 30 minutes I know its torture to wait but slicing too soon makes the interior gummy. The finish line is in sight and your patience will be rewarded.
 Save
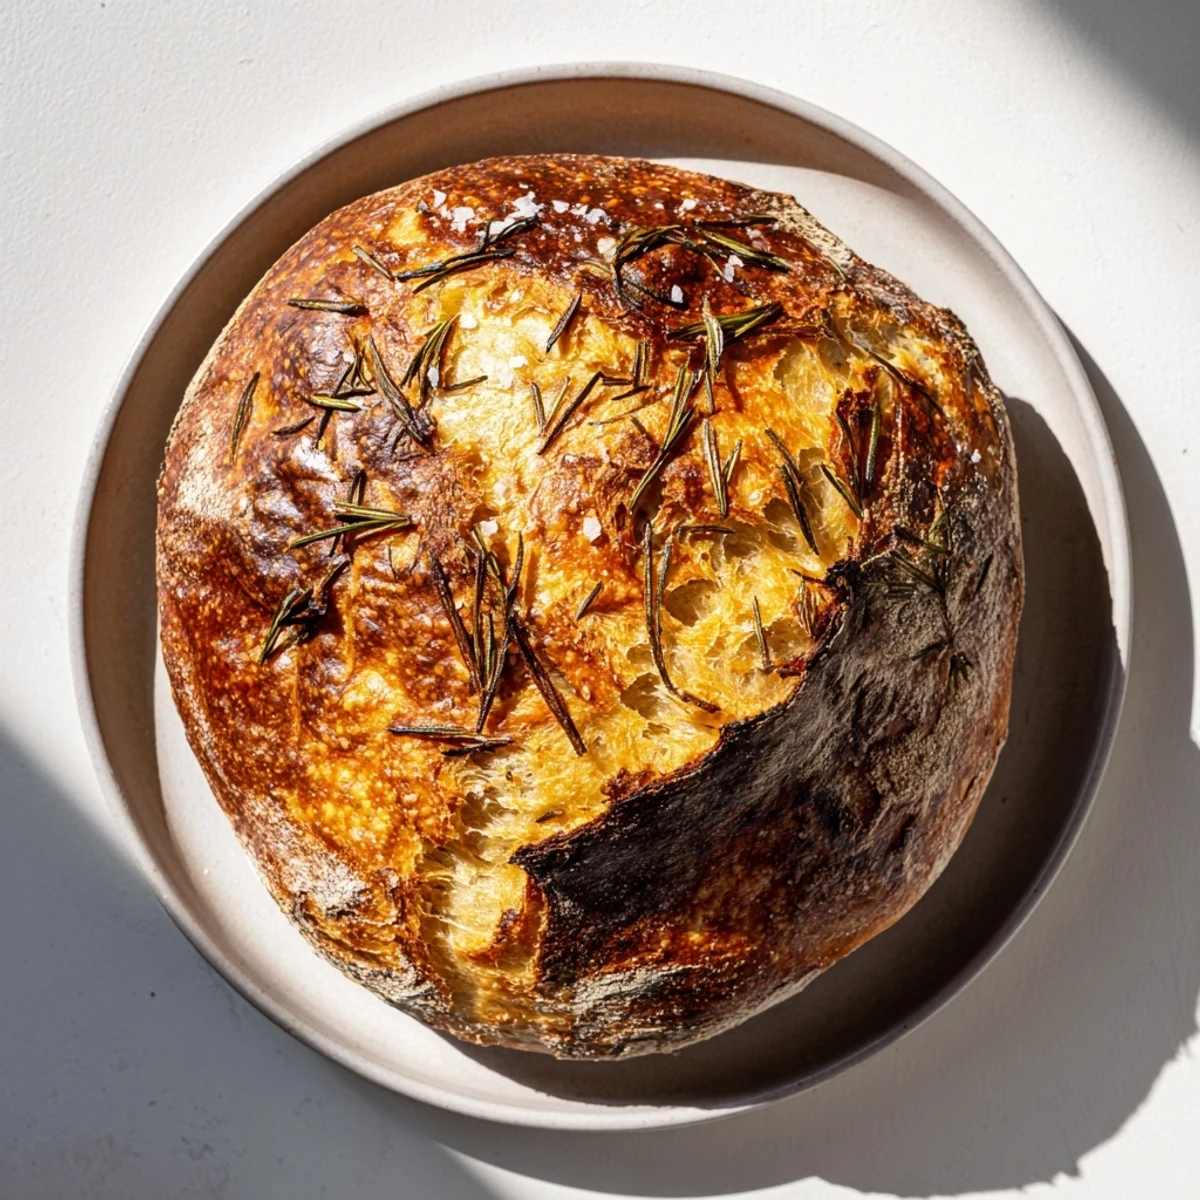
Save This bread became my signature dish during a cold winter when my oven broke and I could only use my portable induction burner and cast iron pot. Friends who came over for soup nights started requesting this bread by name. Something about tearing into a hot loaf together at the table creates instant comfort and conversation.
Mastering the Dough Consistency
Shaggy is the word you want to remember here your dough should look messy and rough not smooth like pizza dough. I used to keep adding flour trying to make it look neat but learned through many dense loaves that stickiness equals steam which equals those gorgeous air pockets inside. The dough should feel tacky to the touch but not impossibly sticky to work with during shaping.
Timing Your Bake
I start this bread first thing in the morning on weekends mixing the dough while my coffee brews so it can rise during my morning routine. By the time I have showered dressed and puttered around the house the dough is ready to shape. This relaxed timeline prevents the stress of rushing the rise which can result in under proofed dense bread that does not bake properly.
Serving and Storage Secrets
This bread transforms with each passing day fresh from the oven the crust is at its most dramatic and the interior is cloudlike soft. The next day it makes the most incredible toast the rosemary and garlic become even more pronounced and the texture becomes perfect for dipping in soups or stews. After three days if you somehow still have leftovers it makes stellar croutons or bread crumbs that freeze beautifully for future recipes.
- Wrap cooled bread loosely in cloth paper not plastic which makes the crust soft and rubbery
- Revive day old bread by sprinkling with water and reheating at 350°F for 10 minutes
- Slice before freezing and toast straight from frozen for ultimate convenience
 Save
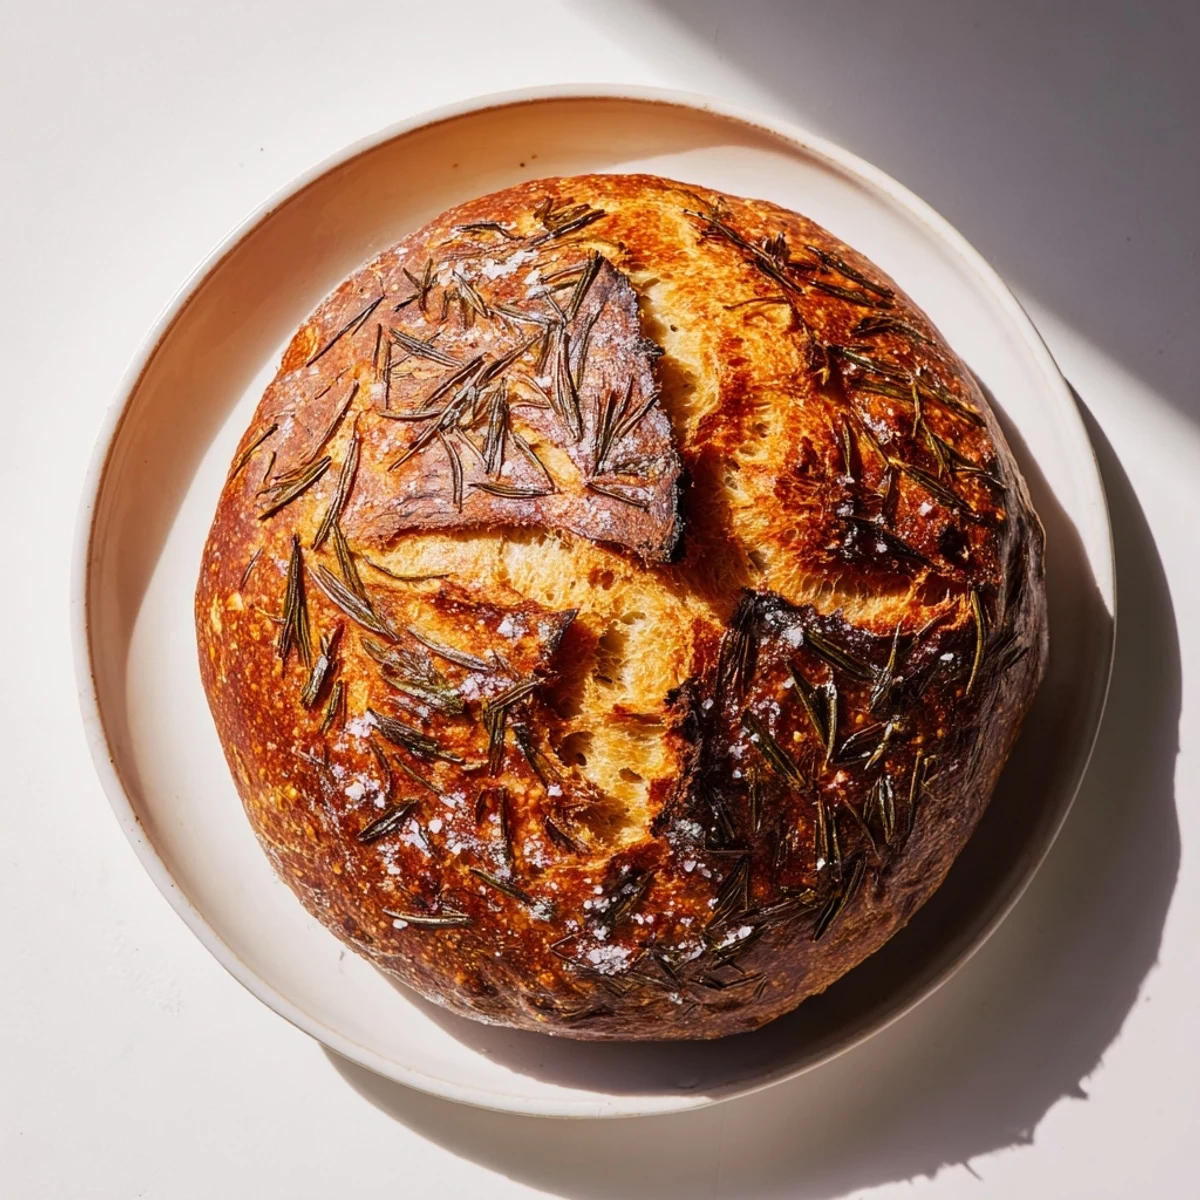
Save There is something profoundly satisfying about pulling a crackling golden loaf from your own oven especially one that smells like garlic and rosemary. This bread has turned ordinary weeknight dinners into occasions and made me feel like a proper baker in my own kitchen.
Common Recipe Questions
- → Why bake bread in a Dutch oven?
-
A Dutch oven creates a steamy environment similar to professional bread ovens. The trapped steam helps the bread rise properly and develops a crisp, crackly crust while keeping the interior moist and tender.
- → Can I use dried rosemary instead of fresh?
-
Fresh rosemary provides the best flavor and texture, but you can substitute dried rosemary. Use about 1 teaspoon dried rosemary instead of 2 tablespoons fresh, and rehydrate it slightly in warm water before adding to the dough.
- → How do I know when the bread is done baking?
-
The bread is ready when it has a deep golden-brown crust and sounds hollow when tapped on the bottom. An instant thermometer inserted into the center should read between 190-200°F (88-93°C).
- → Can I make this without a Dutch oven?
-
While a Dutch oven yields the best results, you can bake on a baking stone or heavy baking sheet. Create steam by placing a pan of hot water on the bottom rack of your oven while preheating.
- → How should I store this bread?
-
Store at room temperature in a paper bag or wrapped in a clean cloth for up to 2 days. For longer storage, slice and freeze in an airtight container for up to 3 months. Avoid refrigerating, as this dries out the bread.
- → Can I add other ingredients to the dough?
-
Absolutely. Try adding roasted shallots, caramelized onions, sun-dried tomatoes, or substituting thyme, oregano, or sage for the rosemary. Just keep additions to about ½ cup total to maintain proper dough structure.
