 Save
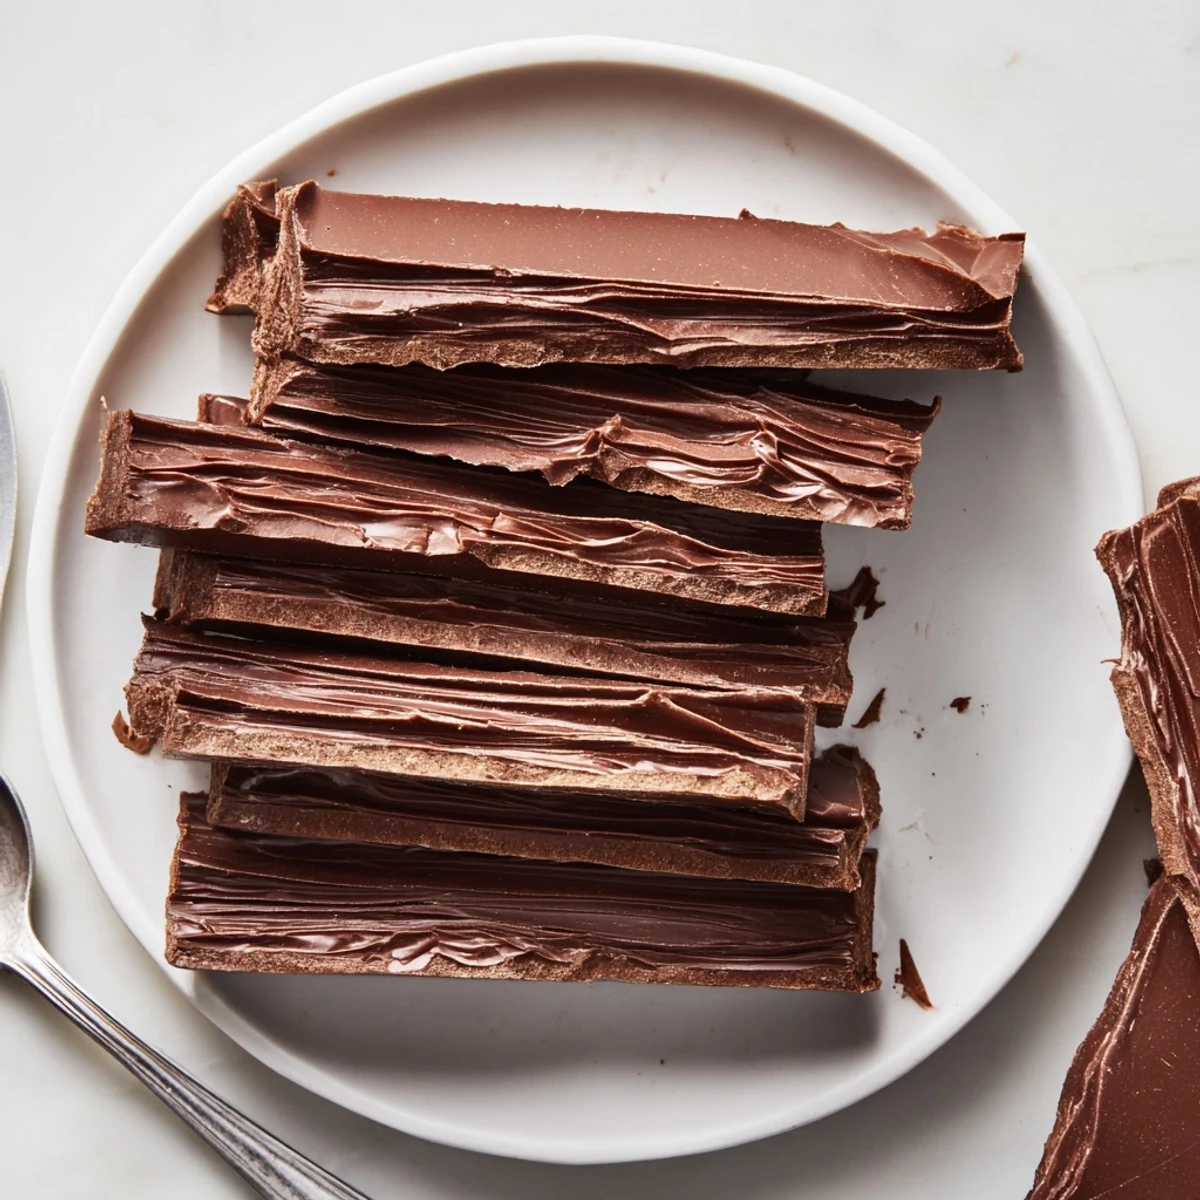
Save These chocolate bars feature thin, delicate flakes created by spreading melted chocolate and scraping it into rustic folds. The bars offer a crumbly texture that melts smoothly on the tongue, ideal for snacking or as elegant garnishes. Crafted with high-quality milk or dark chocolate, they require gentle handling and simple tools like a double boiler and metal scraper. Extra touches like sea salt or vanilla enhance the flavor. Store bars in a cool, dry place to maintain their delicate structure.
I discovered flake chocolate by accident while melting chocolate for a cake topping one afternoon, watching it cool and thinking about how delicate things often become more beautiful when they break slightly. My spoon caught the edge of the thickened chocolate and created this unexpected curl, and suddenly I realized I'd stumbled onto something much more interesting than what I'd started with. The way it shattered and reformed into these natural, crinkled layers felt less like a mistake and more like the chocolate wanted to be something else entirely.
I made these for my nephew's birthday party after he mentioned he didn't want a traditional cake, just something he could eat with his hands while playing in the garden. Watching him and his friends crack these flakes between their teeth, chocolate dusting their fingers, reminded me that sometimes the simplest things—when made with a little care—are what people remember most.
Ingredients
- High-quality milk chocolate, 250 g: The foundation of everything here—cheaper chocolate won't give you those clean, delicate layers when you scrape it, so spend a bit extra on something you'd actually enjoy eating on its own.
Instructions
- Set your stage:
- Line your baking tray with parchment paper and have your metal scraper within arm's reach—you'll want to move quickly once the chocolate reaches that perfect moment between liquid and set.
- Melt gently:
- Break the chocolate into small pieces and place them in a heatproof bowl suspended over simmering water, stirring occasionally until silky and smooth. This slow approach prevents the chocolate from seizing and keeps it workable.
- Cool slightly:
- Let it rest for 5 to 7 minutes until it thickens just enough that it doesn't run off the tray but still spreads easily—you're aiming for the consistency of thick honey.
- Spread with intention:
- Pour the chocolate onto your parchment and use an offset spatula to create an even layer about 2 to 3 mm thick, making sure it covers the entire tray uniformly so each flake has the same delicate snap.
- Catch the moment:
- Watch it carefully for about 5 minutes at room temperature (or 2 minutes in the refrigerator) until the surface is no longer glossy but still gives slightly when you touch it—this is the sweet spot where it's firm enough to hold shape but flexible enough to flake.
- Create the flakes:
- Using your metal scraper, press down gently and drag it lengthwise across the chocolate in smooth, confident strokes, letting the chocolate fold and curl naturally as it breaks. Think of it like creating waves in chocolate rather than forcing anything.
- Shape with care:
- Carefully lift each flake and arrange them into bars or pile them into a rustic stack, handling them as you would handle something precious because they truly are delicate.
- Set and store:
- Leave them at room temperature to harden completely, then transfer to an airtight container in a cool, dry place where they'll stay crispy for days.
 Save
Save I brought these to a dinner party where someone asked if they were shop-bought, and when I said no, they looked genuinely shocked. That moment—when something homemade surprises people—is when you know you've made something special.
The Science of the Scrape
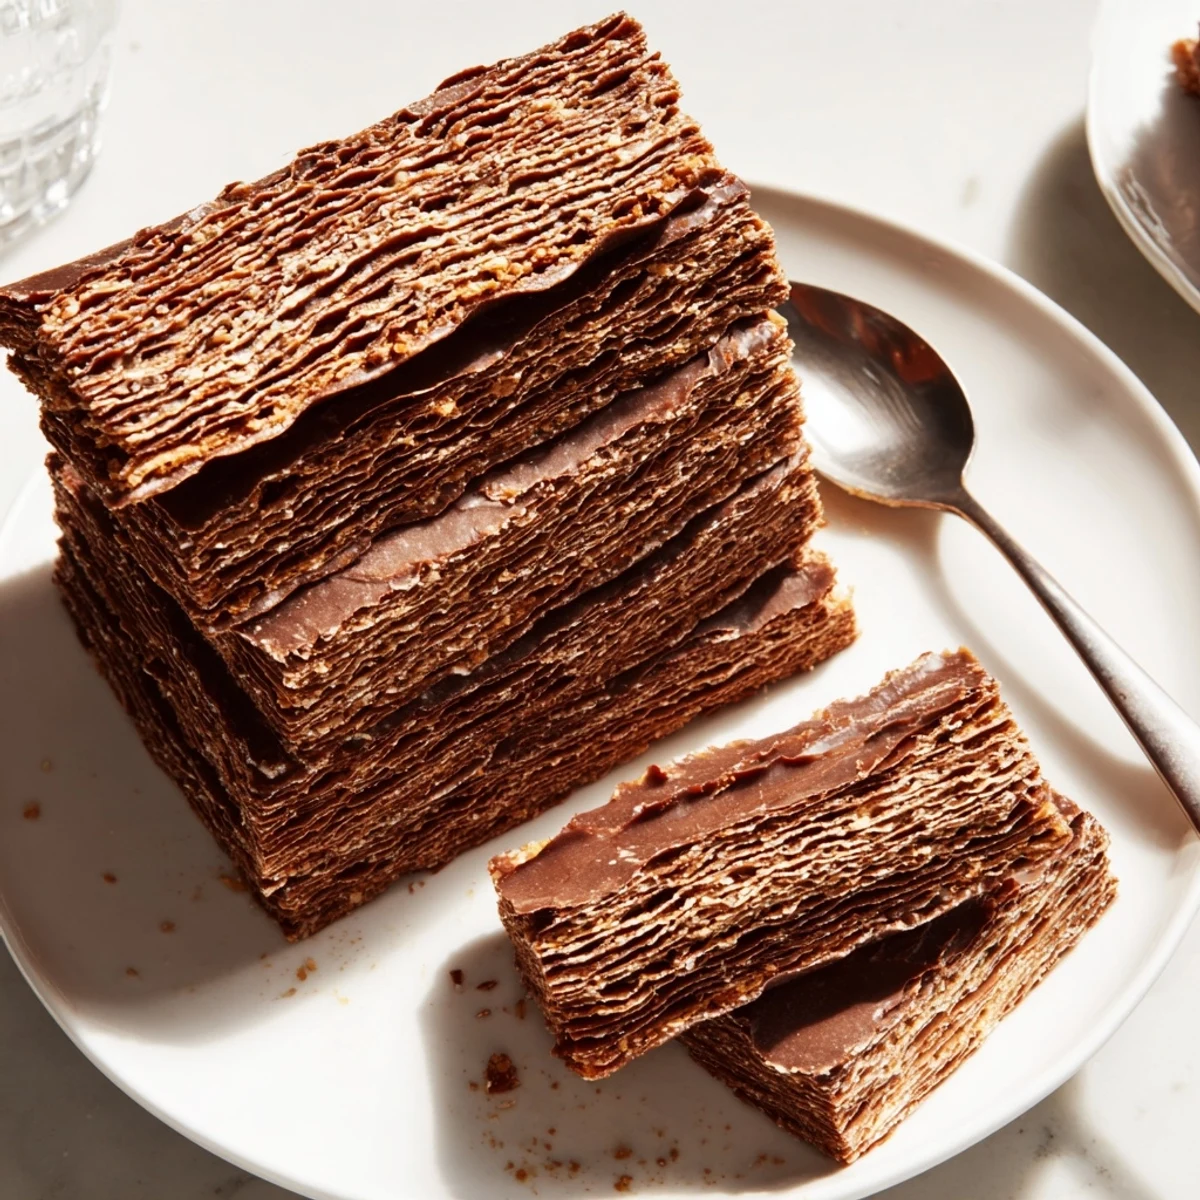
When you scrape chocolate at exactly the right moment, the blade catches and lifts the surface layer while the chocolate beneath is still just soft enough to bend rather than shatter. This creates those irregular, organic curls that look so much more elegant than anything forced or manufactured. The slight pliability is crucial—chocolate that's too set becomes brittle and breaks unpredictably, while chocolate that's too warm simply smooshes under the blade.
Customizing Your Flakes
While pure chocolate flakes are perfect on their own, this is where you can play without adding much complexity. I've experimented with sea salt sprinkled on before scraping (it catches beautifully in the folds), a whisper of vanilla added to the warm chocolate, and even a dusting of cocoa powder once everything sets. The chocolate itself becomes a canvas if you want it to be, though honestly, it's already quite spectacular on its own.
Serving and Storage Wisdom
These flakes are best enjoyed the same day you make them when they're at their most delicate and snappy, though they'll keep in an airtight container for several days if you're storing them. You can layer them for a thicker bar, break them into smaller pieces to top desserts, or honestly just eat them directly because the urge to sneak one while you're making them is completely legitimate and something everyone does.
- Keep them away from humidity since moisture will make them lose their snap and become waxy.
- Room temperature storage keeps them crisper than the refrigerator, which can sometimes make them slightly tacky.
- If you're giving them as gifts, wrap them in parchment and place in a box so they stay pristine and don't crumble during transport.
 Save
Save There's something oddly meditative about making these, watching the chocolate transform from liquid to flakes through patience and one simple tool. It's the kind of recipe that reminds you that sometimes the most impressive things come from paying close attention to a single, beautiful ingredient.
Common Recipe Questions
- → How do I create the delicate chocolate flakes?
-
Melt the chocolate until smooth, allow it to thicken slightly, then spread thinly on parchment. Once set to a pliable state, gently scrape lengthwise with a metal scraper to form flakes.
- → Can I use dark chocolate instead of milk chocolate?
-
Yes, dark chocolate can be used to create a richer, more intense flavor while maintaining the flaky texture.
- → How should the flakes be stored to maintain their texture?
-
Store the flakes in an airtight container in a cool, dry place to prevent melting and preserve their delicate crumbly texture.
- → What tools are essential for making these chocolate bars?
-
A heatproof bowl with a double boiler setup, an offset spatula, parchment paper, and a metal scraper or thin spatula are needed for best results.
- → Can I add flavors to the chocolate before forming flakes?
-
Yes, adding a pinch of sea salt or a dash of vanilla to the melted chocolate enhances depth and complexity without overpowering the delicate layers.
