 Save
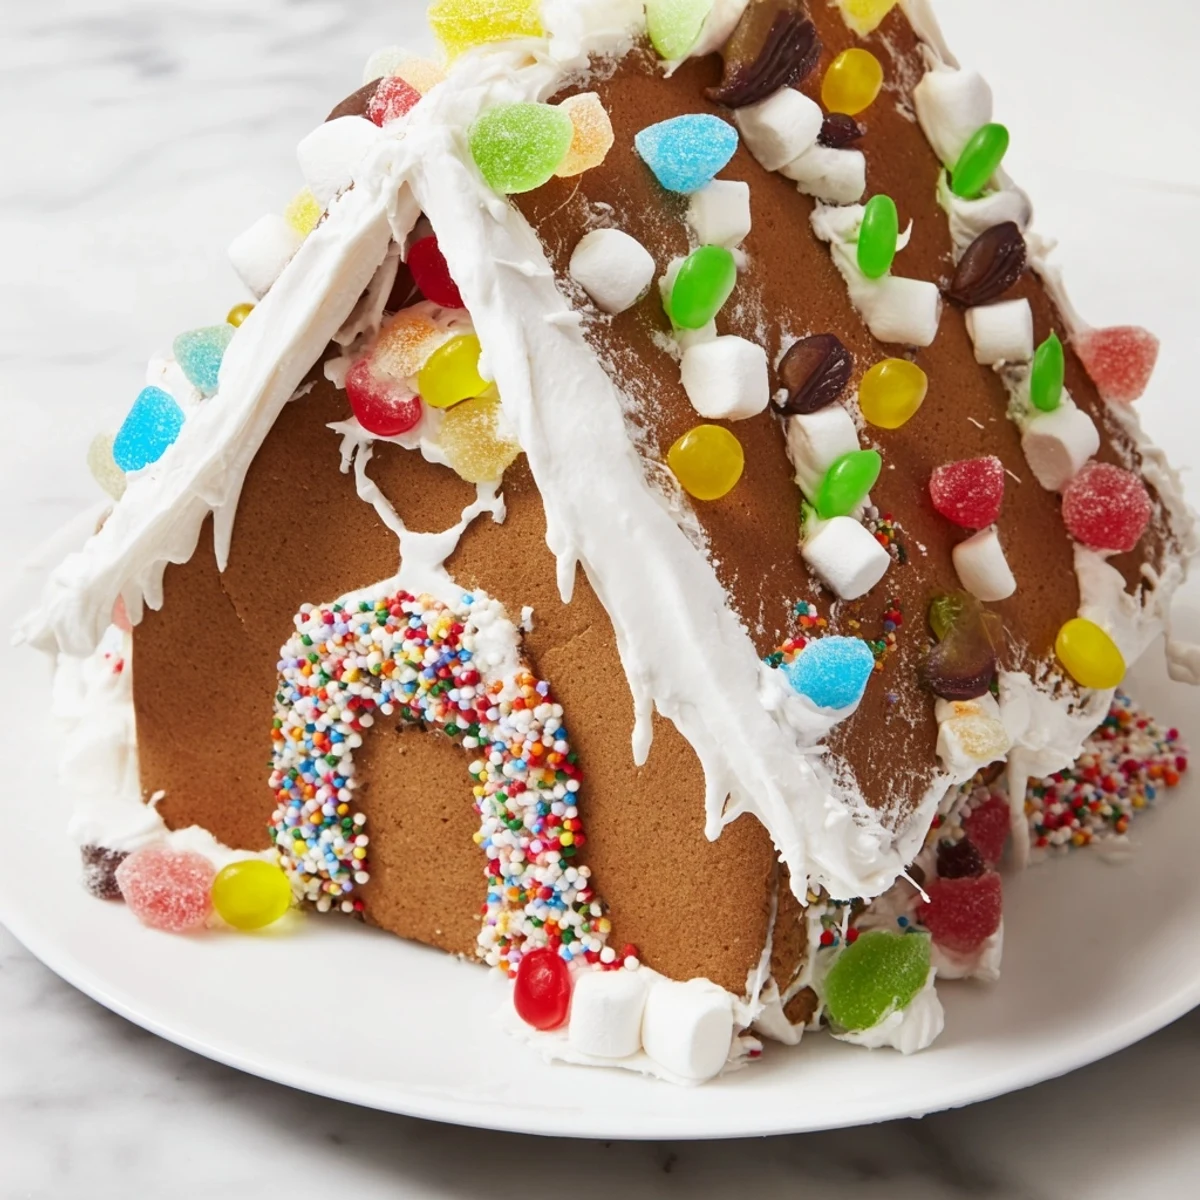
Save This kit includes spiced gingerbread panels baked to golden perfection, paired with royal icing and an assortment of colorful candies for decorating. The dough is flavored with ginger, cinnamon, cloves, and nutmeg, delivering a warm, festive aroma. Assembly involves piping stiff royal icing to securely join panels and attach decorations. Ideal for a holiday centerpiece, it yields a sturdy structure ready for customization with gumdrops, mini candy canes, chocolate buttons, sprinkles, and marshmallows. Plan ahead to chill and cool components for best results.
I still remember the year my grandmother decided we were old enough to build our own gingerbread house. I was eight, my sister was six, and we stood on our kitchen step stool, rolling out dough with flour dusting our hair. The smell of molasses and cinnamon filled the kitchen in that way that instantly transported us back to every holiday before. Now, decades later, building a gingerbread house isn't just about creating a festive decoration—it's about gathering around the kitchen table with people you love and creating something edible and beautiful together.
One Christmas Eve, my partner and I attempted this on a whim, thinking it would take an hour. Six hours later, covered in royal icing and laughing at our lopsided creation, we finally placed the last gumdrops on the roof. Our friends arrived to find this crooked little house sitting proud in the center of the table, and somehow it became the star of the whole evening. That's when I learned that gingerbread houses aren't about perfection—they're about the memories you build while building them.
Ingredients
- All-purpose flour (350 g): The foundation of your gingerbread panels. Use this as your base for structure and crispness. I've learned that sifting it with the spices ensures even distribution of flavor throughout.
- Baking soda (1 tsp): This helps the dough rise slightly and creates a tender crumb. Don't skip it—it makes the panels less dense.
- Salt (1/2 tsp): A pinch that amplifies all the warm spices and balances the sweetness of molasses.
- Ground ginger (2 tsp): The star spice. Fresh and warm, it gives gingerbread its personality. I prefer using fresh ground ginger if you can find it.
- Ground cinnamon (2 tsp): Adds warmth and sweetness without overwhelming. This is where your nose gets happy.
- Ground cloves (1/4 tsp): Just a whisper. Too much becomes medicinal, but this amount adds sophistication to the flavor profile.
- Ground nutmeg (1/4 tsp): A secret note that makes people say, 'What is that flavor?' It's usually the nutmeg.
- Unsalted butter (115 g, softened): This creates the richness and helps bind everything together. Softened butter means your mixture will be fluffy and light.
- Packed dark brown sugar (100 g): Dark brown has more molasses flavor than light brown, which deepens the color and taste. Pack it gently—you want the moisture.
- Dark molasses (180 ml): This is the soul of gingerbread. The dark, rich sweetness and slight bitterness create authentic flavor. Don't use light molasses—it changes everything.
- Large egg (1): The binder that holds your dough together and adds moisture. Room temperature is better, but don't stress if yours isn't.
- Egg whites (2, for royal icing): These beat into stiff peaks and create icing that dries hard and edible. Use pasteurized eggs if you're concerned about raw egg whites.
- Powdered sugar (400 g, sifted): Sifting removes lumps and helps create smooth icing that pipes beautifully. This becomes your edible glue.
- Fresh lemon juice (1 tsp): Adds brightness and helps stabilize the royal icing. It's a small detail that matters.
- Assorted gumdrops (100 g): The jewels of your house. Choose colors that make you happy. I save the red and green for the roof.
- Mini candy canes (100 g): Break them into pieces for walls or keep them whole for decorative accents. They add that essential holiday spirit.
- Chocolate buttons (75 g, like Smarties or M&Ms): These stick perfectly with royal icing and create a lovely pattern. Kids love choosing where these go.
- Colored sprinkles (50 g): Use these as the final touch on frosting or scattered like edible snow. They add whimsy and texture.
- Mini marshmallows (30 g): These look like snow drifts when glued to the roof edges. They're not just decoration—they're delicious.
Instructions
- Prepare your workspace and oven:
- Preheat your oven to 180°C (350°F). This takes about 10 minutes, so start here while you gather ingredients. Line two baking sheets with parchment paper—this prevents sticking and browning on the bottom. The parchment is your friend; don't skip it.
- Combine the dry ingredients:
- In a large bowl, whisk together the flour, baking soda, salt, ginger, cinnamon, cloves, and nutmeg. Take your time whisking. You'll see the mixture go from pale to warmer in color as the spices distribute. This step ensures every bite has that balanced spice flavor.
- Cream butter and brown sugar:
- In another bowl, beat the softened butter and packed brown sugar together with an electric mixer for about 2-3 minutes. It should look light, fluffy, and pale. This creaming action incorporates air, making your gingerbread less dense. Stop and scrape the bowl's sides halfway through.
- Add molasses and egg:
- Pour in the dark molasses and crack in your egg. Mix on medium speed until the mixture is smooth and well combined. The color will be almost black now. This is beautiful.
- Combine wet and dry ingredients:
- Gradually add the dry mixture to the wet mixture, mixing on low speed until a shaggy dough just starts to form. Don't overmix—overworking develops gluten and makes the gingerbread tough. You want it to just come together.
- Chill the dough:
- Divide your dough in half, flatten each portion into a disc about 1 cm thick, wrap them in plastic wrap, and refrigerate for 1 hour. This resting time lets the spices meld and makes the dough easier to roll. If you have time, chill overnight—the flavor deepens.
- Roll and cut panels:
- Remove one dough disc from the fridge. Roll it out on a lightly floured surface to about 0.5 cm thickness. Using your gingerbread house templates (or printable patterns you've found online), carefully cut out the front, back, and side panels of your house, plus roof pieces. Transfer these to your parchment-lined baking sheets. They can be close together but not touching.
- Bake until firm:
- Bake for 12-15 minutes. You're looking for the edges to feel firm when you gently press them, while the centers might still feel slightly soft. This is the trick—they firm up as they cool. The kitchen will smell absolutely incredible. Don't overbake or they'll become brittle and break easily.
- Cool completely:
- Transfer the baked panels to wire racks and let them cool completely. This takes about 30 minutes. Don't rush this. The panels need to be completely firm before assembly or they'll bend under pressure.
- Make the royal icing:
- In a clean bowl, beat the egg whites with an electric mixer until they're foamy and light, about 1 minute. Gradually add the sifted powdered sugar, a little at a time, along with the lemon juice. Keep beating until you reach stiff peaks—the icing should look glossy and hold peaks when you lift the beaters. This usually takes 5-7 minutes. If it seems too thick, add a tiny bit of water. If too thin, add more powdered sugar.
- Pipe and assemble:
- Transfer your royal icing to piping bags fitted with plain tips. Pipe a thick line of icing along the edges where two panels will meet. Press them together gently and hold for about 30 seconds. Start with the back panel and one side. You're building a box. Let each seam set for a minute before adding the next wall. Once the four walls are secure, attach the roof pieces. This part requires patience and a gentle hand. Some people use small supports (like cans) to hold panels while icing sets.
- Decorate with candies:
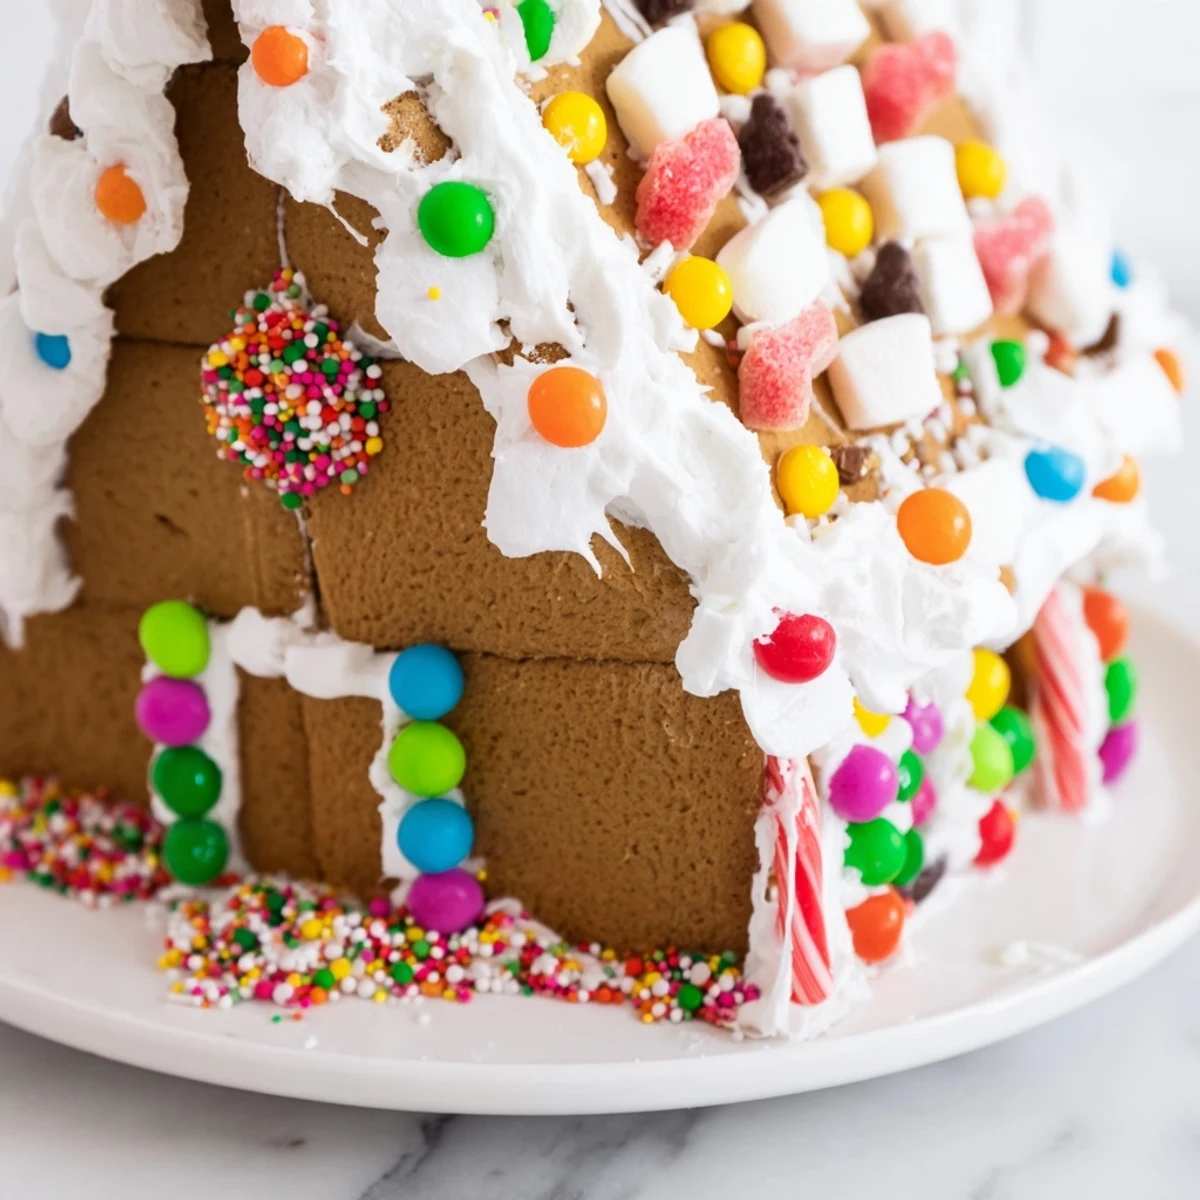
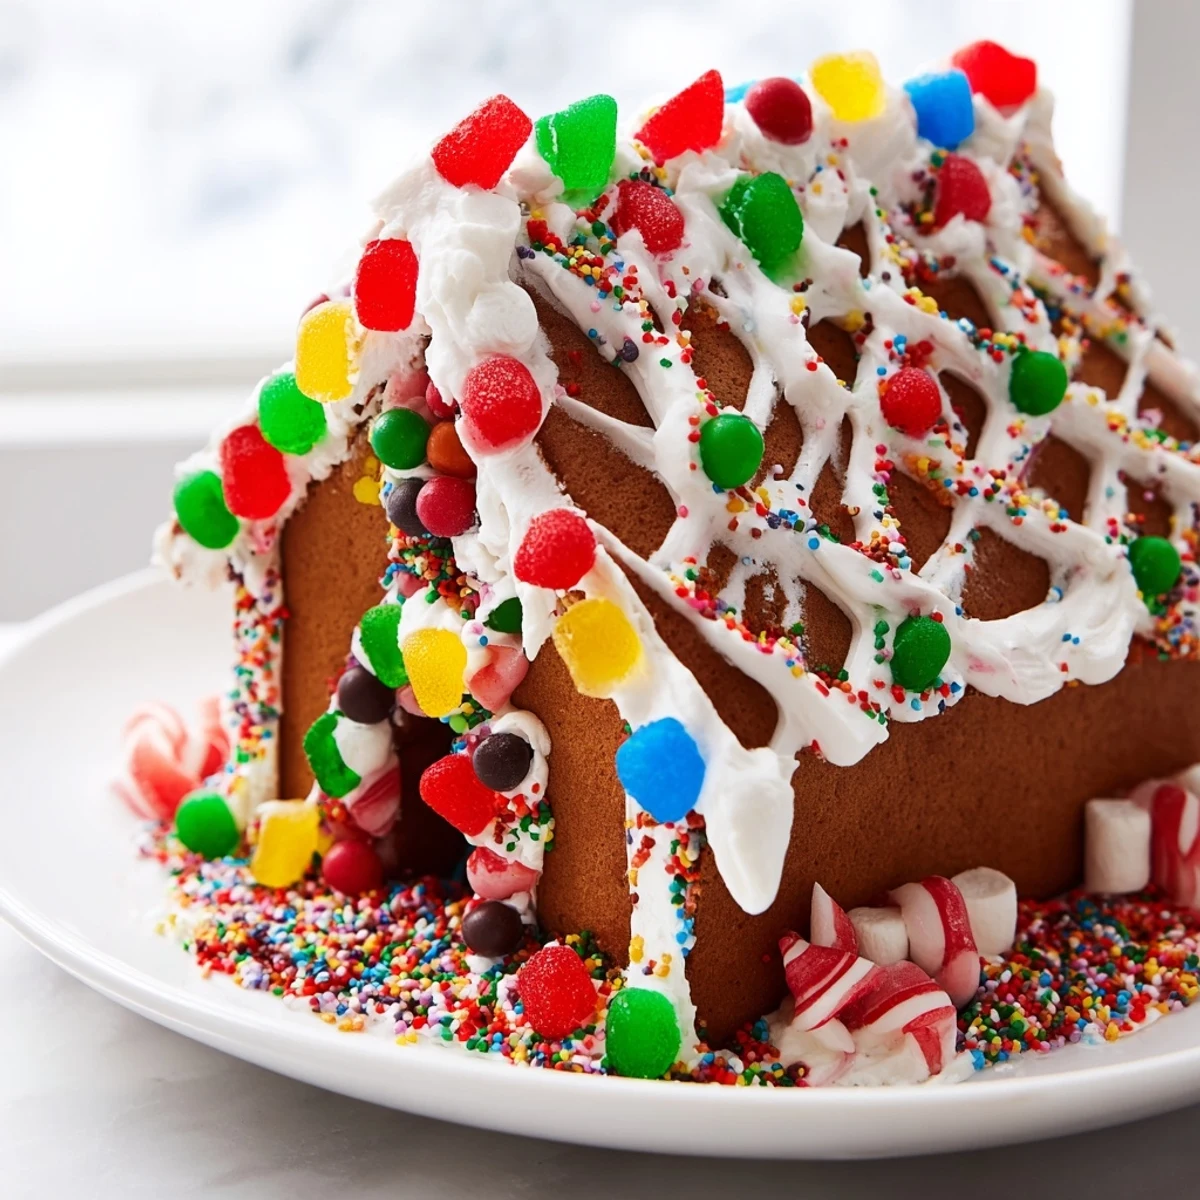
- Now comes the fun part. Using the remaining royal icing, adhere gumdrops, chocolate buttons, candy canes, and marshmallows to your house. Create windows, doors, trim, or just cover it in color. There's no wrong way. Work systematically so you don't accidentally knock pieces off. Let each section set for a minute before adding more.
- Final set:
- Let the entire assembled house sit undisturbed for at least 2-3 hours, preferably overnight, so all the icing hardens completely. The royal icing becomes rock-hard and acts as permanent edible glue. This is why patience matters.
 Save
Save The first time a guest bit into the wall of our gingerbread house, their eyes lit up. They hadn't expected it to actually taste like something—something delicious with that perfect balance of spice and molasses sweetness. In that moment, I realized this wasn't just a decoration. It was an edible piece of joy that you built with your own hands and shared with people you cared about.
Building Your House: Structure and Support
The secret to a standing gingerbread house isn't magic—it's geometry and patience. Think about where your walls will lean on each other for support. Build on a sturdy base like a cardboard cake board or a wooden cutting board. The royal icing acts as both glue and cement, but it needs time to set. If a panel wobbles, use temporary supports like empty cans or rolled-up kitchen towels to hold it steady while the icing dries. Remove these props once the icing has hardened, usually after about an hour. Some builders construct an interior frame from pretzel sticks or thick straws to add stability, though this is hidden and never seen. It's the architectural secret behind every impressive gingerbread house.
Decoration Strategies That Work
Before you start gluing candies to your house, take a moment to plan your design. Sketch where your door and windows will be. Decide if you want symmetry or controlled chaos. I've learned that creating a focal point—like a dramatic candy-cane striped door or a gumdrop-studded roof—makes the whole thing feel intentional. Keep some candies reserved for last-minute gaps. You'll always find spots that need filling. The beauty of this project is that there are no rules except the ones you make. Wonky walls and imperfect icing are character. They're proof that you built it yourself.
Storage and Serving Suggestions
Your gingerbread house will last longer than you might expect. The panels stay crispy and edible for up to two weeks when stored in a dry place at room temperature. Keep it covered loosely with plastic wrap or in a cake box to protect it from humidity. The royal icing hardens into an edible shell, so technically the whole thing is food, though after a few days of sitting in the open, the structure stays strong while individual candies might dry out. If you want to dismantle and eat pieces, they're delicious on their own or crumbled into ice cream.
- Serve slices of your house as a conversation-starting dessert after holiday dinner.
- Keep it displayed on the table through the holiday season as an edible centerpiece that people can actually bite into.
- If you want to preserve it longer, keep it in a cool, dry place away from direct light and humidity, and avoid the kitchen steam from cooking.
 Save
Save Building a gingerbread house transforms an afternoon into a memory. Years from now, you won't remember the exact taste of the molasses or the specific colors of the candies—you'll remember the laughter, the flour in your hair, and the moment when your creation stood complete. That's the real magic of this recipe.
Common Recipe Questions
- → How do I ensure the gingerbread panels stay sturdy?
-
Chilling the dough before rolling helps maintain shape during baking. Baking until edges firm ensures panels are solid for assembly.
- → What is the best way to pipe the royal icing?
-
Beat egg whites until foamy, then slowly add powdered sugar and lemon juice until stiff peaks form. Use a piping bag for precise lines.
- → Can I customize the decorations?
-
Absolutely! Add extra candies, pretzel sticks, or shredded coconut snow to personalize your gingerbread house.
- → How long does the assembled structure take to set?
-
Allow the royal icing to set completely, usually a few hours, to ensure a stable construction before adding heavy decorations.
- → Are there common allergens in this kit?
-
This contains wheat, eggs, and dairy. Some candies may include nuts or soy; always check individual packaging.
