 Save
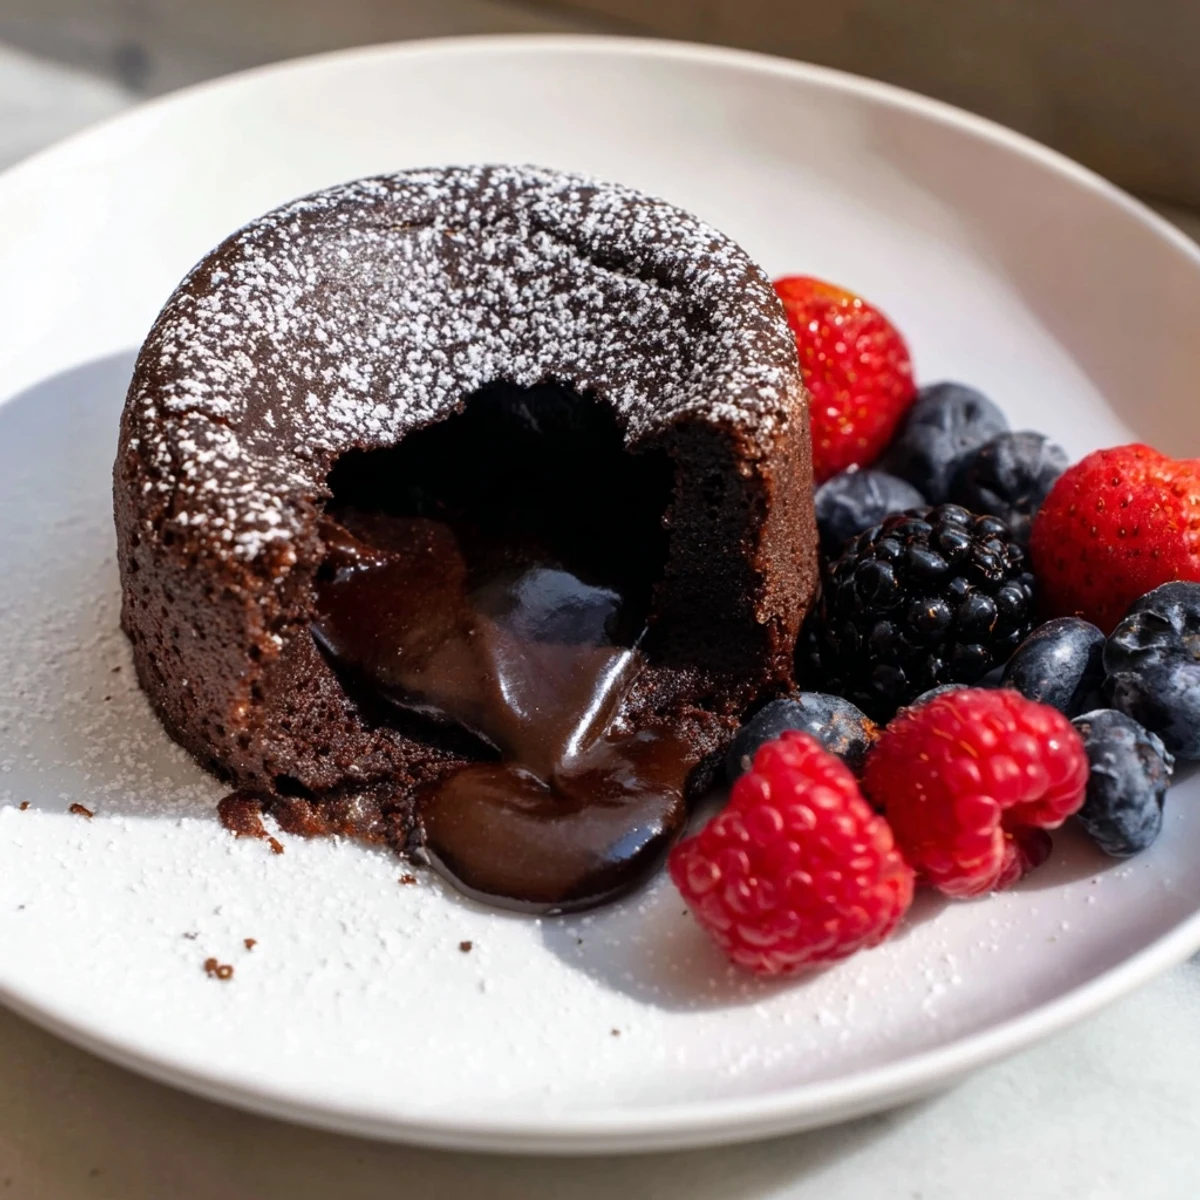
Save These indulgent individual chocolate cakes feature a warm, gooey molten center surrounded by a tender baked exterior. Made with bittersweet chocolate, eggs, and a hint of vanilla, they offer a perfect balance of rich flavor and soft texture. Baking time is crucial to achieve the signature molten core. Serve dusted with powdered sugar and fresh berries or a scoop of ice cream for an elegant finish.
Preparation involves melting chocolate and butter, whisking eggs with sugar until pale, then gently folding in flour and flavorings. The batter is baked in ramekins just until edges set, maintaining a soft center. Variations include adding espresso or orange liqueur for added complexity. This dessert pairs beautifully with sweet dessert wines.
I'll never forget the first time I made molten chocolate cakes at home. It was a Friday night, and I wanted to impress someone special with something that felt restaurant-worthy but achievable in my tiny kitchen. That first attempt, when I cracked open the ramekin and watched that glossy chocolate center cascade onto the plate, I understood why the French had perfected this dessert. It's the kind of magic that happens in just 12 minutes, and I've been making them ever since for every occasion that calls for something truly indulgent.
I served these to my book club last month, and the quiet that fell over the table when everyone took their first bites told me everything. One friend closed her eyes and actually sighed. That's when I knew this recipe deserved to be shared with everyone I know, because any dessert that creates that kind of joy is worth making again and again.
Ingredients
- Bittersweet chocolate, chopped (115 g / 4 oz): The real star of this recipe. I learned the hard way that quality matters here since chocolate is the dominant flavor. Look for something with at least 60% cocoa content, and if you can find a bar you actually enjoy eating on its own, you'll enjoy these cakes even more.
- Unsalted butter (115 g / 1/2 cup, plus extra for greasing): Butter and chocolate are a love story, and this is the perfect ratio. The butter creates that silky texture and helps achieve the molten center. I use good quality butter because it makes a real difference in the final taste.
- Large eggs (2): These create the structure and lift. Room temperature eggs mix much more smoothly, so I always let mine sit out for 15 minutes before starting.
- Large egg yolks (2): Extra yolks add richness and contribute to that tender crumb that makes the edges set while the center stays soft.
- Granulated sugar (75 g / 1/3 cup): Whisking this with the eggs until pale and thick is the secret to getting the right texture. Don't skip this step, even though it feels tedious.
- All-purpose flour, sifted (30 g / 1/4 cup): Sifting prevents lumps and creates a finer texture. It's a small step that makes a real difference in the final result.
- Pure vanilla extract (1/2 tsp): Just a whisper of vanilla that deepens the chocolate flavor without announcing itself.
- Salt (pinch): A pinch of salt makes the chocolate sing by balancing the sweetness and bringing out all those deep cocoa notes.
- Powdered sugar, for dusting (optional): The final flourish that makes these look as fancy as they taste. A fine sieve gives the most elegant coating.
- Fresh berries (optional): Tart berries cut through the richness beautifully and add a pop of color and freshness that your guests will appreciate.
- Vanilla ice cream or whipped cream (optional): Cold cream melting into warm molten chocolate is a textural and temperature contrast that makes this dessert feel complete.
Instructions
- Prepare your stage:
- Preheat your oven to 220°C (425°F) and butter your ramekins generously, making sure to coat every corner. A light dusting of flour on top of the butter helps the cakes release cleanly when you invert them. Use ramekins that are about 170 ml (6 oz) each, and set them on a baking sheet so they're ready to go.
- Melt the chocolate and butter together:
- In a heatproof bowl set over barely simmering water, combine your chopped chocolate and butter. Stir gently and constantly until everything is completely smooth and glossy. Don't let the bowl touch the water, and remove it from heat as soon as everything is melted. Let it cool for just a minute or two so it's still warm but not hot when you fold in the other ingredients.
- Whisk the eggs and sugar until pale:
- In another bowl, whisk together the whole eggs, egg yolks, and sugar. This is where a little patience pays off. Keep whisking until the mixture is thick, pale, and falls in ribbons when you lift the whisk. This usually takes about 3 to 5 minutes, and the pale color tells you that air has been incorporated, which gives these cakes their tender structure.
- Combine chocolate into the eggs:
- Pour the slightly cooled chocolate mixture into the egg mixture and whisk gently until everything is combined. You're looking for a uniform, glossy batter with no streaks of chocolate or egg remaining.
- Fold in the dry ingredients and flavoring:
- Sprinkle the sifted flour, vanilla extract, and salt over the batter. Using a rubber spatula, gently fold everything together with a light hand. Stop as soon as you don't see any white streaks of flour, because overmixing will develop the gluten and give you a cake with a spongy texture instead of the tender crumb you want.
- Fill the ramekins:
- Divide the batter evenly among your four prepared ramekins, filling each one about three-quarters full. A small ice cream scoop is perfect for this and ensures even portions.
- Bake until the edges are set but the center is soft:
- Bake for 11 to 12 minutes. This is the moment where timing becomes everything. The edges should look baked and slightly puffed, but if you gently jiggle a ramekin, the center should still move slightly, like a soft custard. It takes practice to know exactly when to pull them from the oven, but once you've made these a couple of times, you'll develop a feel for it.
- Rest and invert:
- Let the cakes cool for exactly one minute, then run a thin knife around the inside edge of each ramekin. Place a plate over the top and carefully invert. The cake should slide right out onto the plate, revealing that glossy molten center waiting underneath.
- Finish and serve immediately:
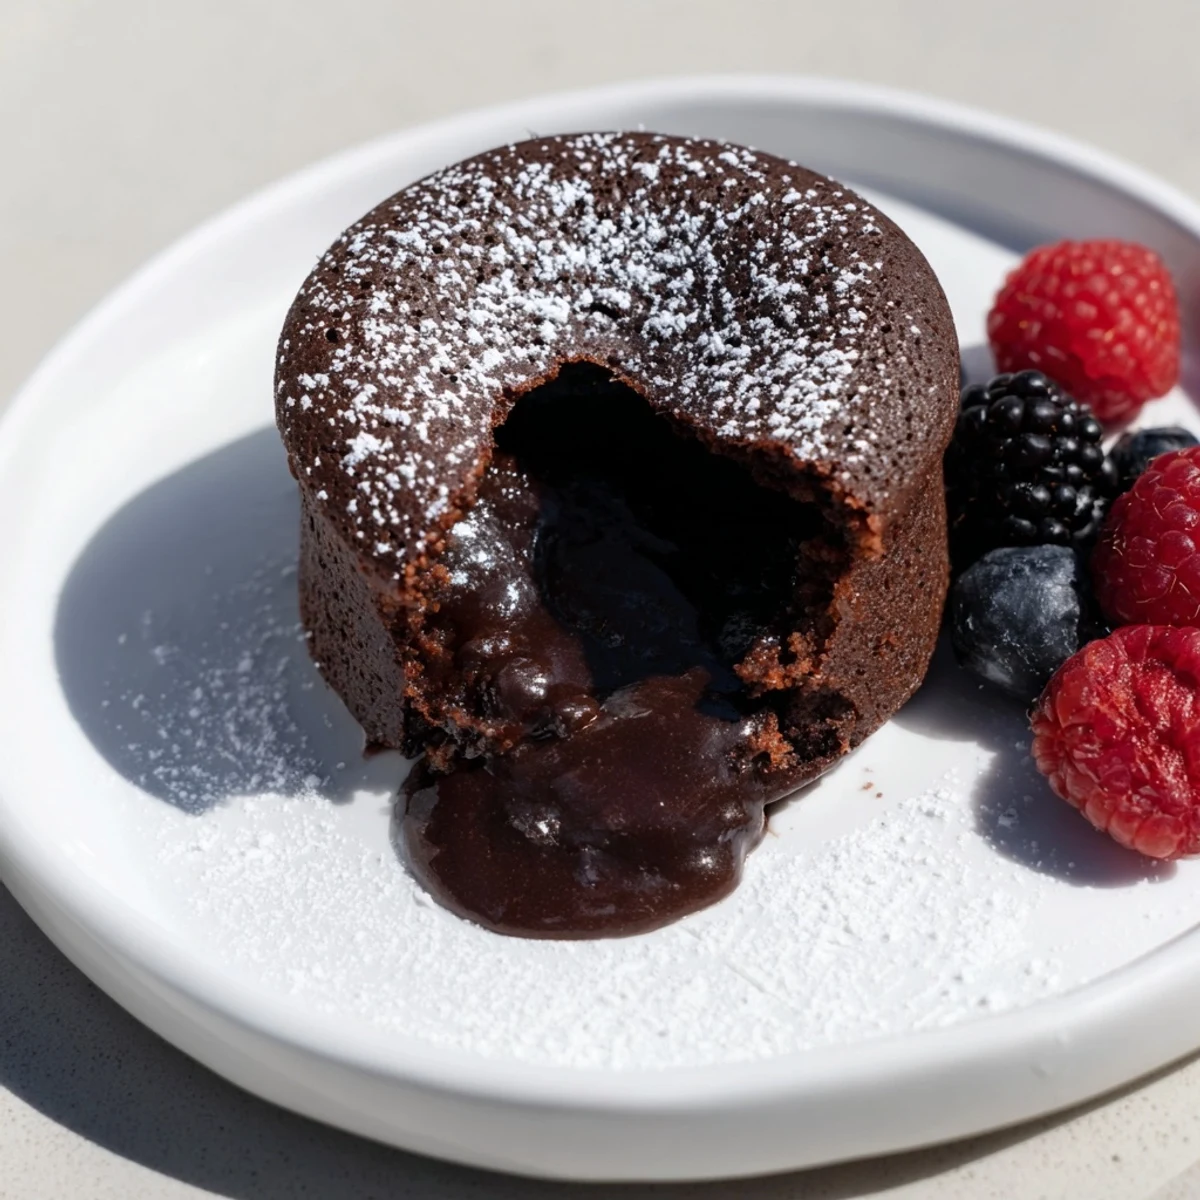
- Dust the tops with powdered sugar and serve right away, while the center is still warm and flowing. Add a scoop of vanilla ice cream or a dollop of whipped cream if you'd like, along with fresh berries if you have them.
 Save
Save My most cherished memory with this recipe is baking them for my mother on Mother's Day morning. She came downstairs to the smell of butter and chocolate, and when I set that warm plate in front of her with the molten center oozing across the plate, she looked at me like I'd hung the moon. Those cakes became more than dessert that morning, they became a way of saying everything I couldn't quite put into words.
The Secret to Perfect Timing
After making these dozens of times, I've learned that your oven's personality matters more than the clock. Some ovens run hot, others cool. The first time you make these, pull them out when the edges look set and the very center still jiggles slightly when you shake the ramekin gently. Make a mental note of what that looks like in your oven, and you'll nail it every time after. Every oven is different, and that's okay. You're learning to cook by feel, not just by time, and that's a skill that will serve you well beyond this one recipe.
Make-Ahead Magic
These cakes are perfect for entertaining because you can prepare everything hours ahead and bake them just before serving. I often fill the ramekins in the morning, cover them with plastic wrap, and refrigerate them all day. When guests arrive, I simply pop them in the oven and have a warm, showstopping dessert ready in 15 minutes. If baking from chilled, add an extra minute or two to the bake time since the batter needs to come to temperature. This is one of my favorite party tricks because it feels like you're pulling off some kind of kitchen magic, when really you're just being smart about your time.
Flavors That Play Well Together
While the classic version is pure chocolate perfection, I've experimented with variations that add another layer of excitement. A tiny pinch of espresso powder deepens the chocolate flavor in a subtle way that guests can't quite identify but somehow makes the whole dessert taste more sophisticated. Orange liqueur adds brightness and a hint of citrus that's absolutely sublime. I've even tried a whisper of sea salt in the batter for a sweet-and-salty contrast that feels modern and exciting.
- If you're trying the espresso variation, use just 1/4 teaspoon dissolved into the melted chocolate for intrigue without overpowering the dessert.
- For orange liqueur, a tablespoon stirred into the chocolate mixture brings elegance and pairs beautifully with berries.
- Remember that any additions should enhance, not overshadow, the chocolate, so taste as you go if you're experimenting.
 Save
Save These lava cakes have a way of turning an ordinary Tuesday night into something special, or making you feel like you've brought a piece of a fancy restaurant into your home. Once you've mastered them, you'll keep making them for every occasion worth celebrating.
Common Recipe Questions
- → How do I achieve the perfect molten center?
-
Bake the cakes just until the edges are set but the center remains soft, usually about 11-12 minutes at 220°C. Overbaking will firm up the center, losing the molten effect.
- → Can I prepare the batter ahead of time?
-
Yes, the batter can be refrigerated in ramekins and baked just before serving. Add an extra 1-2 minutes to the baking time if baked chilled.
- → What alternatives can enhance the chocolate flavor?
-
Adding a pinch of espresso powder or a tablespoon of orange liqueur to the batter adds depth and complements the chocolate notes.
- → What are suitable accompaniments for serving?
-
Dusting with powdered sugar and pairing with fresh berries or vanilla ice cream enhances the dessert's richness and texture contrast.
- → Are there any common allergens in these cakes?
-
The ingredients include eggs, butter (milk), and wheat flour. Commercial chocolate may contain traces of nuts or soy, so check labels if needed.
