 Save
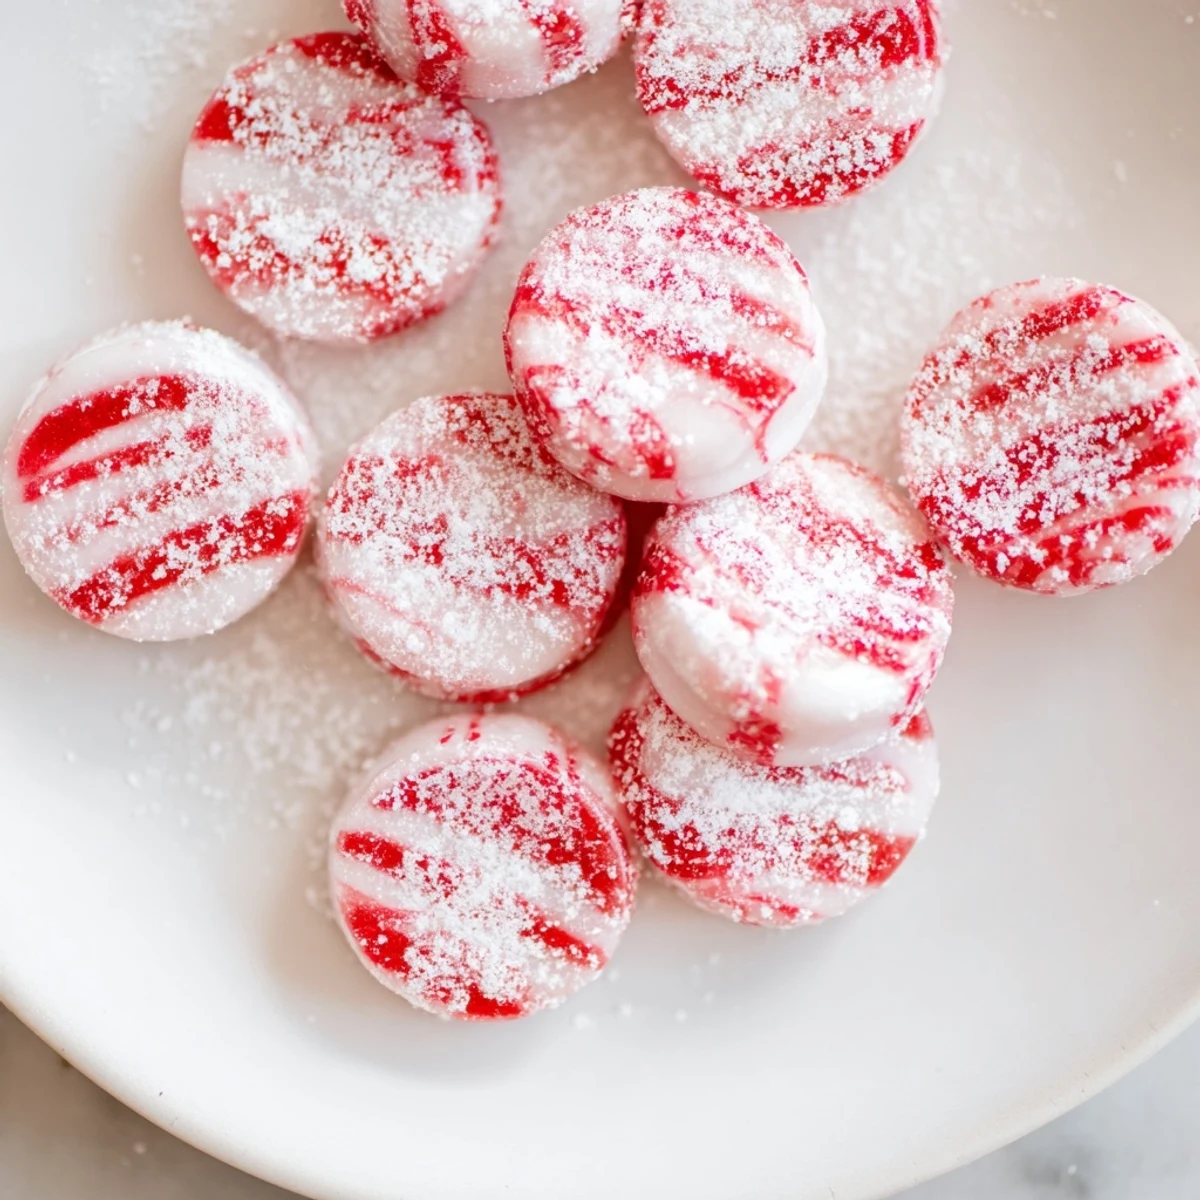
Save These peppermint sweets offer a refreshing burst of cool mint with a crisp texture. Made by combining butter, cream, peppermint extract, and powdered sugar, the dough is shaped into small candies and left to dry until firm. Optional food coloring can add a festive touch. Perfect for gifting or a sweet complement to a meal, they store well in an airtight container. Variations with spearmint or lemon extracts add fun twists for different taste preferences.
I was rummaging through my grandmother's recipe box one rainy afternoon when a flour-dusted index card fell out, labeled simply "Mint Drops." The handwriting was faded, but the ingredient list was so short I almost didn't believe it would work. I mixed up a batch that same evening, and the house filled with such a sharp, clean peppermint scent that my neighbor knocked on the door to ask if I'd opened a candy shop.
I started making these every December after my first batch disappeared in under two days. My sister would sneak them from the tin on the counter, claiming they helped her focus during late-night study sessions. Now I triple the recipe and tuck them into little glass jars with ribbon, and they've become the thing people actually ask me to bring to holiday gatherings.
Ingredients
- Powdered sugar: This is the backbone of the candy, giving it structure and sweetness without any graininess. Sift it if it's been sitting in the cupboard for a while to avoid lumps.
- Unsalted butter: Just a tablespoon adds richness and helps the dough come together smoothly. Make sure it's truly softened, not melted, or the texture will turn greasy.
- Heavy cream: This brings moisture and a subtle creaminess that balances the sugar. Whole milk works in a pinch, but the candies won't be quite as tender.
- Peppermint extract: A little goes a long way here. Start with half a teaspoon and taste the dough before adding more, because some brands are much stronger than others.
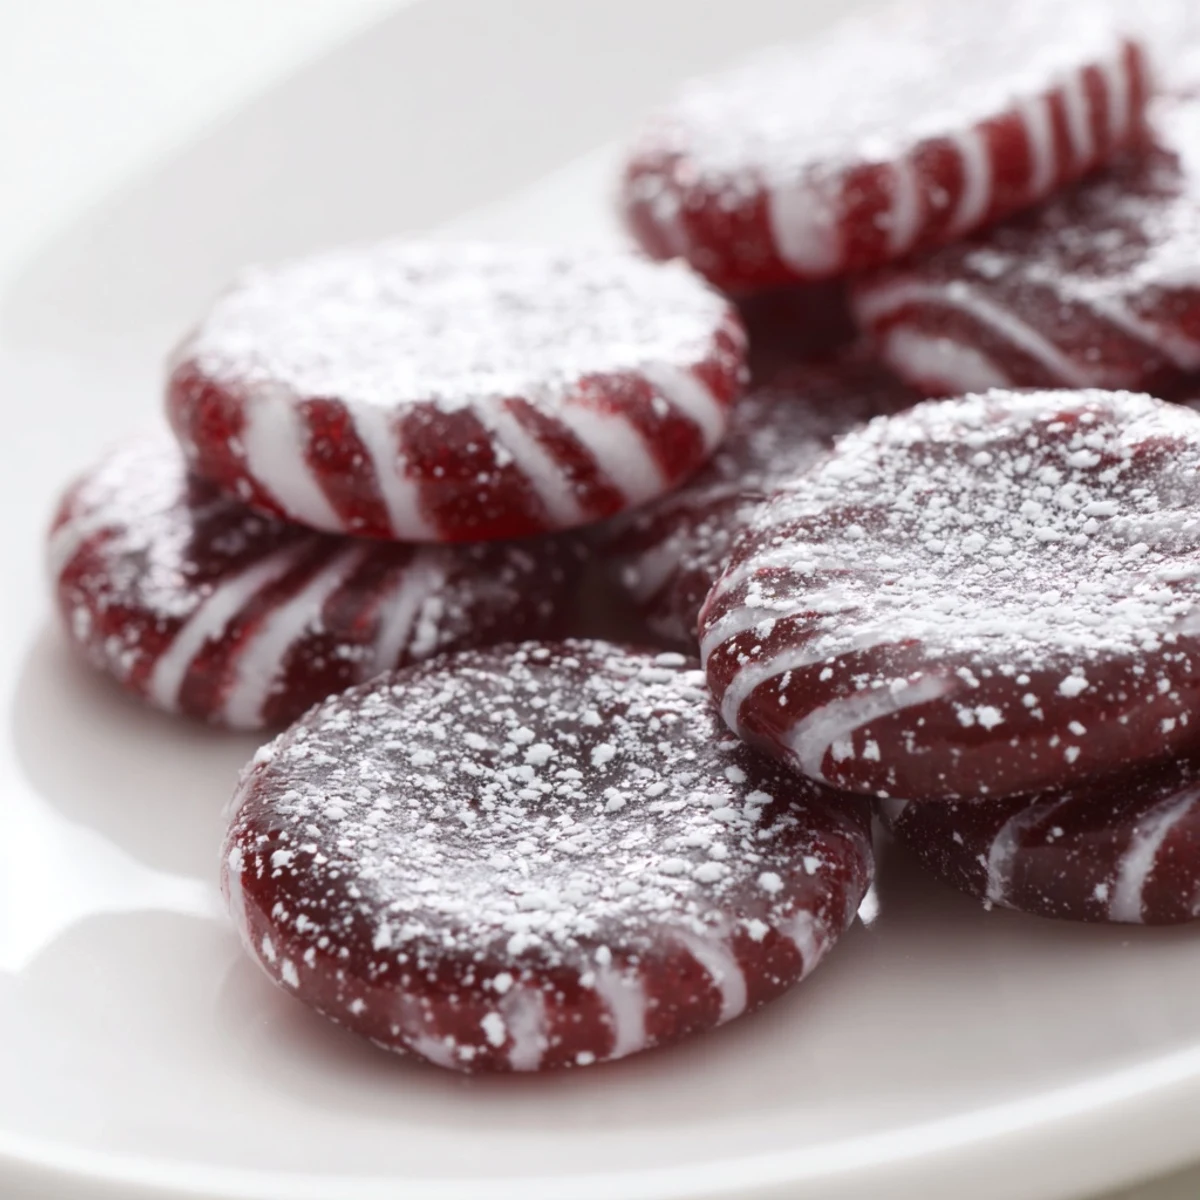
- Food coloring: Completely optional, but a few drops of red or green make these feel festive. Gel colors work best because they won't thin out the dough.
Instructions
- Mix the wet ingredients:
- Beat the softened butter, heavy cream, and peppermint extract together until the mixture looks smooth and slightly fluffy. This should only take about a minute with a hand mixer or a good wooden spoon.
- Add the sugar gradually:
- Stir in the powdered sugar a half cup at a time, mixing well after each addition. The dough will start out loose and sticky, then pull together into a soft ball that no longer clings to your fingers.
- Color the dough if desired:
- Divide the dough into portions and knead in a few drops of food coloring until the color is even. I like to leave one batch white and tint the rest for contrast.
- Shape the candies:
- Dust your work surface lightly with powdered sugar and roll small pieces of dough into half-inch balls. Flatten each one gently with the tines of a fork or the back of a spoon to create a little disc with texture on top.
- Let them set:
- Arrange the candies on a parchment-lined baking sheet, leaving a little space between each one. Let them sit at room temperature for at least an hour until they feel firm and dry to the touch.
 Save
Save The first time I brought these to a potluck, someone asked if I'd bought them from a fancy confectionery downtown. I didn't correct her right away because I was too busy enjoying the compliment. Later, I admitted they took less than half an hour to make, and she looked at me like I'd shared a magic trick.
Storing and Gifting
These keep beautifully in an airtight container at room temperature for up to two weeks, though they rarely last that long in my house. I like to layer them between sheets of parchment paper to prevent sticking. For gifting, I tuck them into small mason jars or clear cellophane bags tied with twine, and they always feel more special than anything store-bought.
Flavor Variations
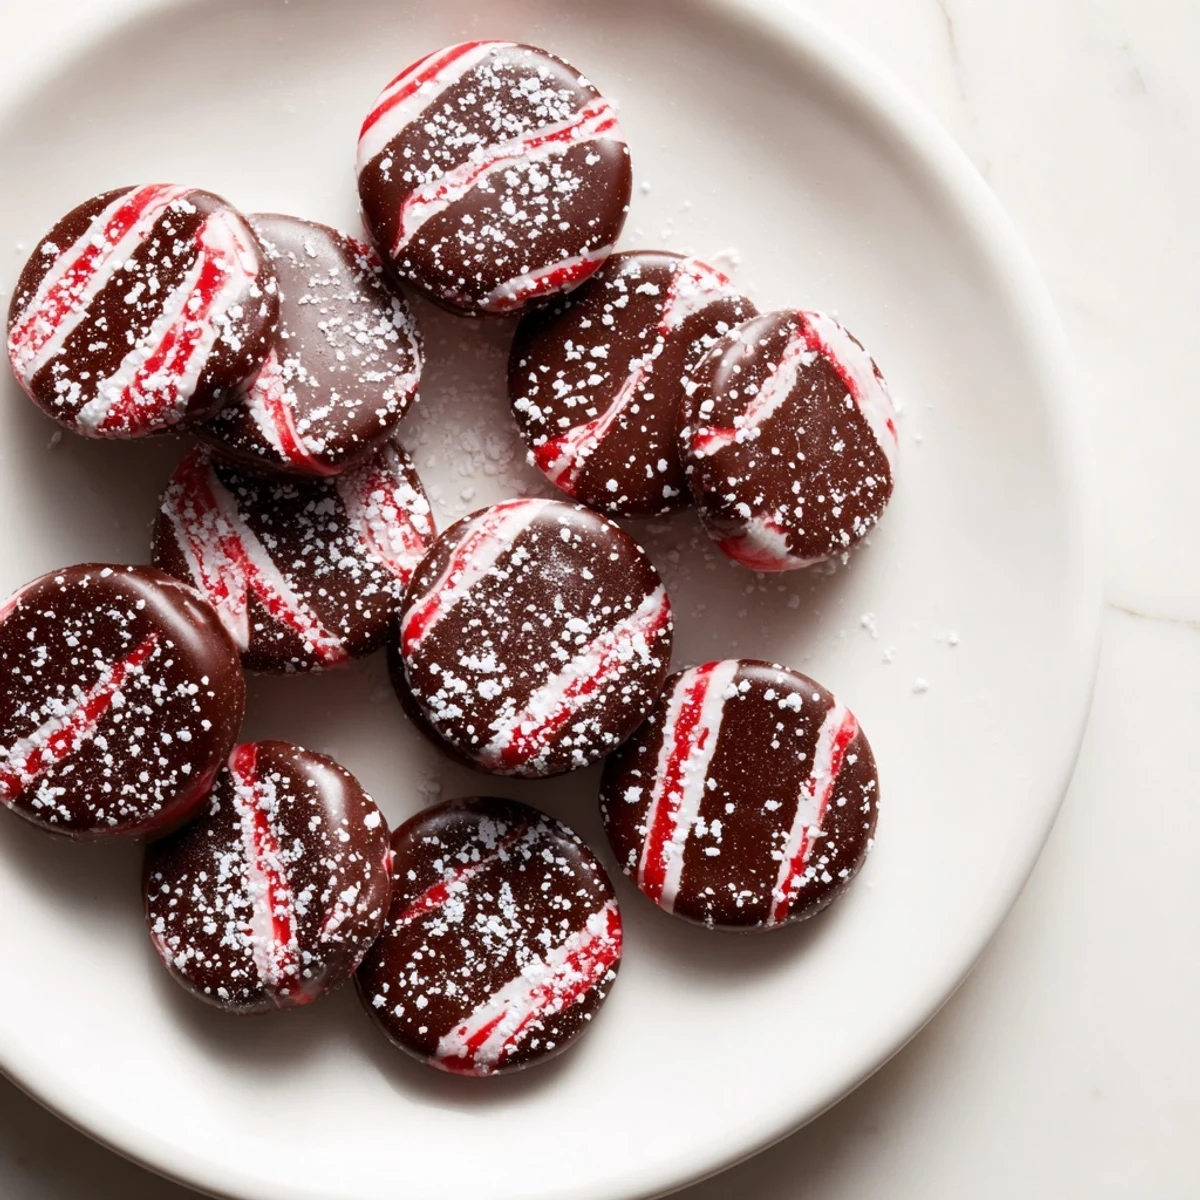
Once you've mastered the basic recipe, it's easy to switch up the flavor. Swap the peppermint extract for spearmint, lemon, or even a drop of vanilla and almond together. I once made a batch with orange extract and rolled them in sparkling sugar, and they tasted like something you'd find at a European Christmas market.
Troubleshooting and Final Touches
If your dough cracks when you try to roll it, it's too dry. Knead in a tiny bit more cream, just a few drops at a time. If it won't hold its shape, it needs more powdered sugar. The dough should feel like soft playdough, smooth and easy to work with.
- For a sparkly finish, roll the shaped candies in coarse sugar before they dry.
- Press a tiny piece of crushed candy cane into the top of each one for extra crunch and visual appeal.
- Store them away from strong-smelling foods because they'll absorb odors quickly.
 Save
Save There's something deeply satisfying about making candy from scratch, especially something this simple and this good. I hope these peppermint sweets become a tradition in your kitchen the way they have in mine.
Common Recipe Questions
- → How long should the peppermint sweets dry?
-
Allow the shaped sweets to dry at room temperature for 1 to 2 hours or until they are firm to the touch.
- → Can I add color to the sweets?
-
Yes, the dough can be divided and colored using food coloring before shaping for a festive appearance.
- → What is the best way to shape these sweets?
-
Roll small portions of dough into 1/2-inch balls, then gently flatten with a fork or the back of a spoon.
- → Are these sweets suitable for gluten-free diets?
-
Yes, the ingredients used are gluten-free, but always verify labels to ensure no cross-contamination.
- → Can I substitute peppermint extract with other flavors?
-
Absolutely, spearmint or lemon extracts provide interesting flavor variations while maintaining the sweet’s refreshing nature.
